
Enabling promoted content for an item gives you the ability to promote specific content in search results, giving you the power to lead your users to specific, high traffic content. Promoted content items will be listed first, when there are multiple promoted content items they will be sorted from most to least accessed.
Enabling Promoted Content
-
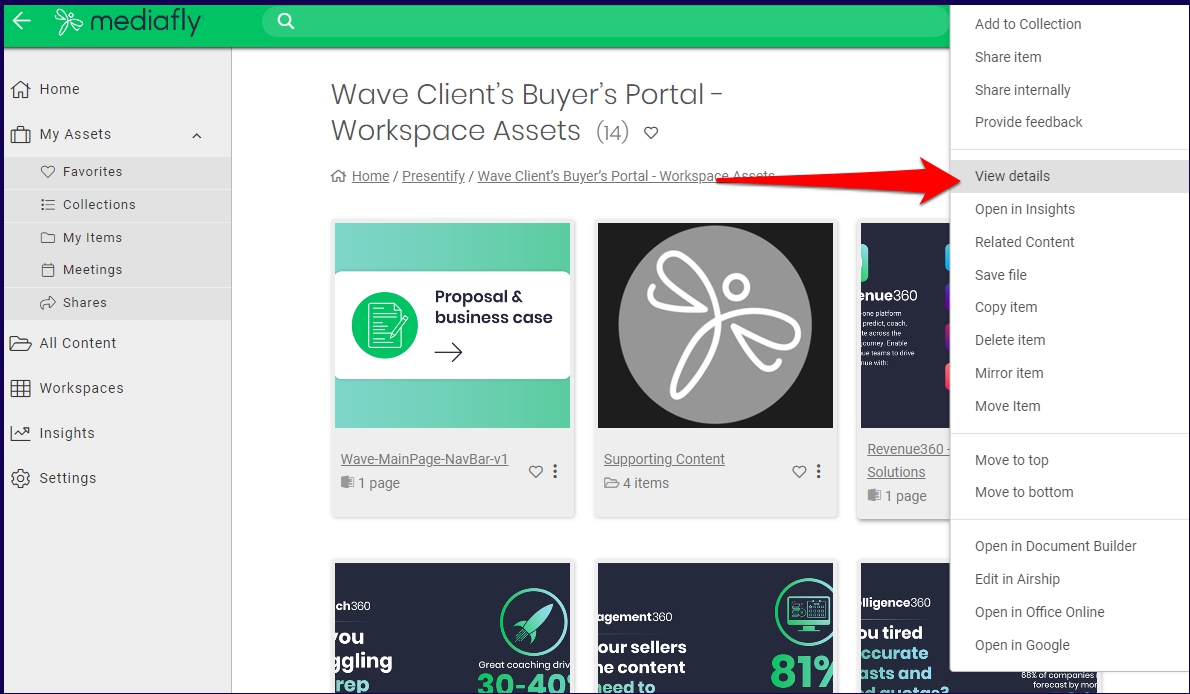
Find the item that you want to promote and view the details of the content. In this example, let's promote the Revenue360 - Challenges & Solutions content.
-
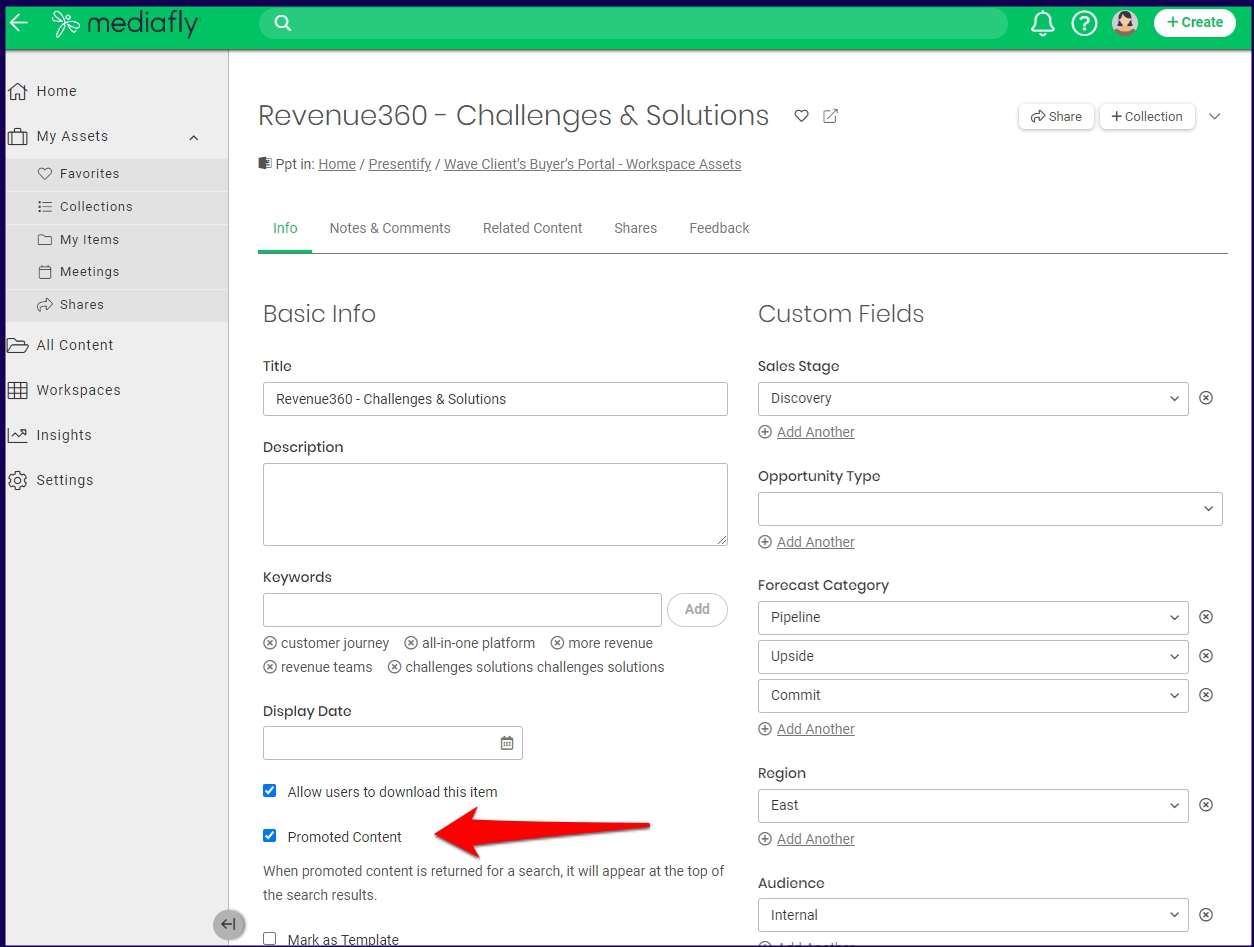
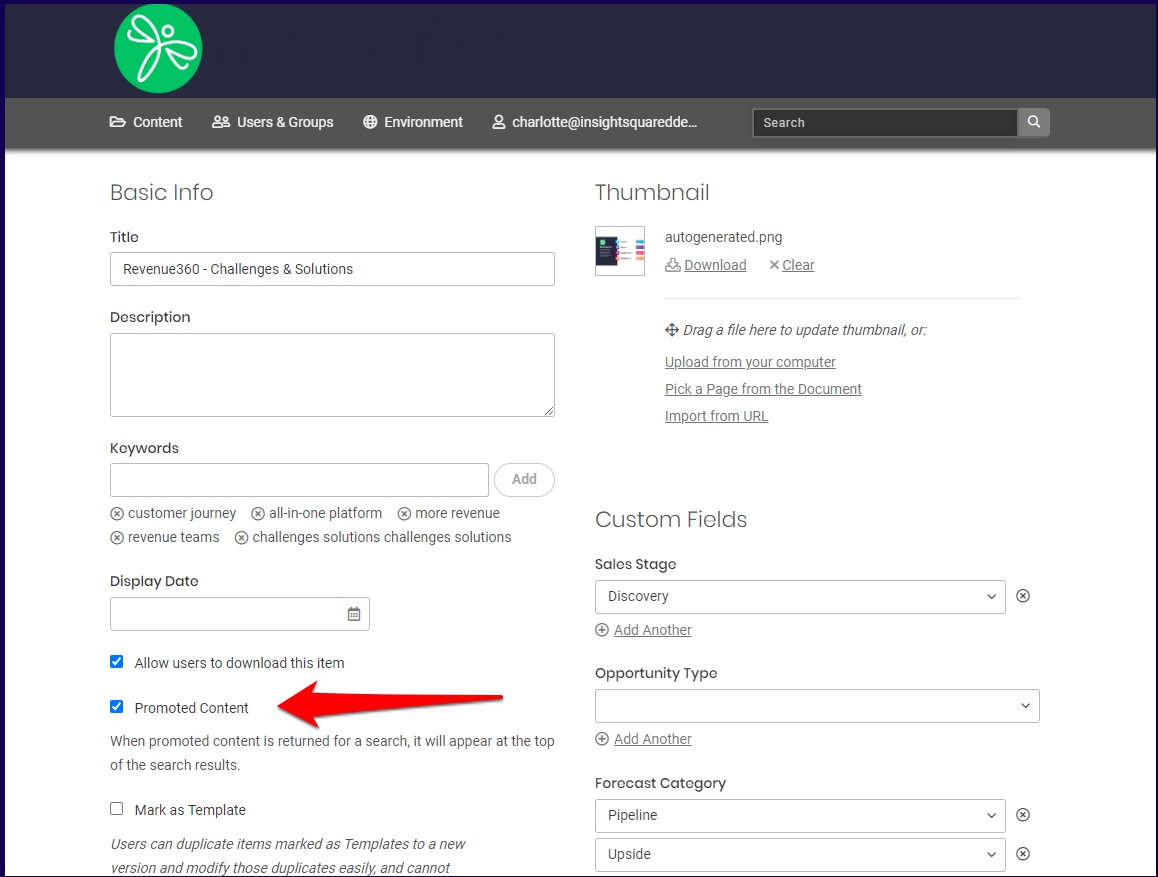
In the content editor, scroll down to find the Promoted Content checkbox under the Basic Info section.
- Check the Promoted Content box to enable, uncheck to disable.
- Click Save.
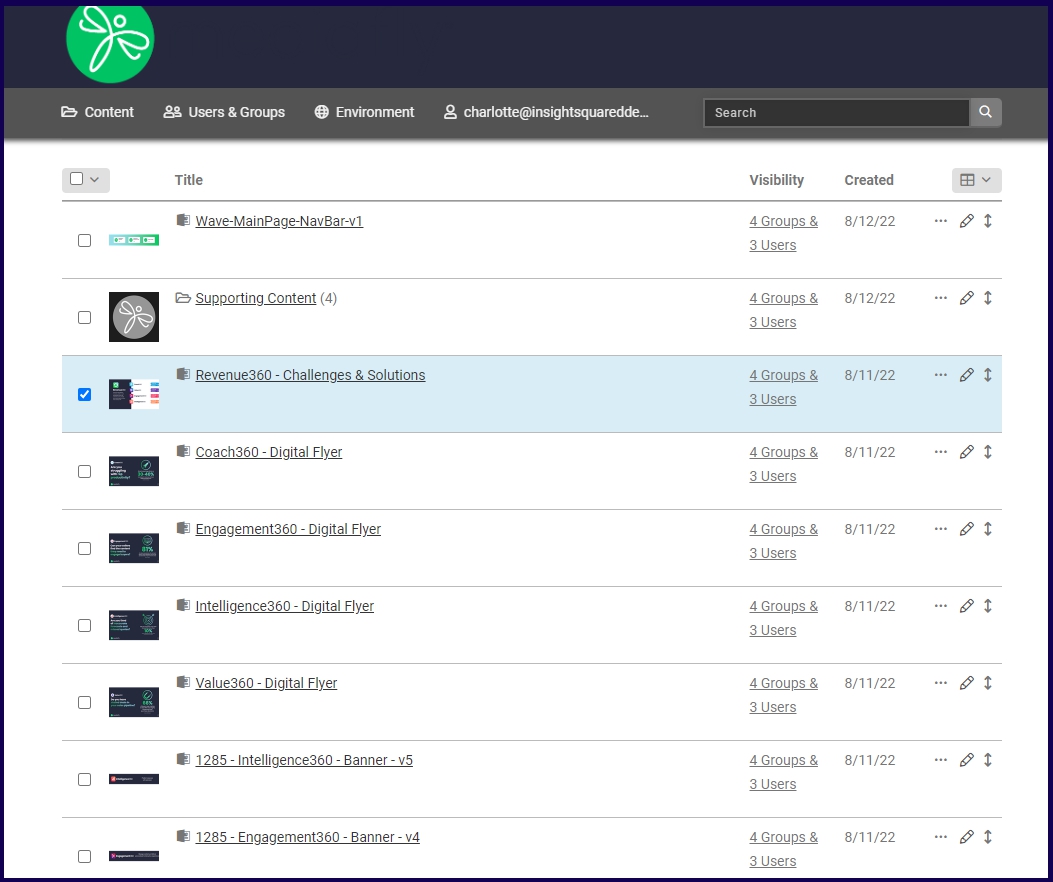
Note: You may also enable promoting a content through the Content Management page. 👇
Viewing Promoted Content
Promoted contents is shown at the top of the search results whenever users search for specific keywords, by category, or both. In this example, I searched for the keyword 'solution' and refined my search by selecting the 'Forecast Category: Commit'.

The promoted content appears at the top of the search results and is marked by a "Promoted" indicator badge.
Note: If more than one promoted content is displayed in a search, the sort order arranges the items in an order which displays items that are used most in Meeting Assistant or mapped to share link.
Replies have been locked on this page!