
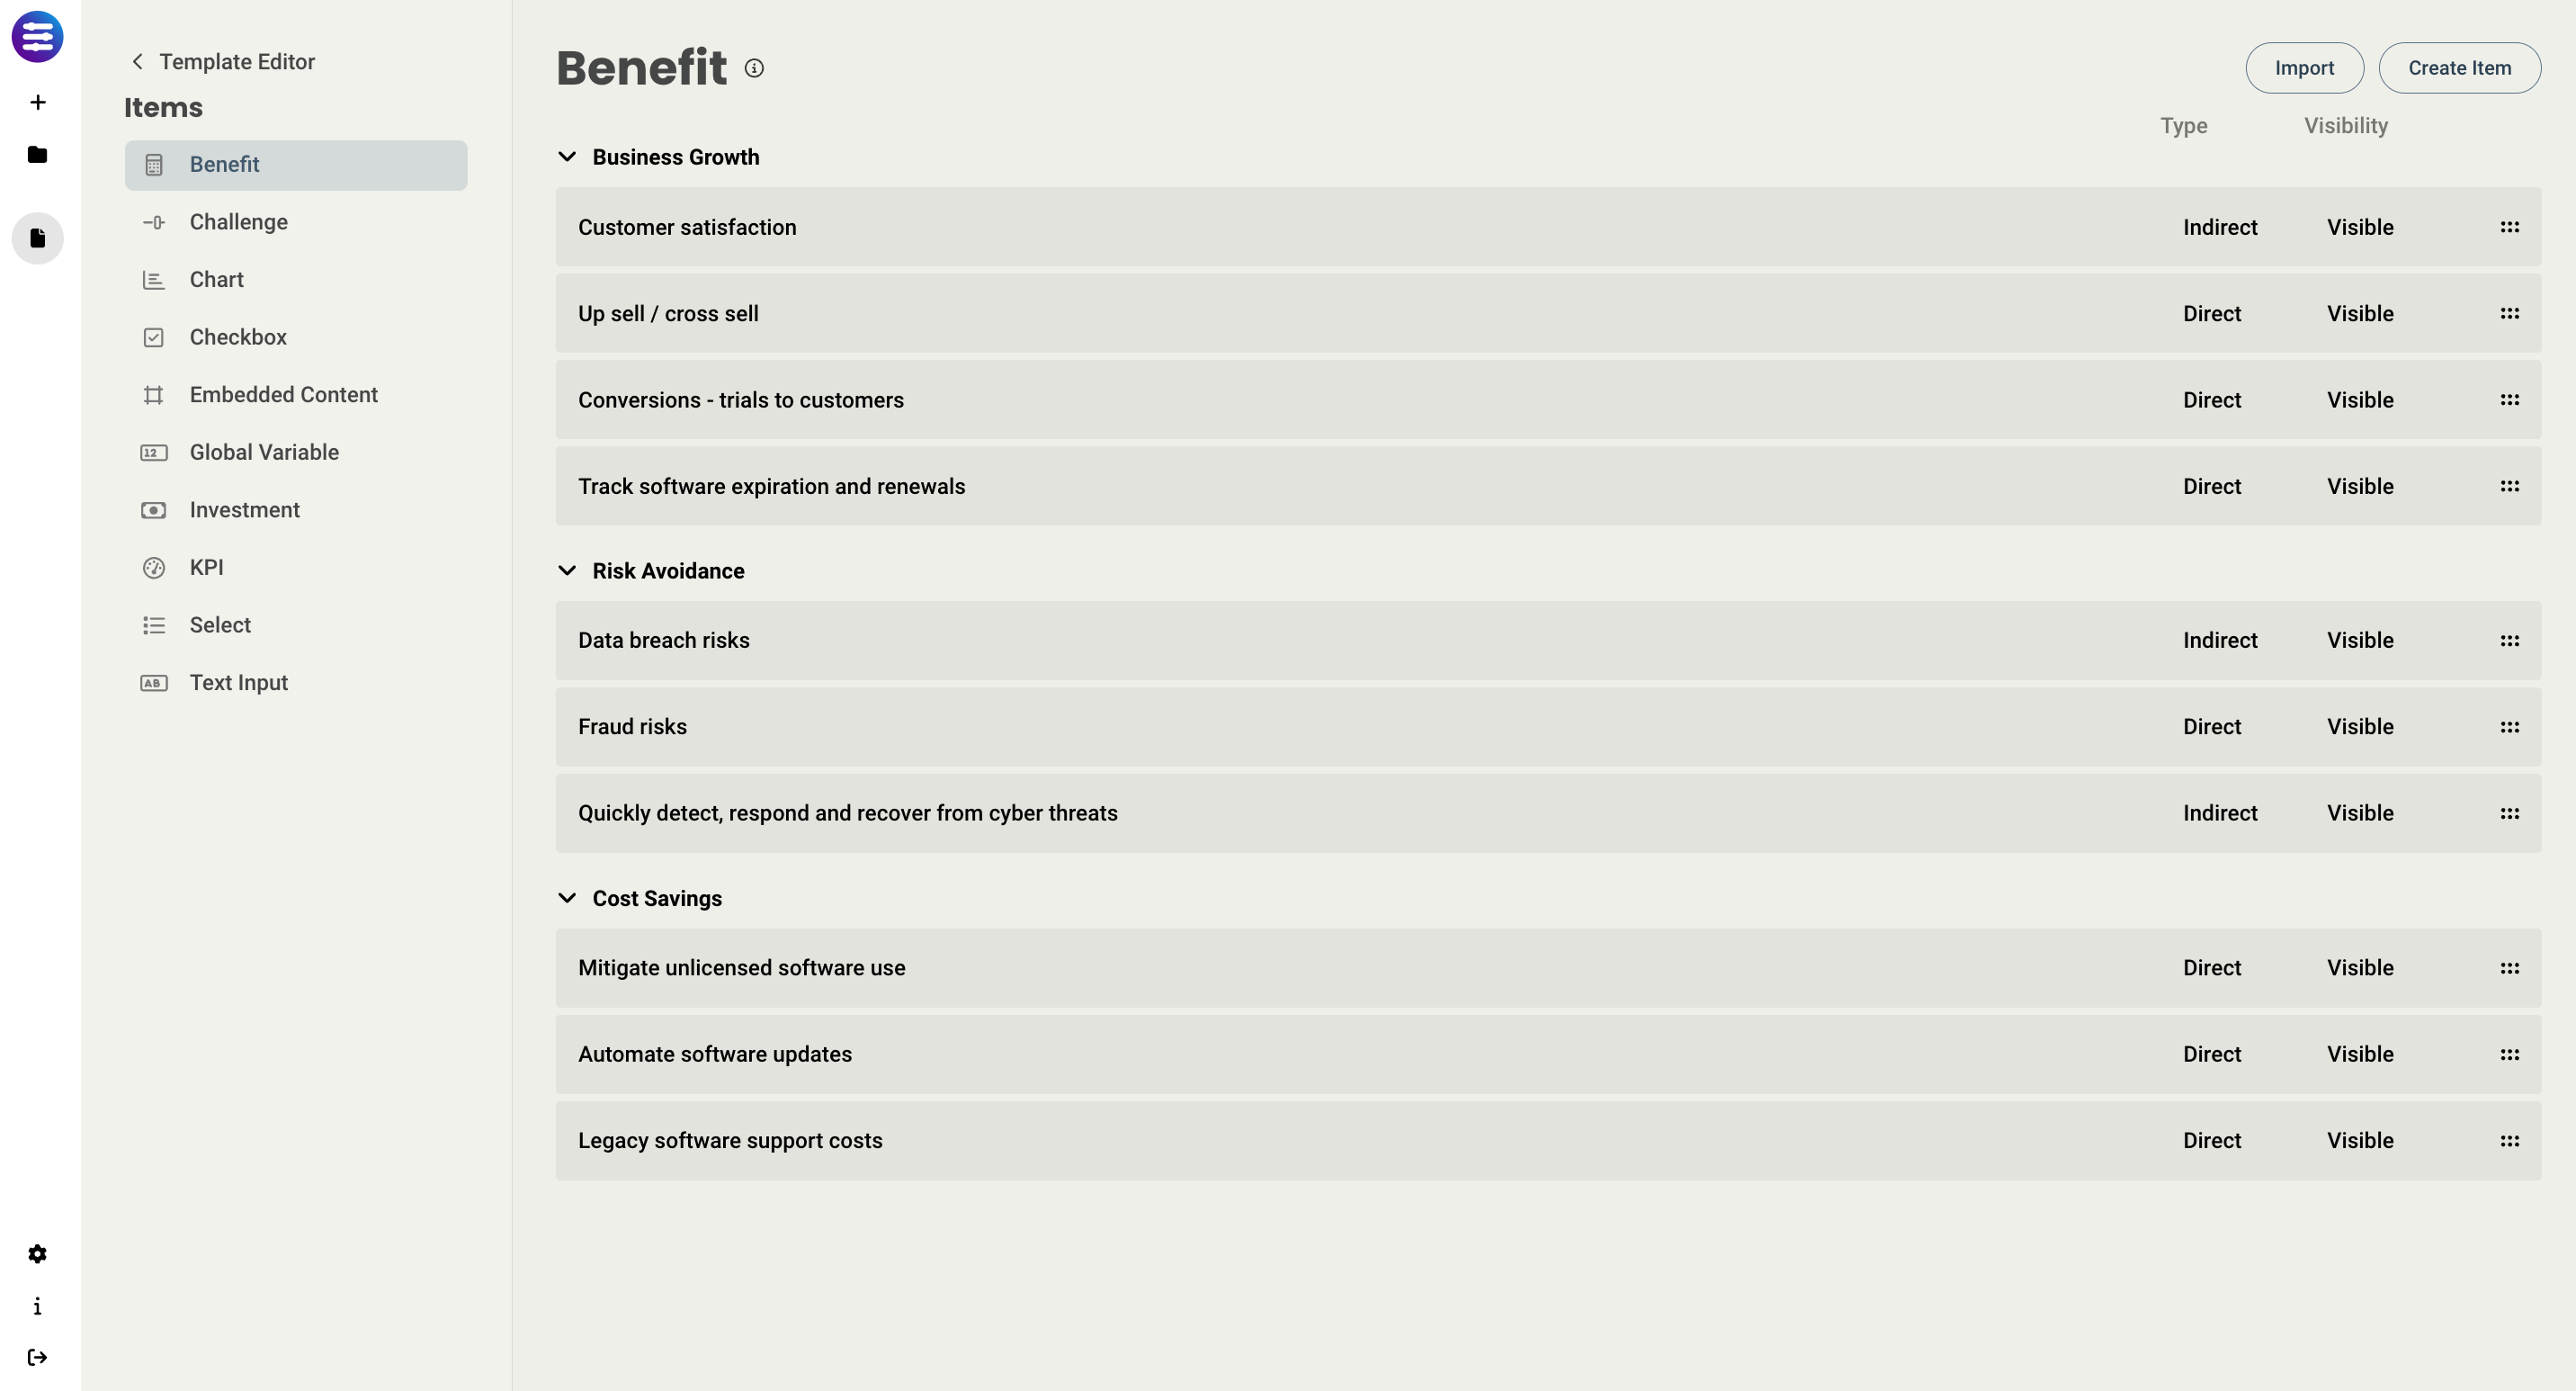
This article covers the basics of how different interactive elements, or items, are created and used. Items can be created and configured in two places - from the Items Library, and from any page. When working out of the Items library, you can select any item to edit it, or create new.
To create and edit items in the page editor, you first need to drag and drop an element from the left side panel onto a section. Once you select it, you can then create a brand new item, or link it to an existing item in your library.
Note - if you are running into issues with your items not displaying correctly or giving an error, make sure they are connected to an existing item, and have a label.
Once you select an item, you have a few tools available at the top of the screen (from left to right). These tools are available for all structural, static, and interactive elements (these will be discussed later in this article).
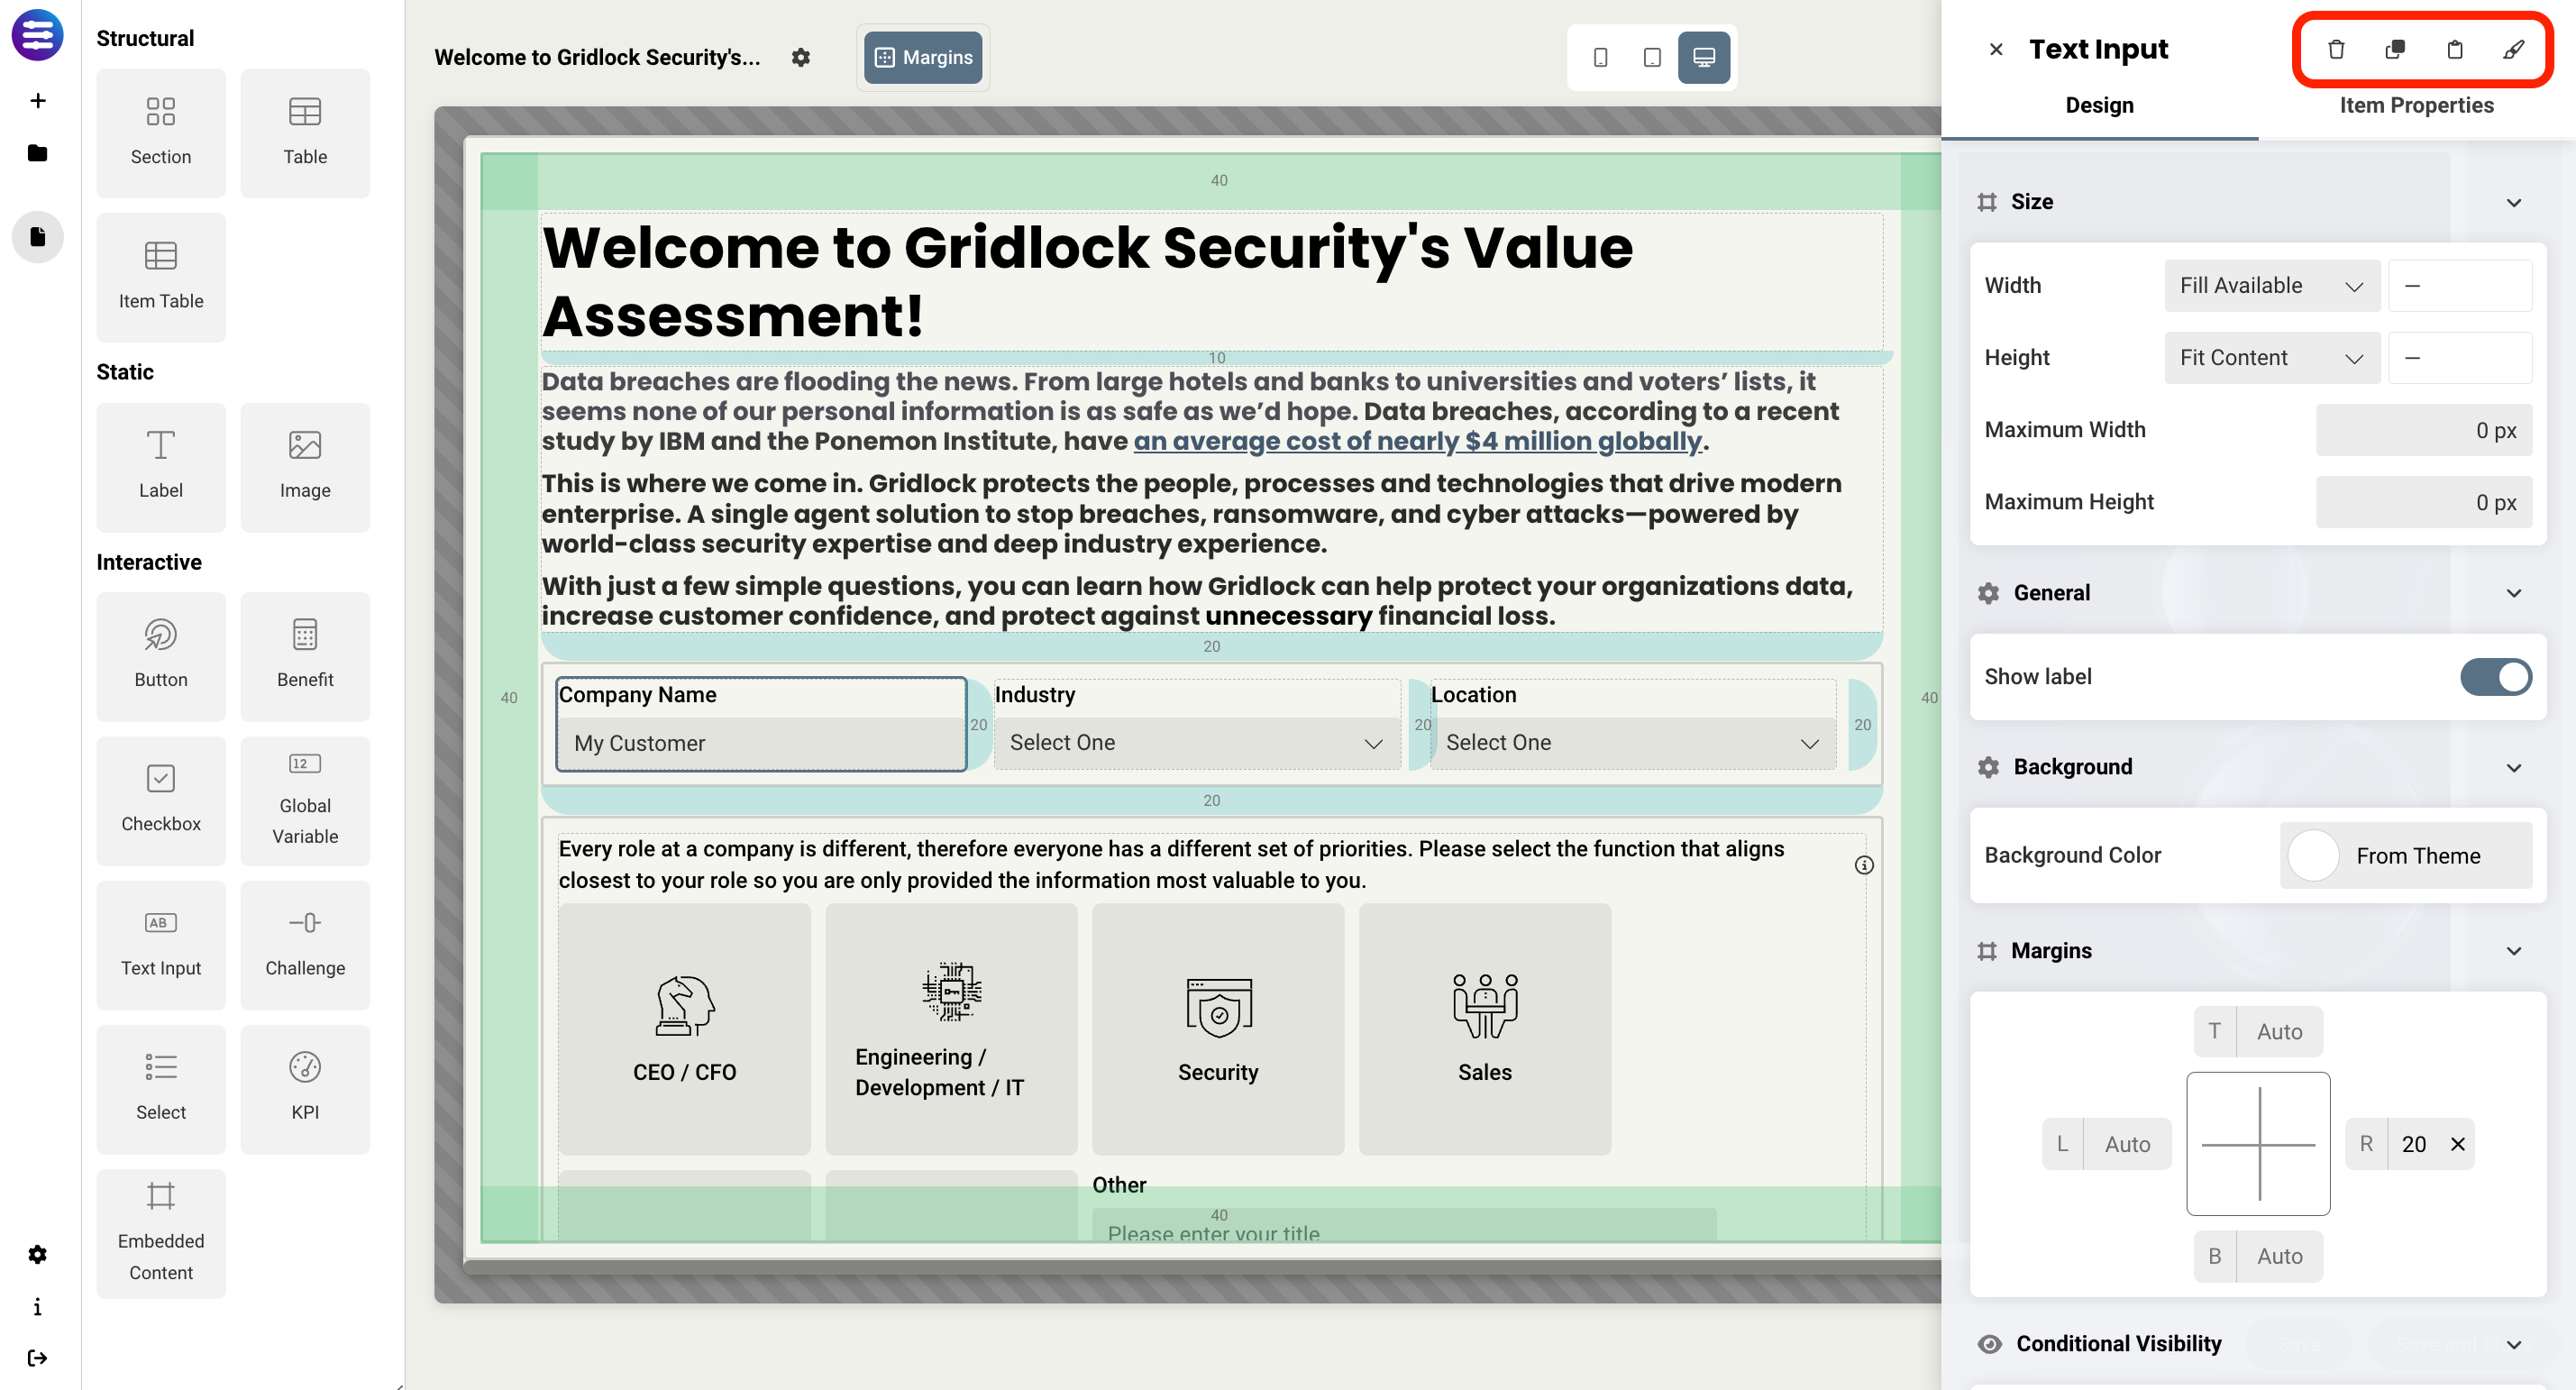
- Delete - this removes the element from the page
-
Clone - this creates a copy adjacent to the element that was selected
- Note - if your section width is not large enough to place the duplicate element adjacent to it's parent, it will automatically be placed below it until you either resize the section, or resize the element.
- Copy - this copies that element, allowing you to paste it somewhere else. Elements can be pasted on the same page, or on other pages, using the same button that was used to copy it.
-
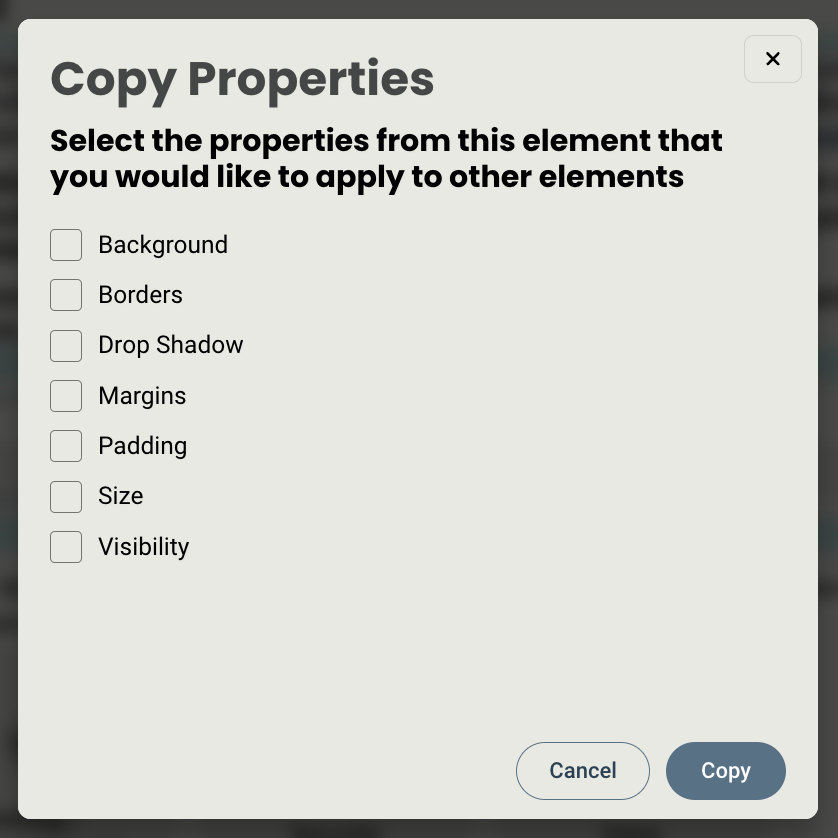
Properties - this allows you to copy any individual display property of that element so you can apply those properties to another similar element. For instance, if you spent some time formatting the borders and padding of a section, you could copy those properties and apply them to another section without having to redo the work. Available properties are:
- Background
- Borders
- Drop shadow
- Margins
- Padding
- Size
- Visibility
Display Style
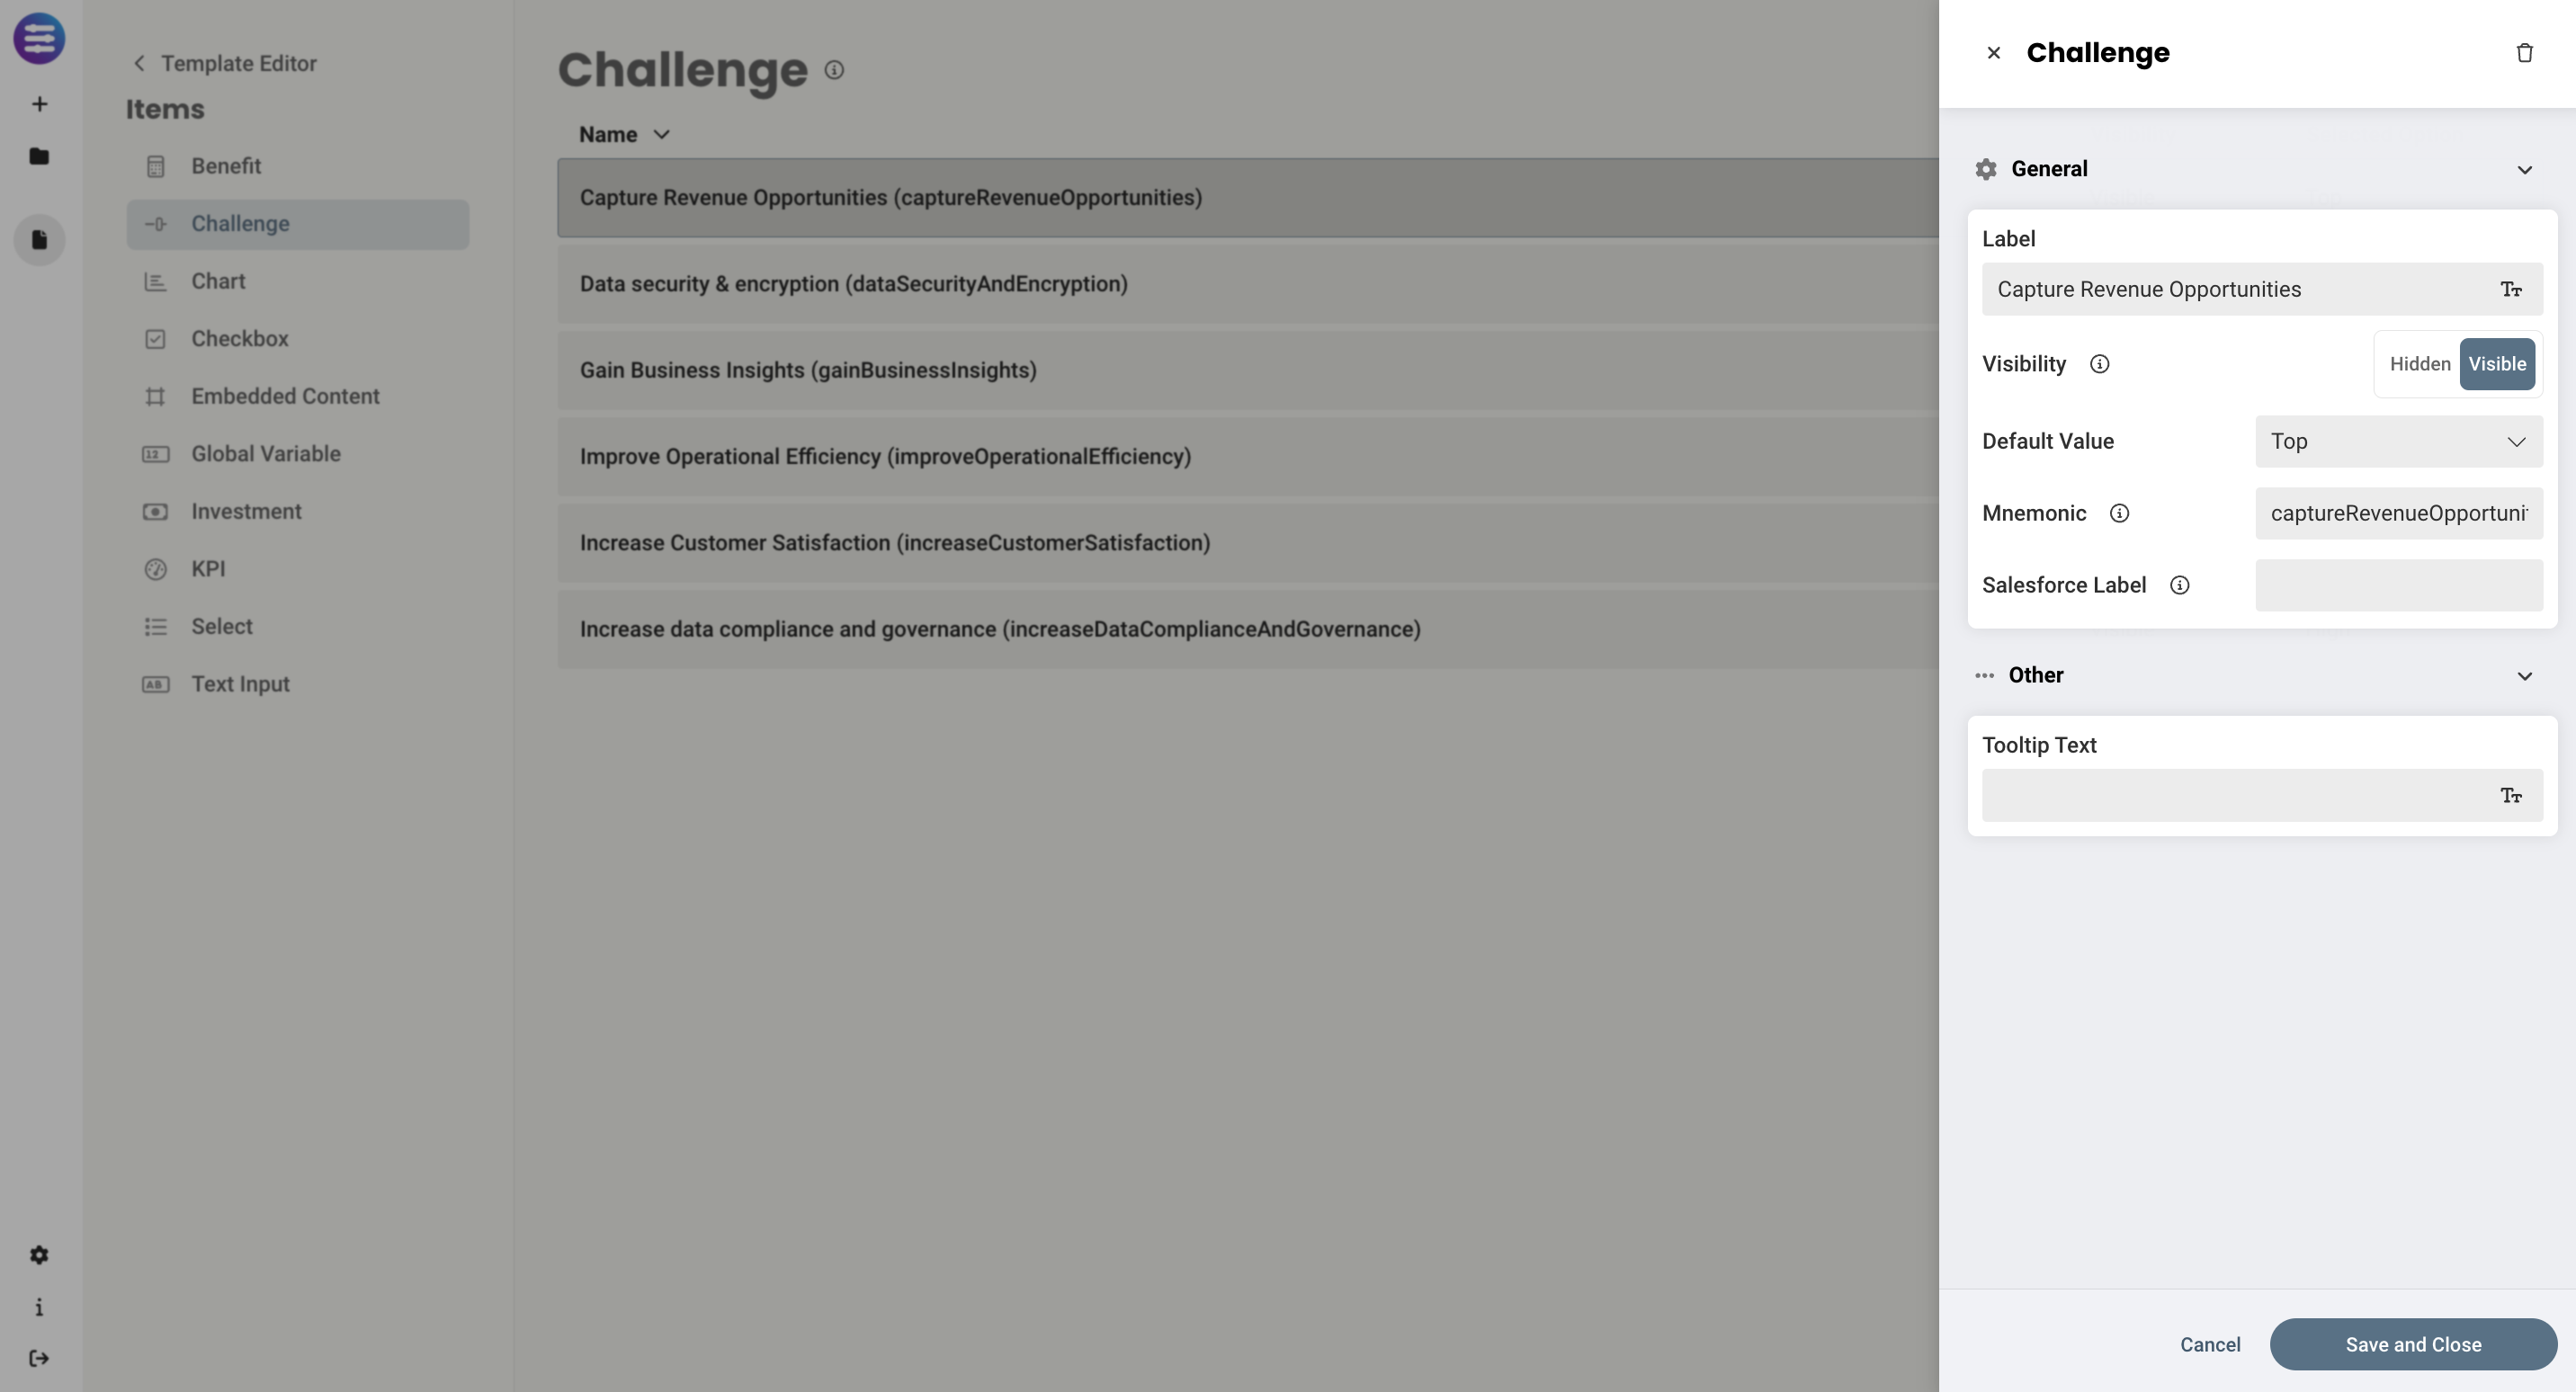
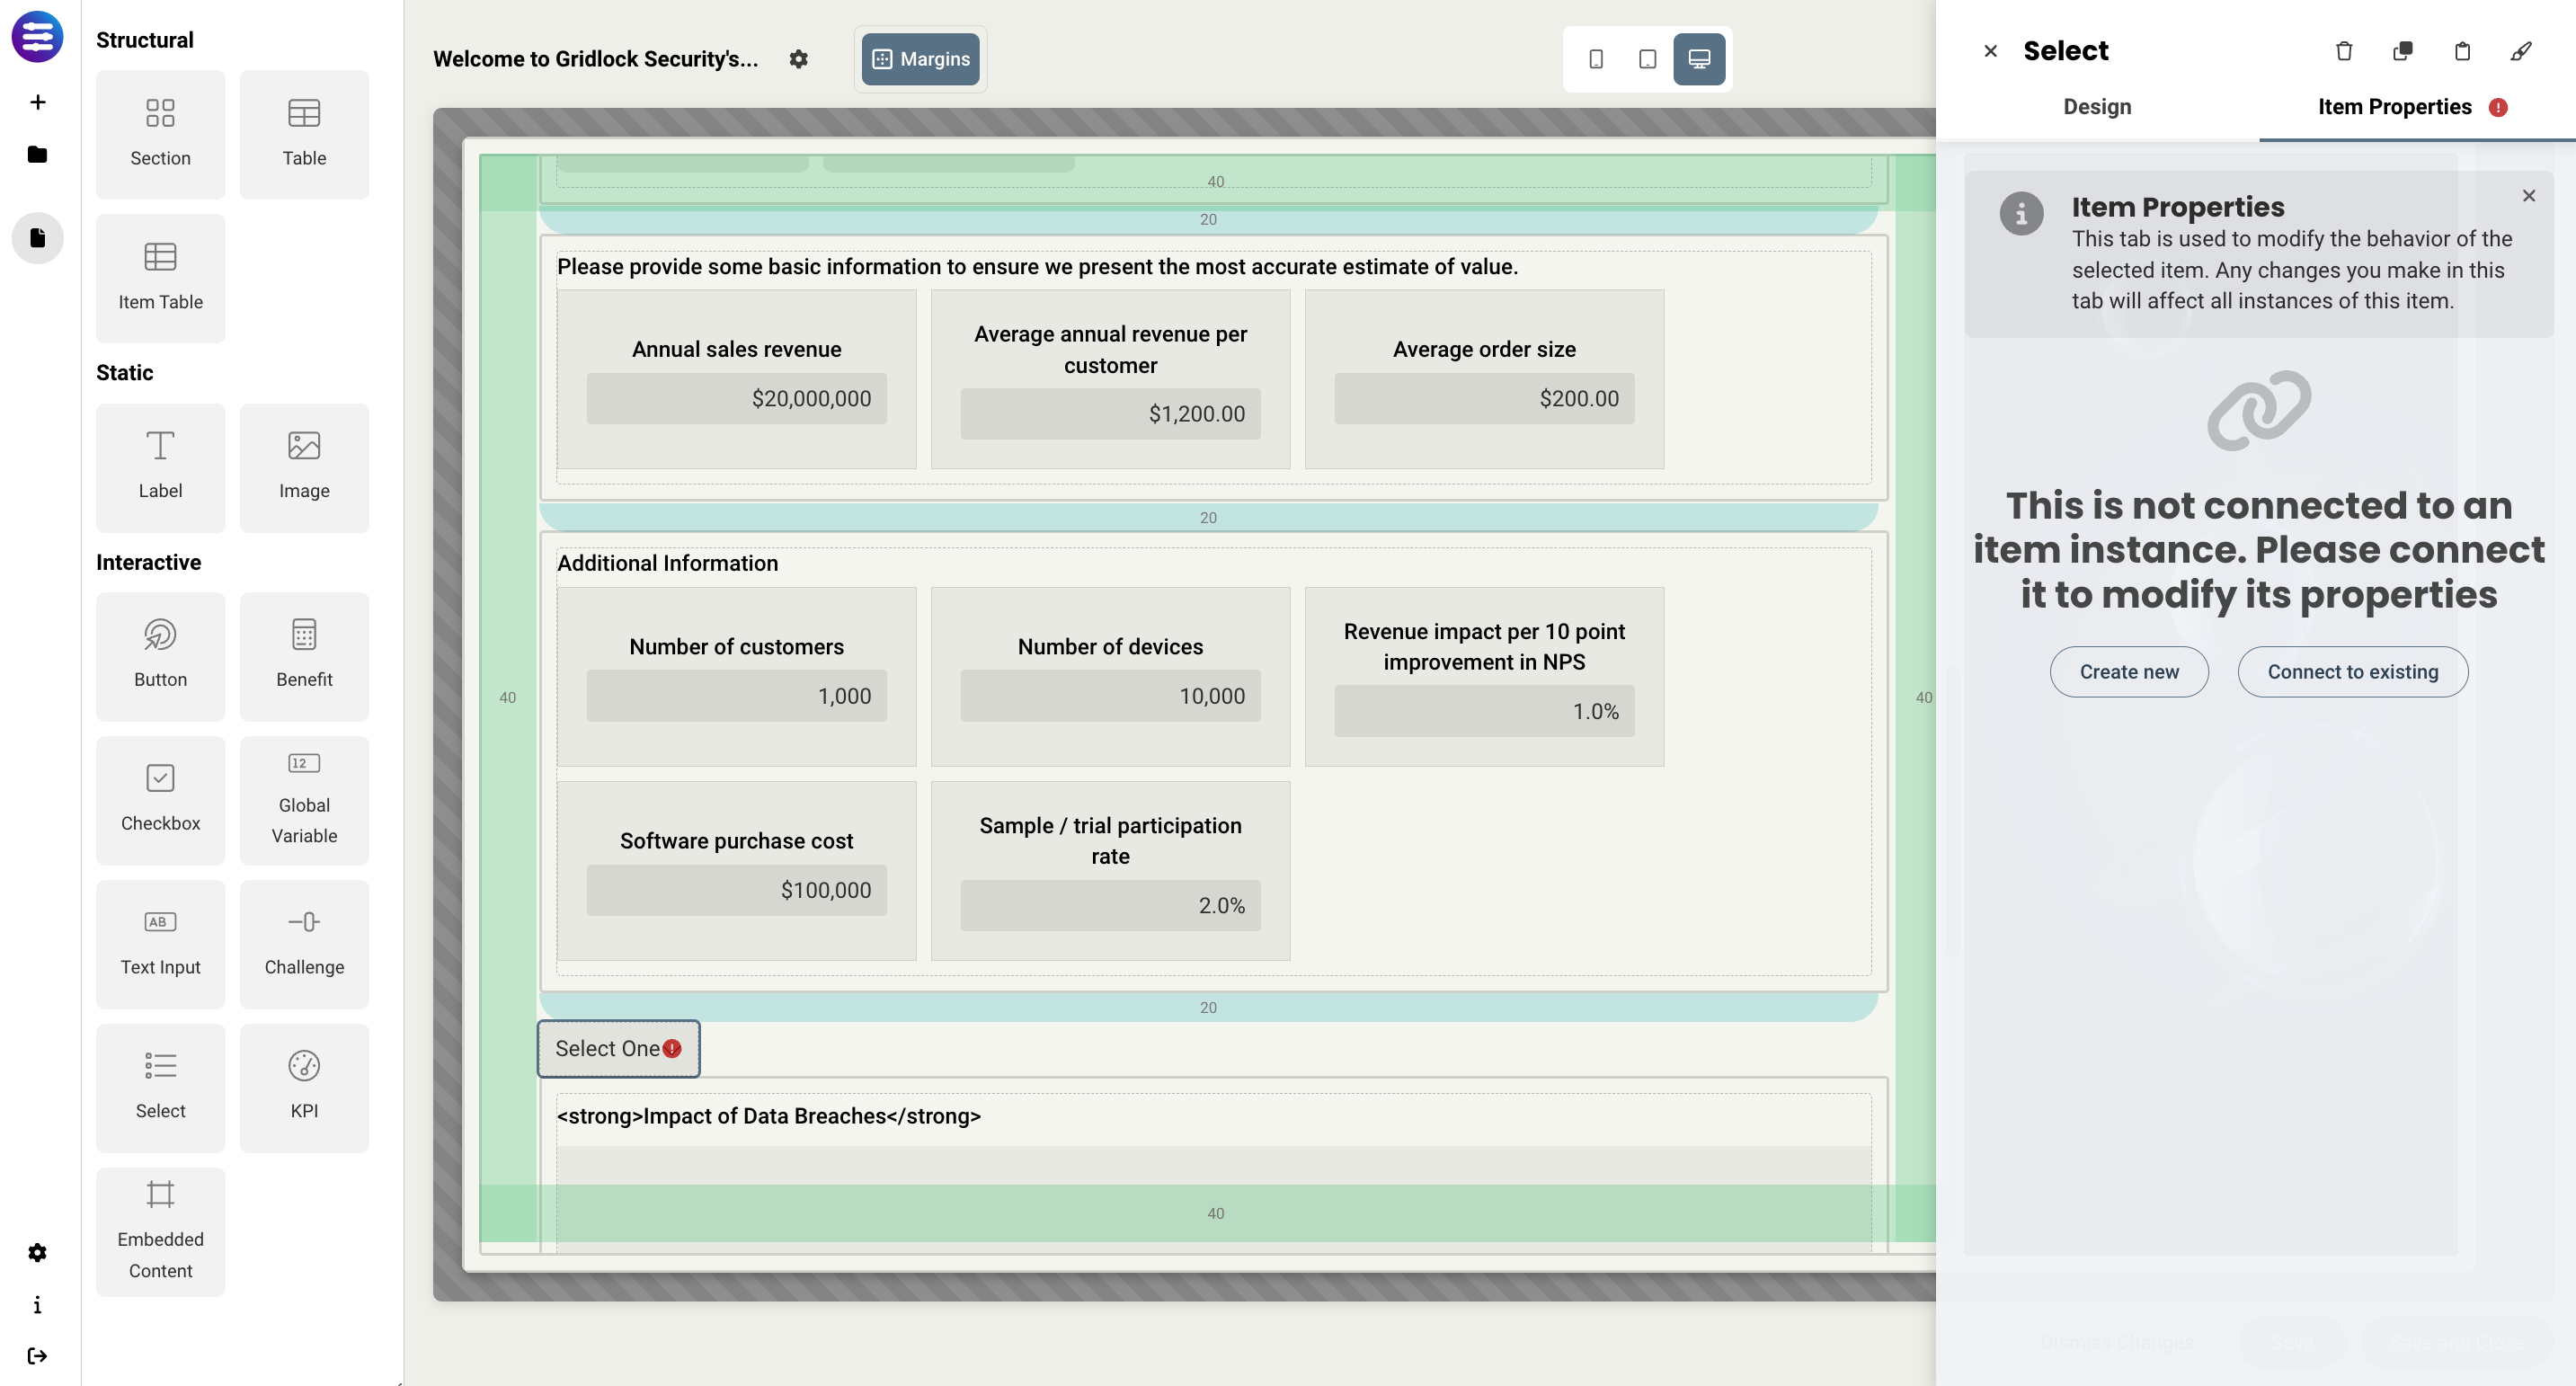
After items are added to a page, properties are split into two categories - Item Properties and Display Properties. These are accessed via the two tabs at the top of the editor panel for that item.

- Display properties control things like padding, size, and borders. This allows the same item to be displayed on different pages in different ways, allowing each to behave independently from one another.
- Item properties control the configuration of the item itself, such as setting the mnemonic for the item or whether or not it's visible on a mobile device.
There are a couple of items that have unique ways to be displayed. These include Checkboxes and Select. Explanations for how each is displayed can be found by reviewing the Checkboxes and Select articles.
Some things to note
- If you aren't seeing your item show up on a page, make sure the visibility of that item is set to Visible.
- Items in the Item Library cannot be duplicated or cloned, unless you clone an item on a page while in the page editor.
Organizing elements on a page
Elements can be arranged however you like on a page, but the three standard methods are Tables, Item Tables, and in sections.
Tables
Tables provide the most flexibility when adding structured information on a page, whether it be global variables or checkboxes. You can create any number of columns and rows, define size and format, and place any item into each cell. Here's an example:

Item Tables
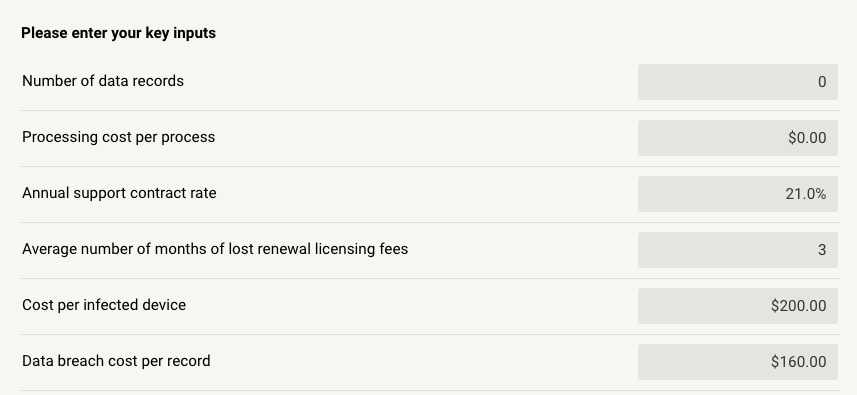
Item tables are the quickest way to add content to a page, but offer less flexibility than other methods. All you need to do is select your items and they are automatically added to the item table from top to bottom. This is ideal when you are looking for something quick and simple, and care less about the inputs being arranged in a specific way on the page. Here is an example:
For more information on using Tables, please see the Organizing data using tables and item tables article.
Sections
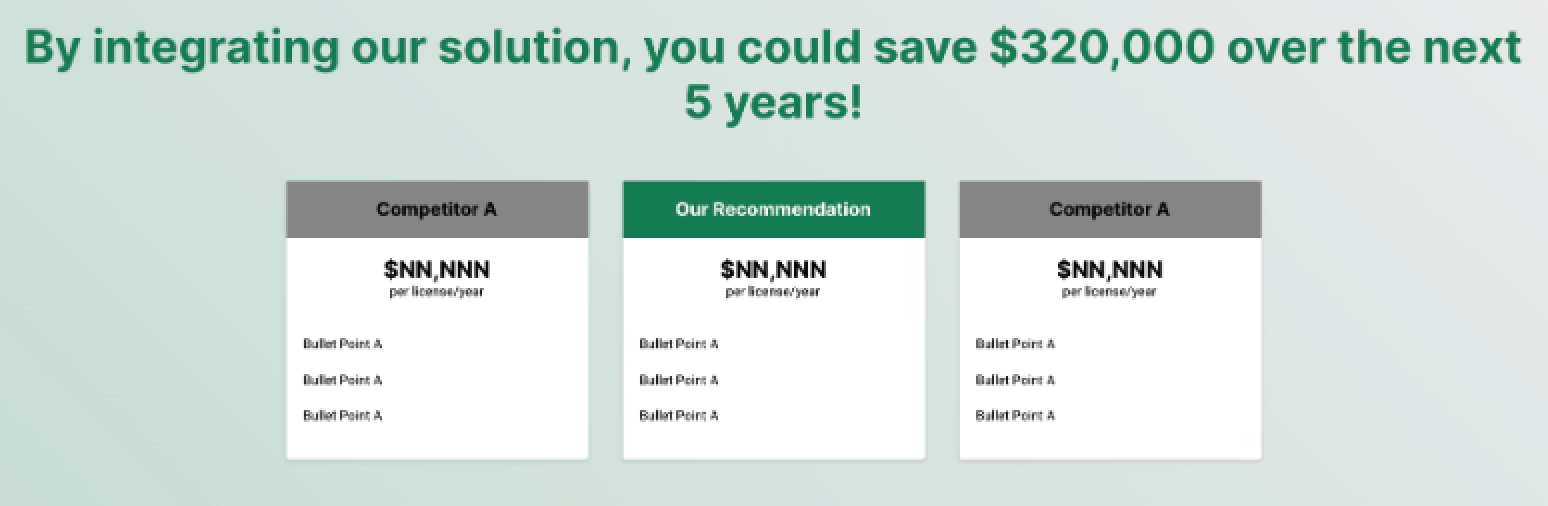
The last way that items can be arranged on a page is using sections. Sections offer the most flexibility and control since you can adjusts properties like size, color, and the exact position on the page. However, this also requires the most design effort as the sky is the limit in terms of what's possible. Here is an example:
For more information on sections, please see the Getting started with Design Studio article.
Replies have been locked on this page!