
Admin can set files as Templates for users to personalize. Use Templates when you have content that should follow brand guidelines but requires customization.
Keys to success
- Administrators can set items as Templates in Airship
- We suggest uploading your new item to My Items folder to keep them personal to you
Marking an item as a Template
Before using a file as a template for easy creation or modification of the file, users must mark an item as a template.
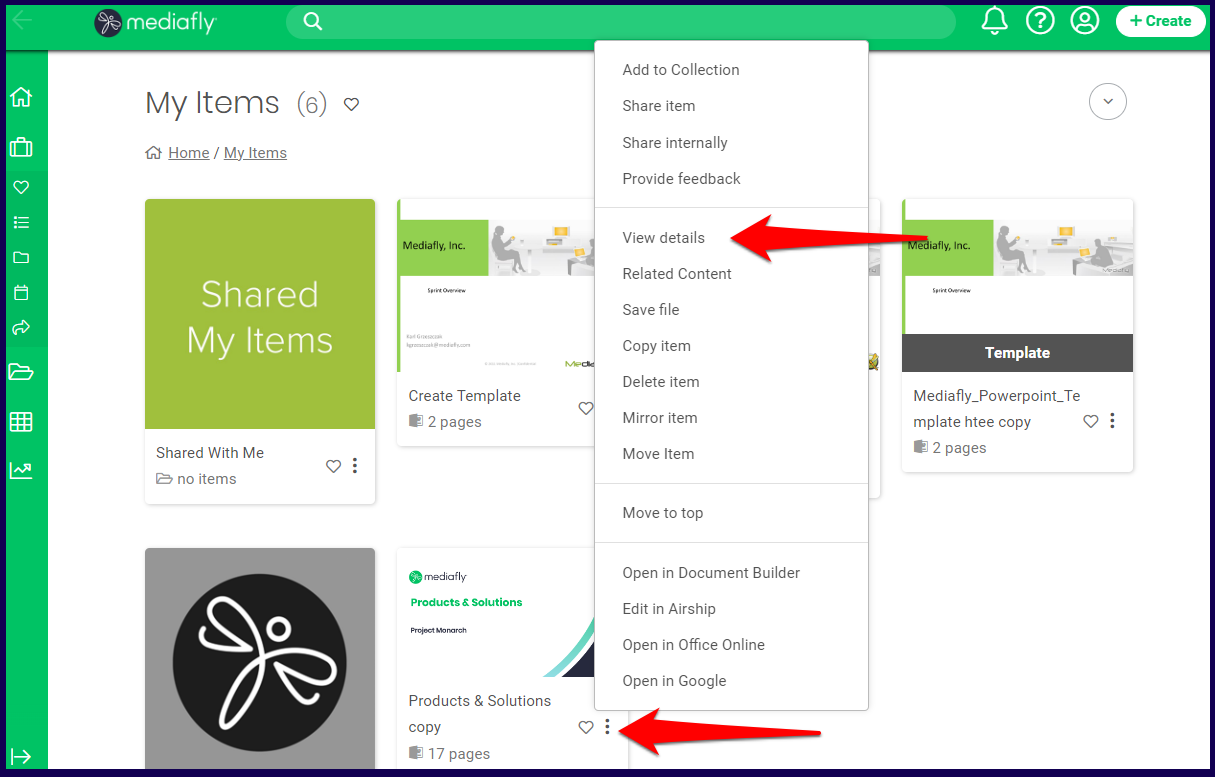
1. Access the file that you want to mark as a template and click on the three dots next to it. Select View Details.
Note: You may also edit the file properties and details if you click on Edit in Airship to access the Content Management page.
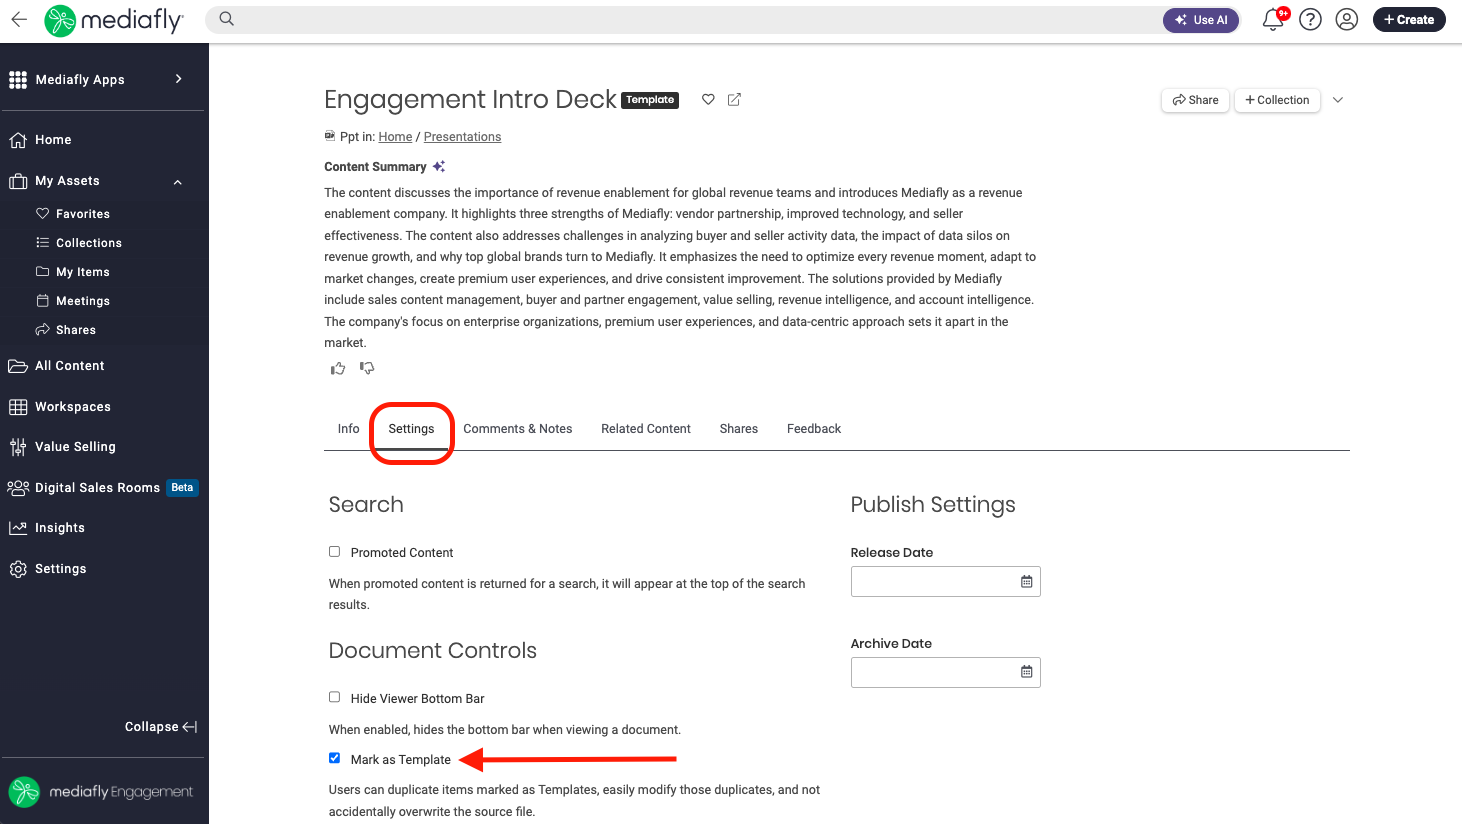
2. Click the Settings tab and in the Document Controls section, check the Mark as Template box and save the file. Click Save to apply the changes.
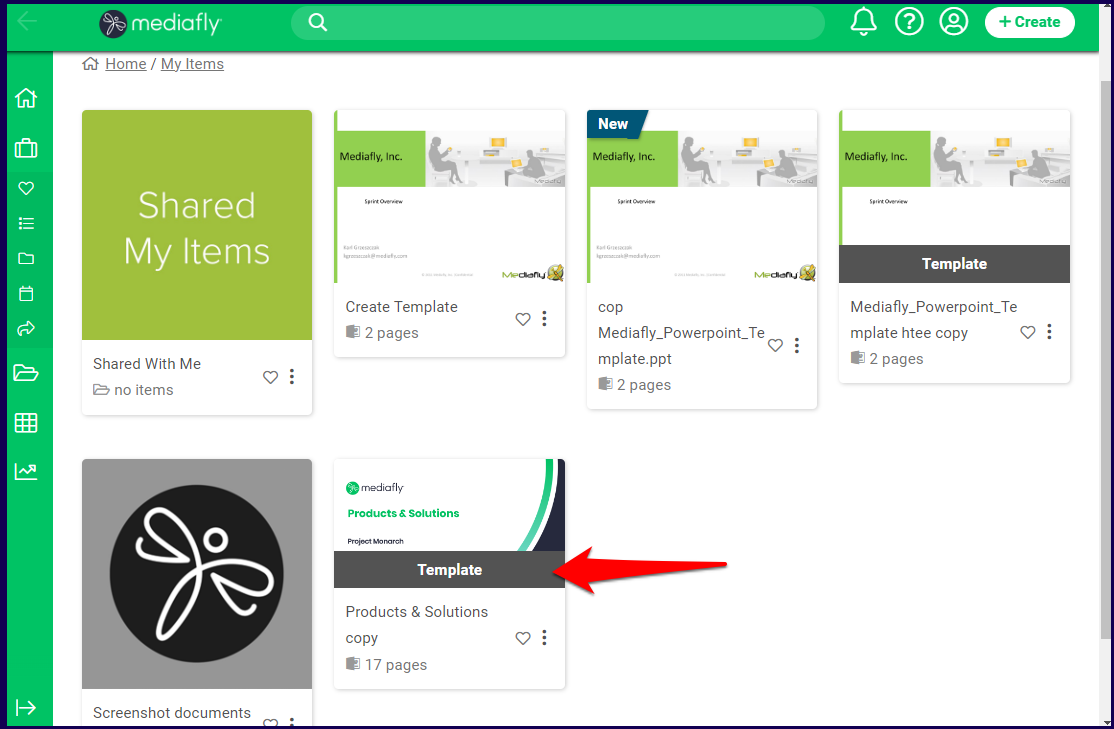
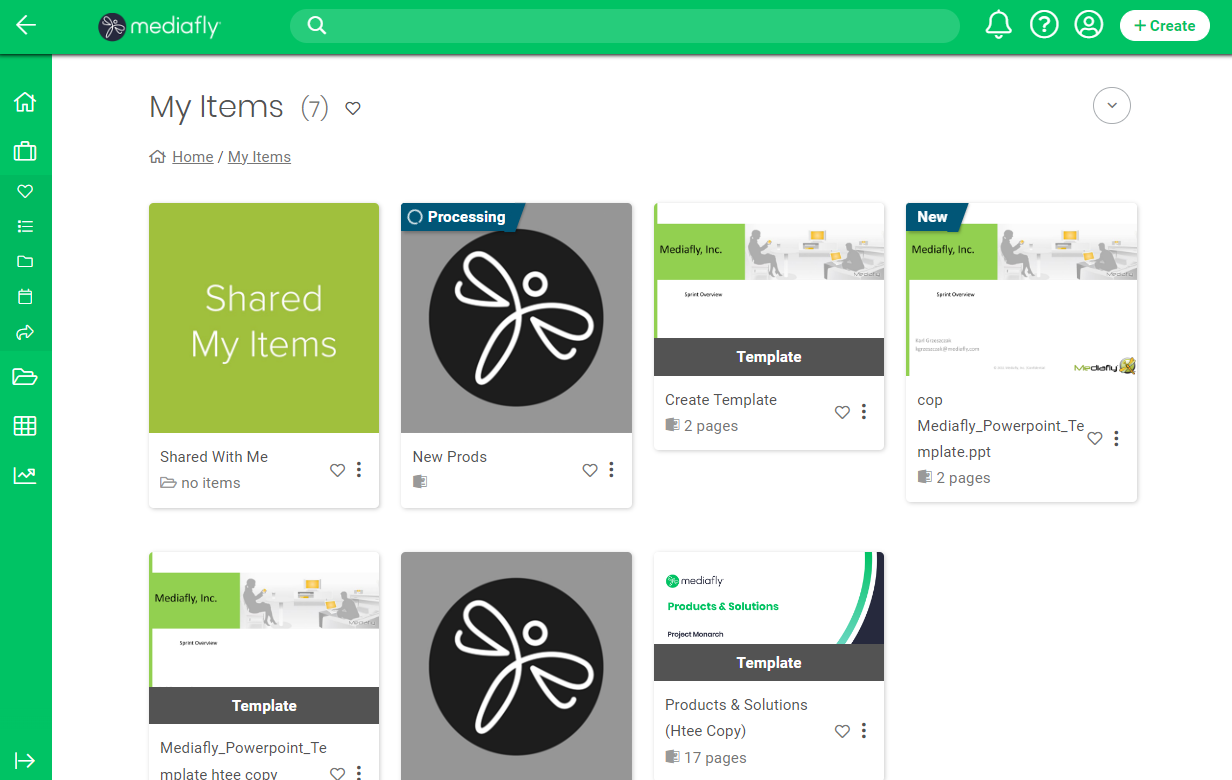
3. An item that has been marked as a template will have a specific template banner over it.
Creating a new file from Template
1. On the Mediafly page, click Create or the '+' sign then click on Item from template

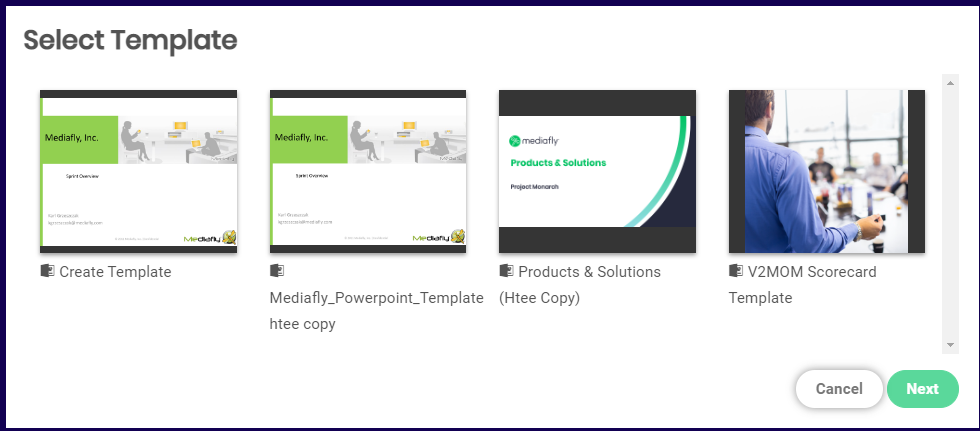
2. Items that have been marked as template are displayed, select the desired template.
3. A prompt to download the template appears. Click on the download button.
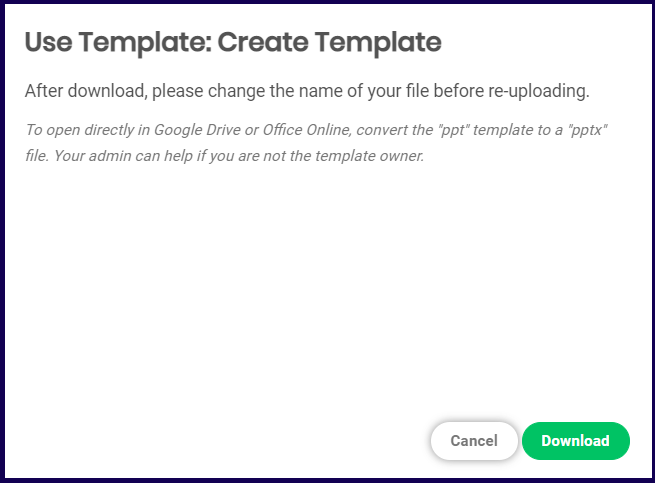
4. Template will download to your computer
5. Update the template on your computer then upload to the desired folder in Mediafly or your My Items folder.
Creating a New Template Using Create from Template
Using the Create from Template option allows you to choose a file in your My Items folder and immediately modify it. To create a template using Create from Template, do the following:
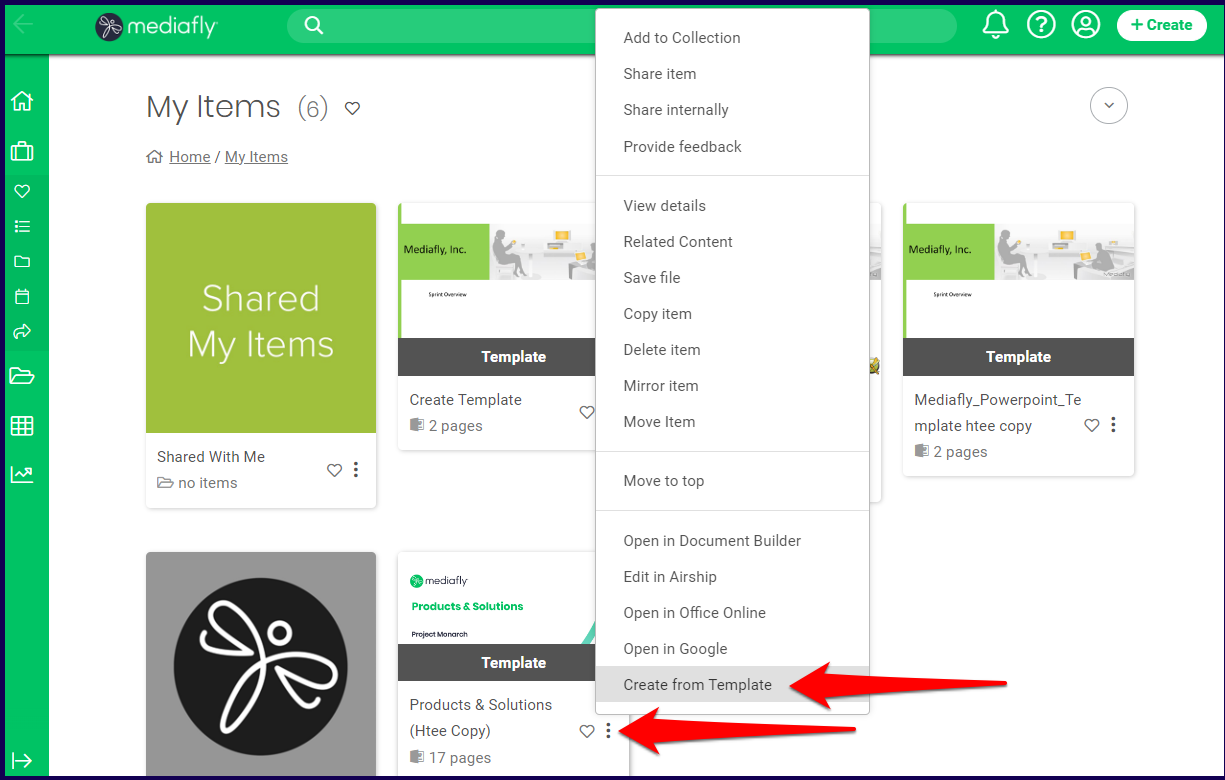
1. Navigate to the item that you want to use as a basis to make a template and click on the three dots next to it.
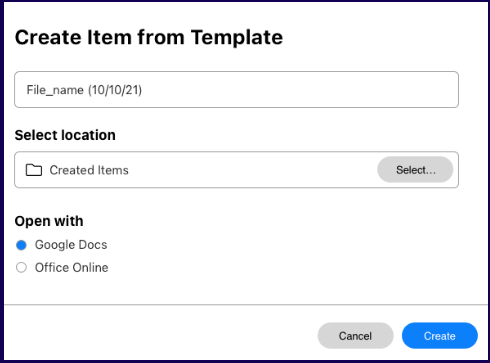
2. Specify the name of the new item to be created.
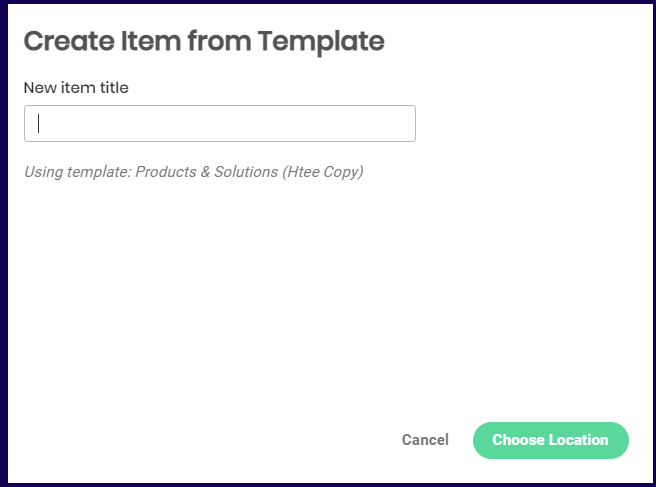
3. Specify which online program to use to edit the newly created template. Select the location where the newly created item will be saved.

4. The selected online presenter is displayed on a new window ready for editing.
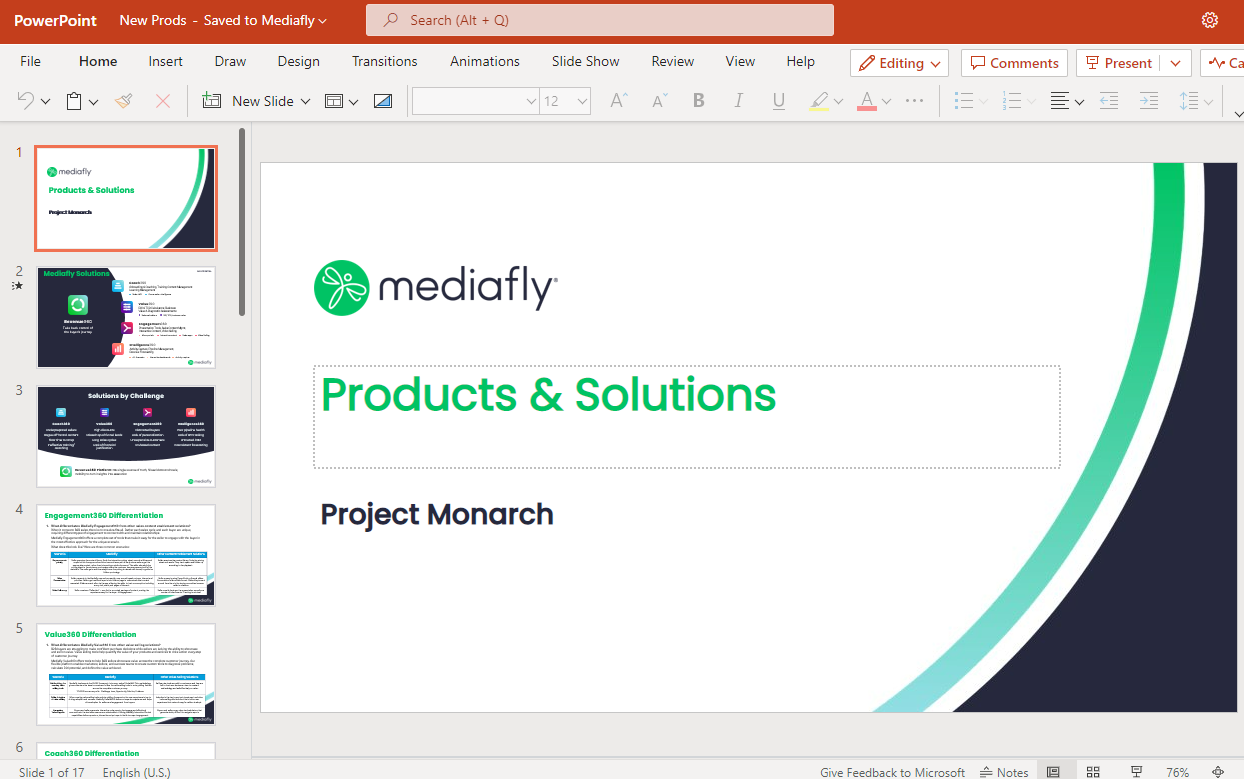
5. The new file is generated in the specified location.
Additional Information:
- Depending on your environment settings, the system folder, My Creations, will be the default location where all created templates are saved.
- Depending on your environment settings, the original template file that was used is deleted when a new template is created.
Replies have been locked on this page!