
Uploading content is one of the first tasks you will complete when setting up your Mediafly app. Content can be uploaded to Airship, our content management system. Content can also be uploaded directly inside viewer. In Airship, you can upload many types of files then organize and update them.
Uploading Through Airship
1. Log in to Airship
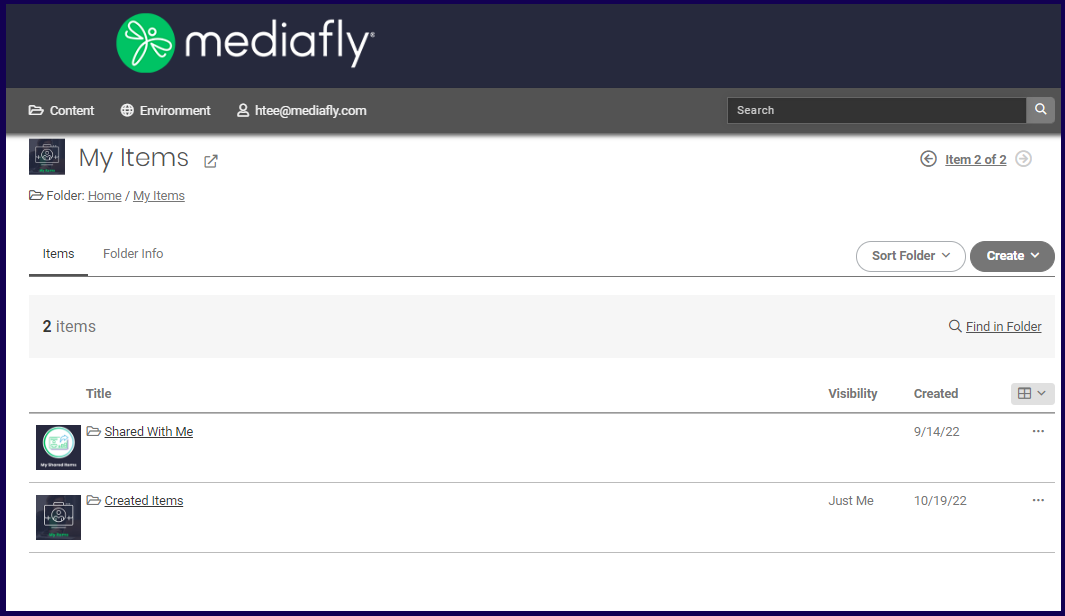
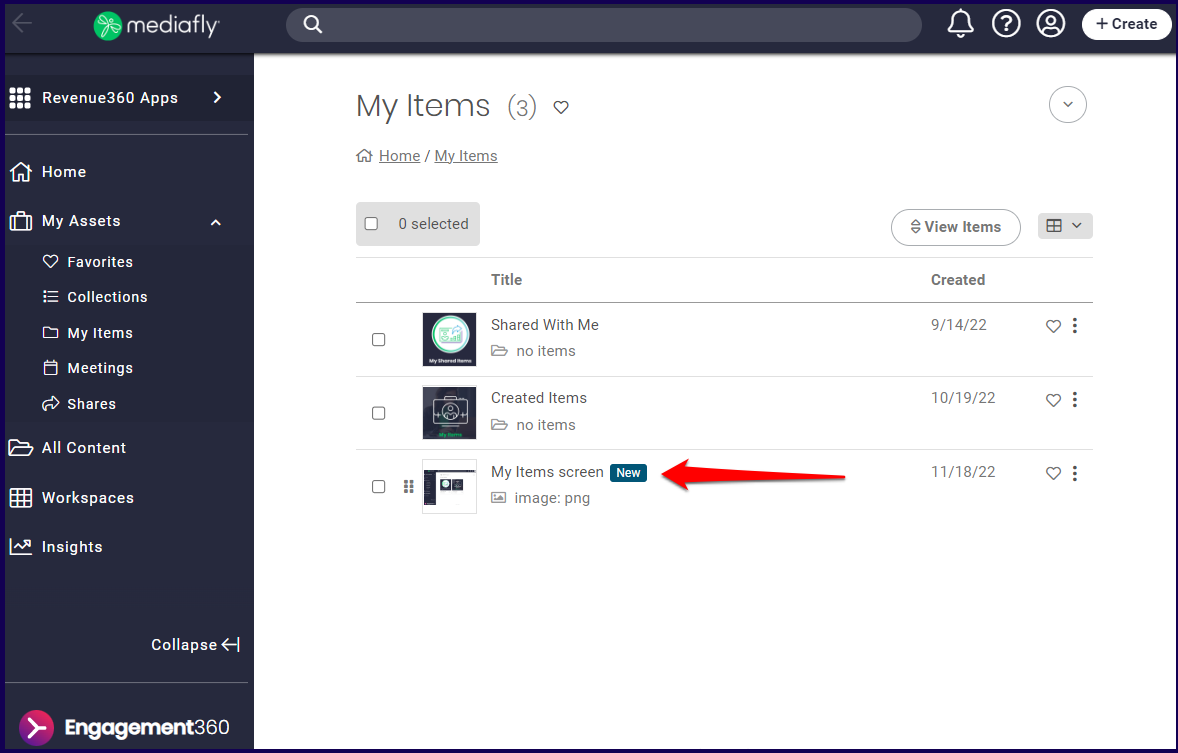
2. Navigate to the desired location to upload content or click Create. In this example, I am in the My Items folder.
3. Click Create and select your desired upload method.
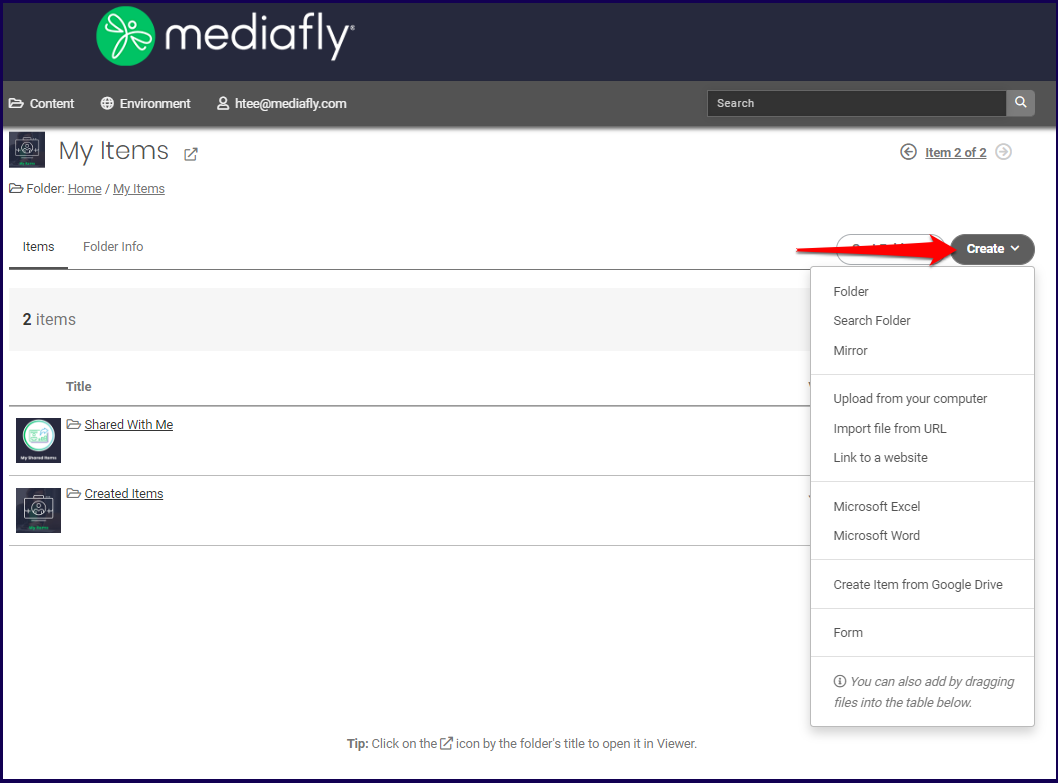
- Upload from your computer: use this option if the files are located on your computer
- Import file from URL: use this option if you want to import a file from a public webpage
- Link to website: use this option if you want to include a link to a website (i.e. company website)
- Microsoft Excel: use this option to create and upload a Microsoft Excel file.
- Pro Tip: If you want the Excel file to be read-only, protect the workgroup(s) and the worksheet(s) in Excel that you don't want users able to edit.
- Microsoft Word: use this option to create and upload a Microsoft Word file.
- Create item from Google Drive: use this option to upload an item from Google Drive.
Note: Google Slides documents may not correctly convert, which may result in incorrect or incomplete layouts when viewed in Mediafly. Click here to learn more about the possible limitations. - Alternatively, you can simply drag and drop content from your computer directly into a location
4. The files are automatically uploaded and will begin processing in Airship.
5. Once processing is complete, you can update any details and apply permissions.
Uploading Through Viewer
1. Log in to Viewer
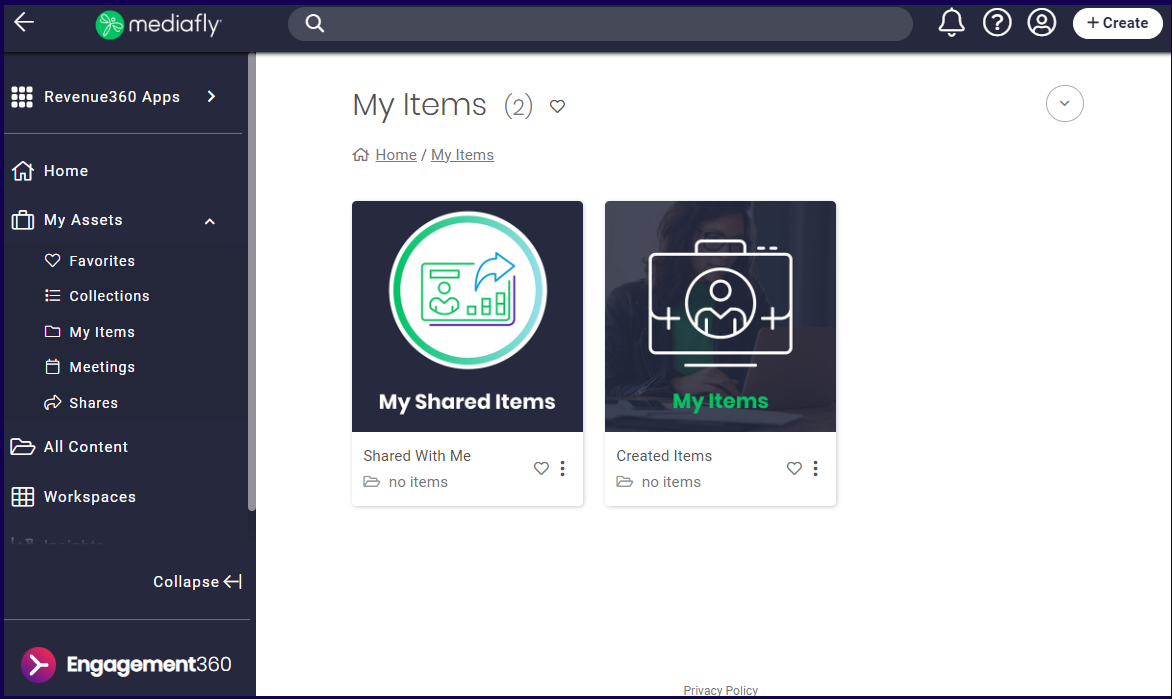
2. Navigate to the desired location to upload content or click Create. In this example, I am in the My Items folder.
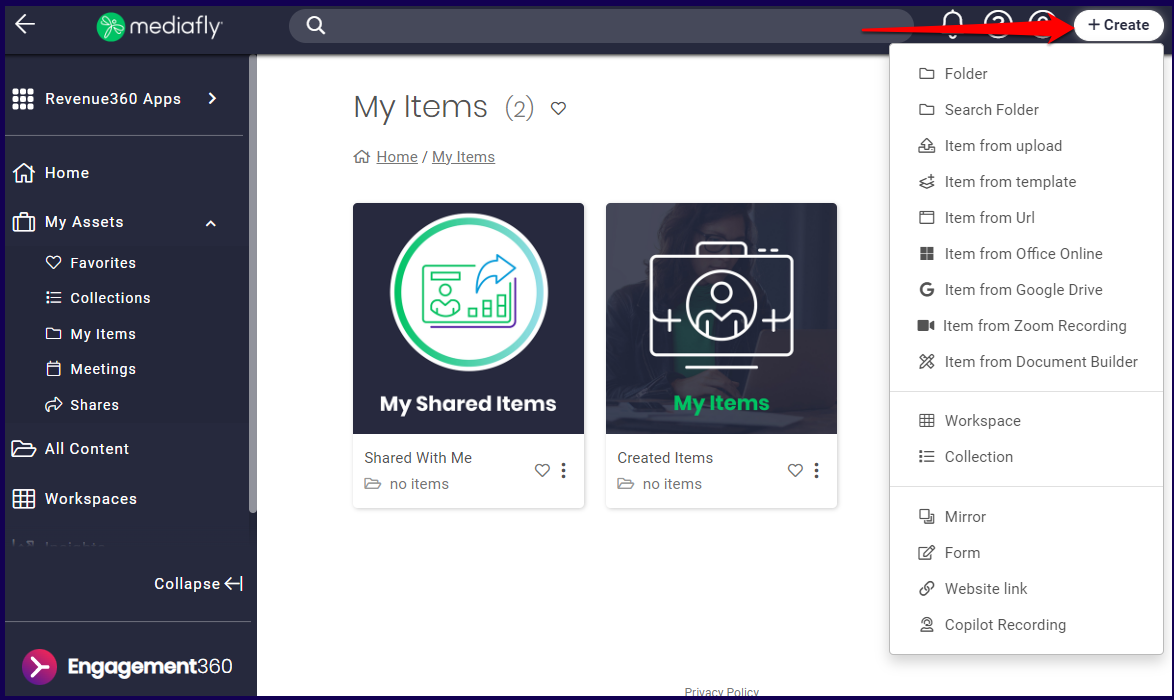
3. Click Create and select your desired upload method.
- Item from upload: use this option if the files are located on your computer
- Item from Template: use this option if you want to import a file when you have content that should follow brand guidelines but requires customization.
- Item from URL: use this option if you want to upload content, such as images, found on a website
- Item from Office Online: use this option to upload an item from Office Online
- Pro Tip: If you're working in Excel and you want the Excel file to be read-only, protect the workgroup(s) and the worksheet(s) in Excel that you don't want users able to edit.
- Create item from Google Drive: use this option to upload an item from Google Drive.
Note: Google Slides documents may not correctly convert, which may result in incorrect or incomplete layouts when viewed in Mediafly. Click here to learn more about the possible limitations. - Item from Document Builder: use this option to upload an item created through Document Builder
4. Files will automatically upload and begin processing in Viewer.
5. Once processing is complete, you can update any details and apply permissions
Note: A new flag is displayed whenever a content has been uploaded within two weeks.
Setting Upload Notifications
You can set your environment to send you email or app updates in your User Preference. See Configuring notifications and user preferences article for more information.
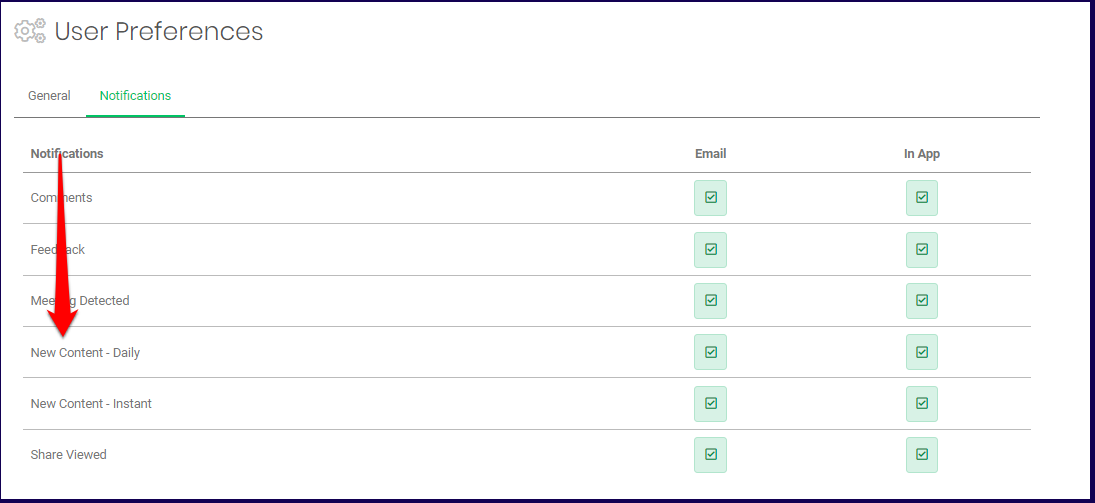
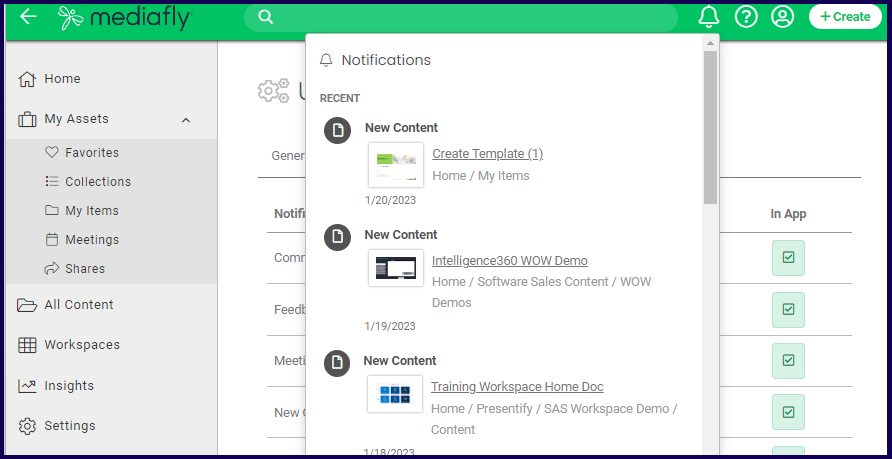
Once set, you will receive email or app notifications for new uploaded contents to be sent in a daily report, and/or for every upload instance.
Uploading Zip Files
You can upload Zip or compressed files in Mediafly just as you would upload any file. But you can also upload a Zip file which is automatically extracted into the environment.
To upload a Zip file that automatically extracts the contents once uploaded, rename the file extension of the Zip file to .mzip.
The following is an example of uploading a .mzip file. Imitate the following steps:
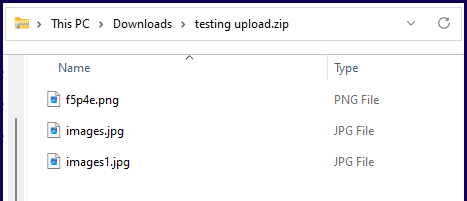
1. Create a .zip file with your desired items and documents to upload. In this example, I created a .zip file with three image items,
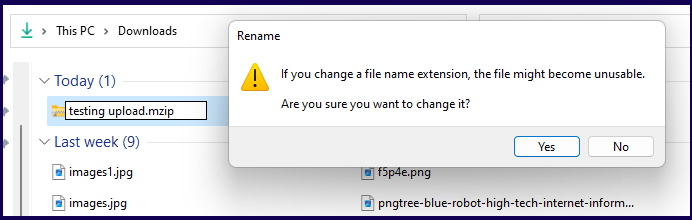
2. Rename the file extension to from .zip to .mzip according to the available processes of your device. In this example, I am using a Windows 10 operating systems and applied the necessary steps to correctly update the file extension.
Note for Mac users: When you rename a file in Finder, you are not really changing the extension of the file - make the change from the shell and ensure there is really an "mzip" as the extension.
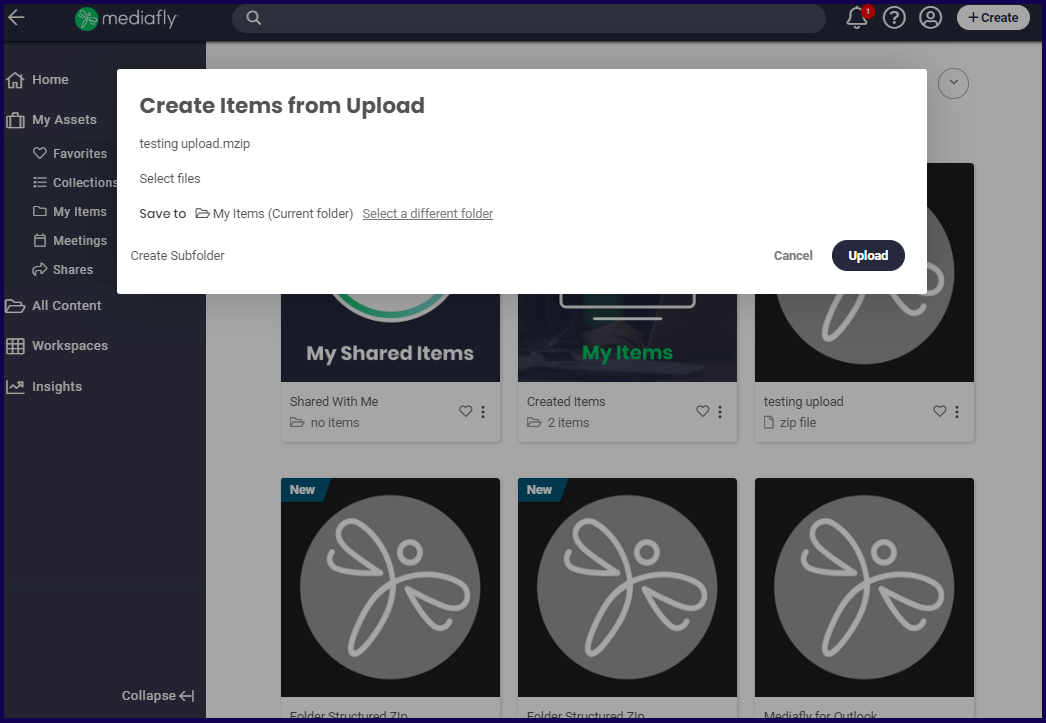
3. Upload the file into the workspace. Wait for the item to be uploaded.
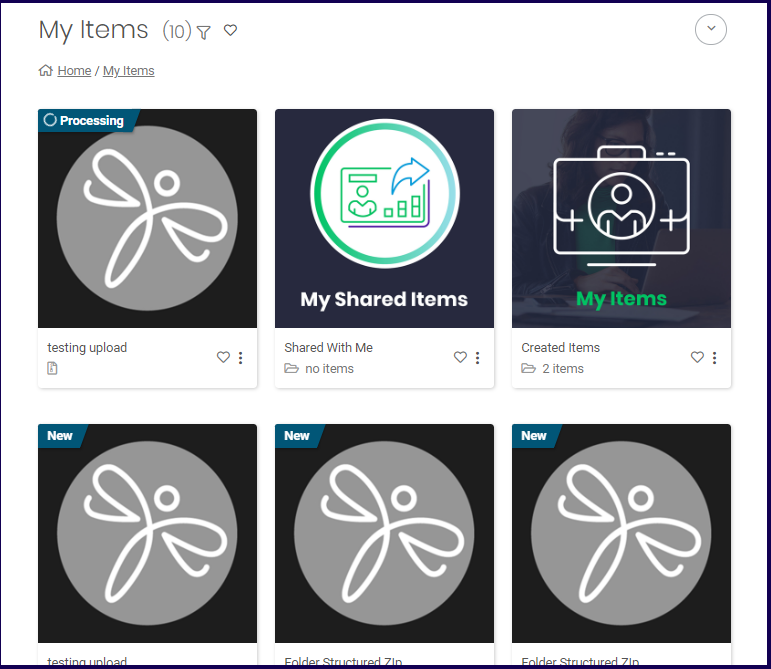
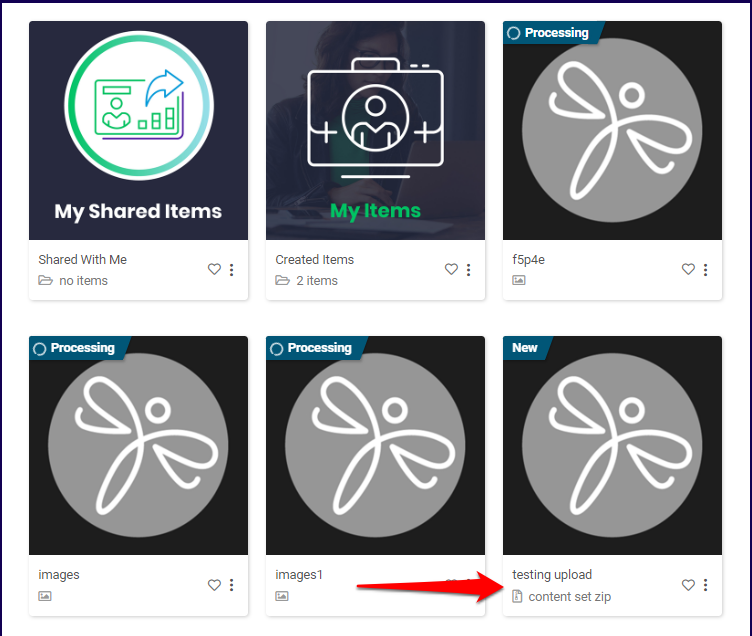
4. Once uploaded, the files inside the .mzip file are also processed into the system. The uploaded .mzip file displays a new caption under the title to indicate that it is a content set zip file. The files inside the .mzip file are also extracted into the system. In this example, the compressed files, are being processed after the .mzip file was uploaded.
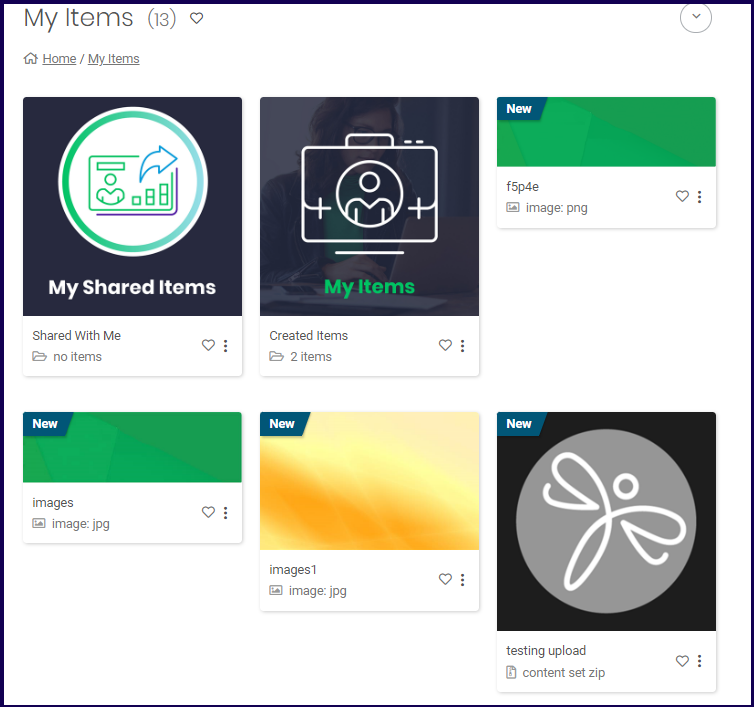
5. Once fully processed, the items are displayed as they would when uploaded into the environment.
Note: Once the items inside the .mzip file has been processed, deleting the original .zip file will not delete the other items. All items extracted are treated as separate entities.
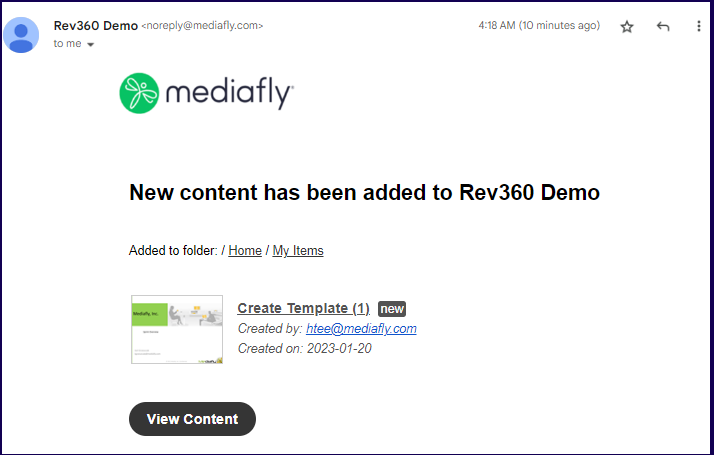
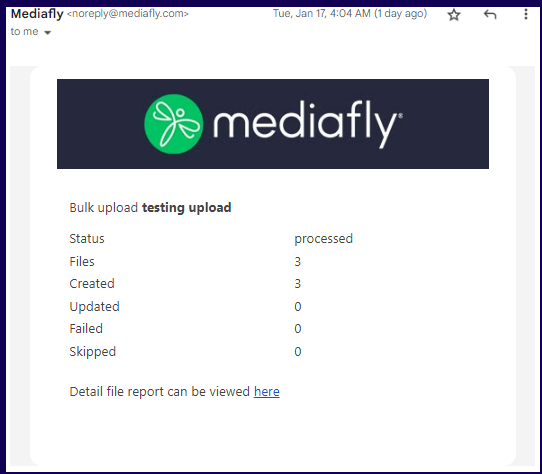
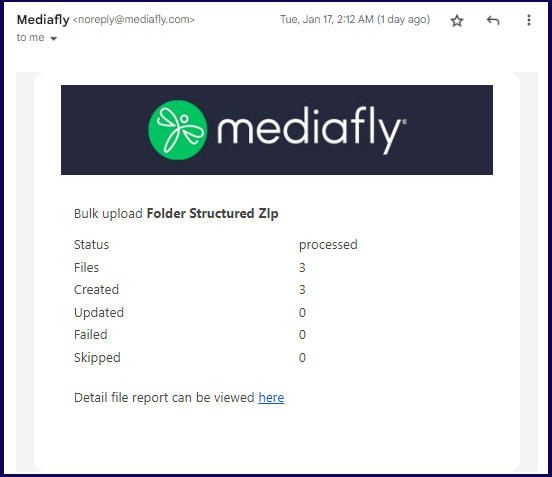
Note: Once a zip file has been uploaded and the New Content notification setting is enabled, a notification is sent to the registered email of the logged user.
Uploading Zip files with Folder Structure
It is also possible to upload Zip files with a specific folder structure that, once uploaded into the Mediafly environment, will be extracted with the original folder structure.
Here's how you can upload a folder, compressed and converted into an .mzip file.
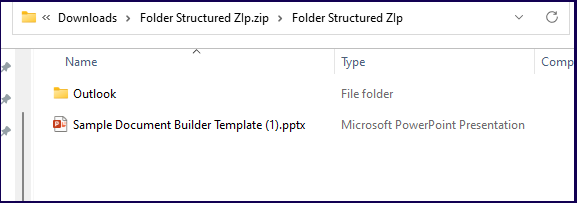
1. Create a .zip file with your desired items and documents to upload. In this example, I created a .zip file from a folder with a subfolder and several items.
2. Rename the file extension to from .zip to .mzip according to the available processes of your device. In this example, I am using a Windows 10 operating systems and applied the necessary steps to correctly update the file extension.
Note for Mac users: When you rename a file in Finder, you are not really changing the extension of the file - make the change from the shell and ensure there is really an "mzip" as the extension.

3. Upload the file into the workspace. Wait for the item to be uploaded.
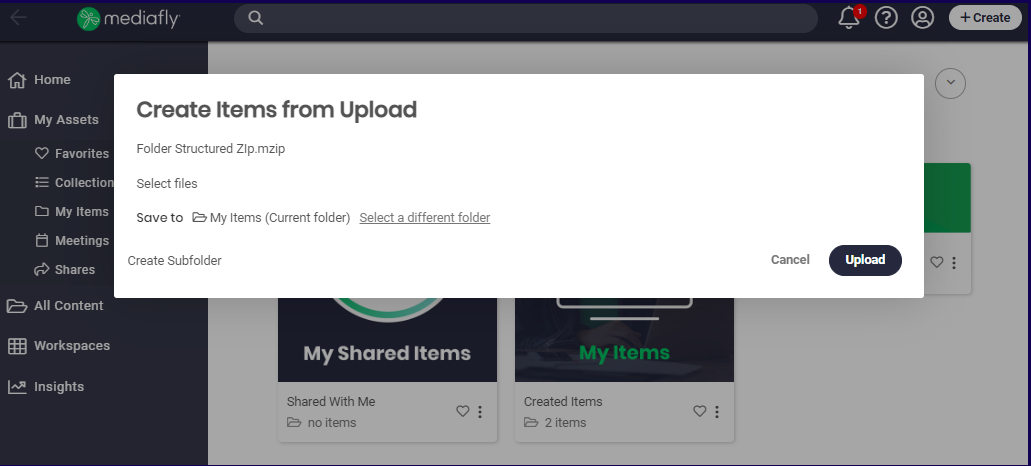
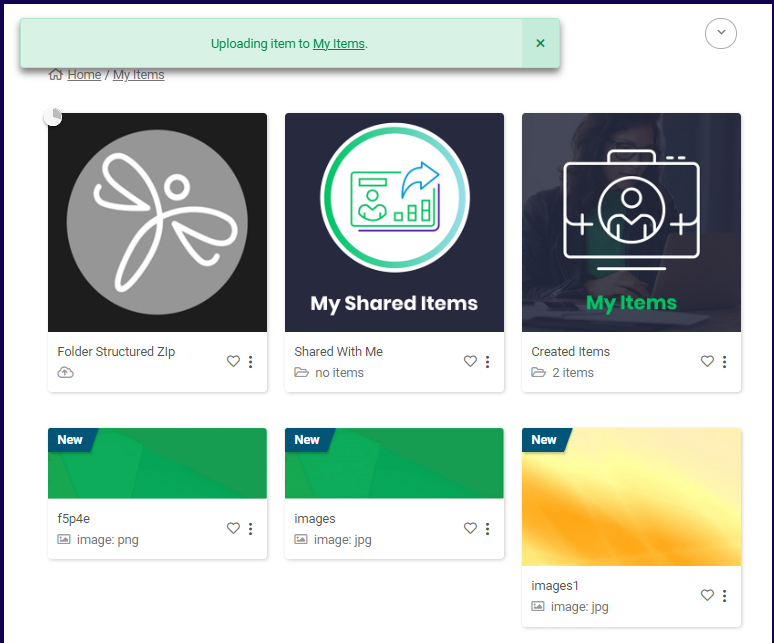
4. Once uploaded, the files inside the .mzip file are also processed into the system. The uploaded .mzip file displays a new caption under the title to indicate that it is a content set zip file. The folders inside the .mzip file are also extracted into the system creating a new folder. In this example, the folder is being processed after the .mzip file was uploaded.
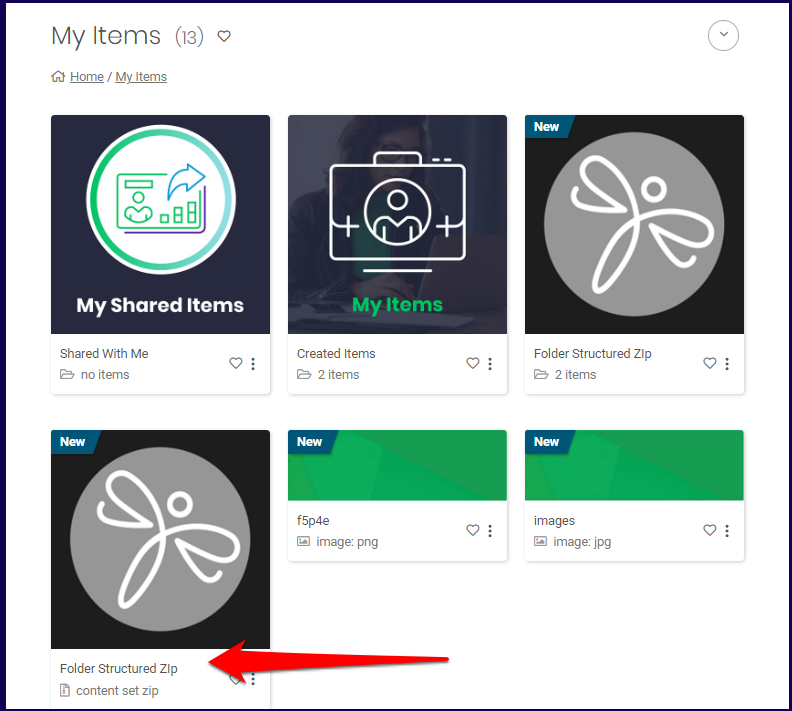
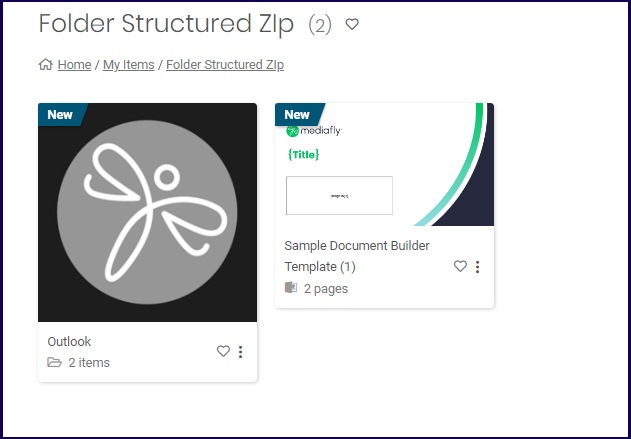
5. Once fully processed, the folders are displayed as they would when a folder is uploaded into the environment.
Note: Once the items inside the .mzip file has been processed, deleting the original .zip file will not delete the other items. All items extracted are treated as a separate entity.
Note: Once a zip file has been uploaded and the New Content notification setting is enabled, a notification is sent to the registered email of the logged user.
Note on Using Google Slides with Mediafly
Mediafly supports Google Slides for creating and editing presentations by converting them to PowerPoint files.
Limitations and Best Practices
- Embedded Videos: Google Slides does not support embedding videos directly.
- Animations and Formatting: Google Slides has fewer animations and transitions compared to PowerPoint, which can result in formatting issues (e.g., fonts, layouts, animations) when PowerPoint files are opened in Google Slides due to the inherent differences between the two platforms.
- Collaboration: Avoid editing PowerPoint files directly in Google Slides to prevent content corruption, rather, follow the recommended workflow below.
Recommended Workflow
- Create presentations in PowerPoint & upload to Mediafly per the instructions above (Uploading through Airship or Uploading through Viewer)
- Then, to edit in Google Slides while maintaining PowerPoint compatibility, select the Edit with Google Workspace option.You'll find this option in different ways depending on how you're accessing the item:
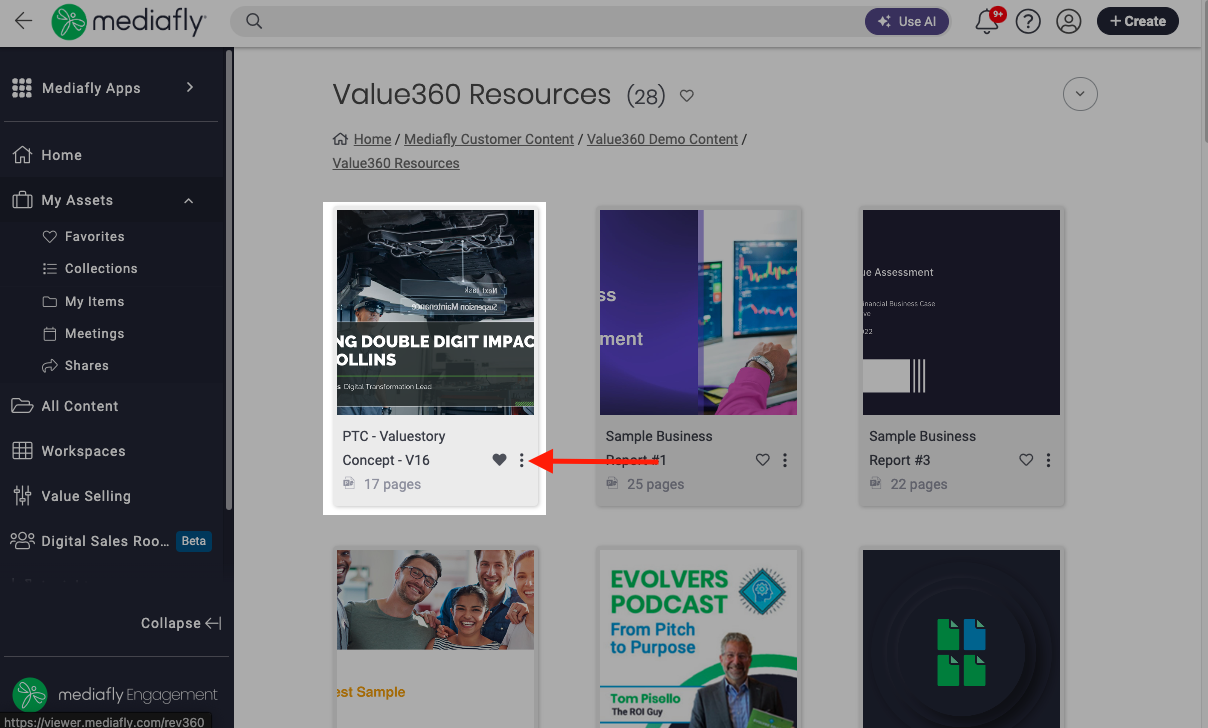
▪ If you're viewing the item in a folder in Viewer: click on the three dot icon > click Edit in Google Workspace
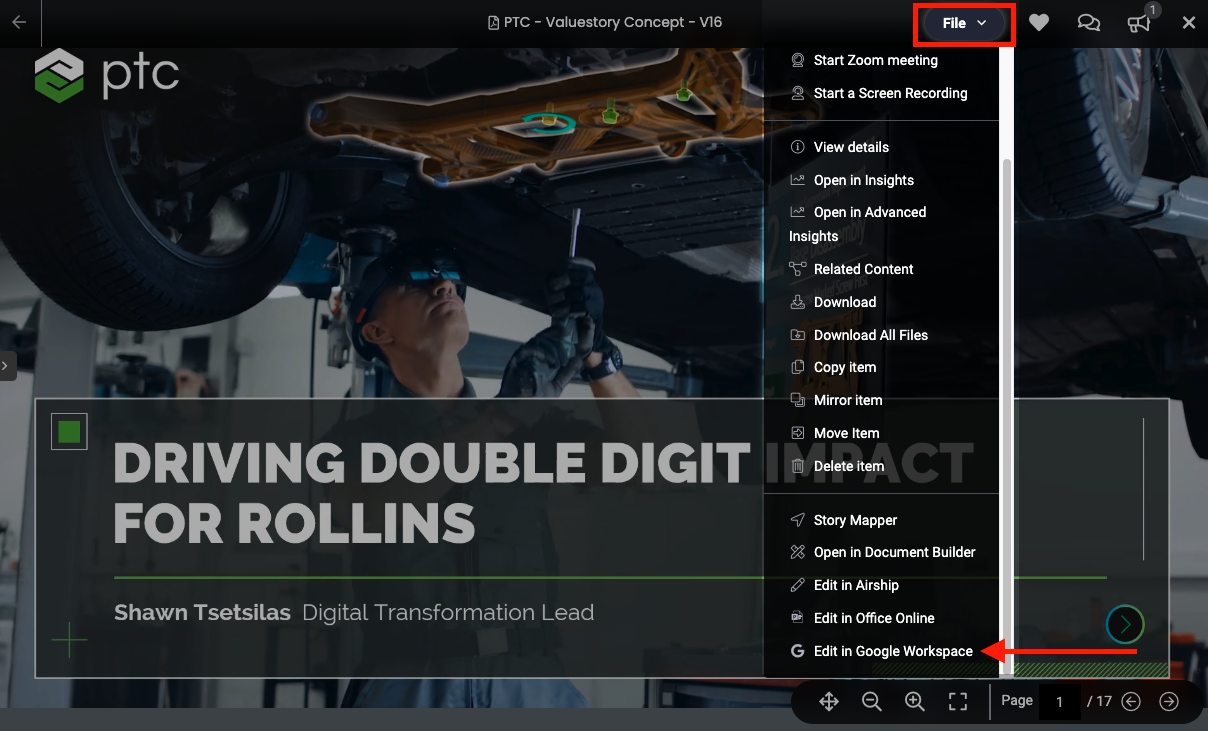
▪ If you have the item open in viewer: click File > click Edit in Google Workspace
▪ If you open the item in Airship, click the File Info tab > Under File Management click Update > click Edit in Google Workspace

Replies have been locked on this page!