
Updating content is one of the first tasks you will complete when setting up your Mediafly app. Content can be updated in Airship (also referred to as content management), or directly in Viewer. In Airship, you are granted more control on how to update the files and attributes of the content and manage many different files at once.
Note: In certain environments, Airship also allows you to set certain backend settings that is not available in Viewer.
Updating Individual files in Airship
Updating files in Airship gives the users more control to update the file itself. Users may update files individually, or if similar changes are to be applied to several items, users may update them in bulk. To update an item in Airship, do the following:
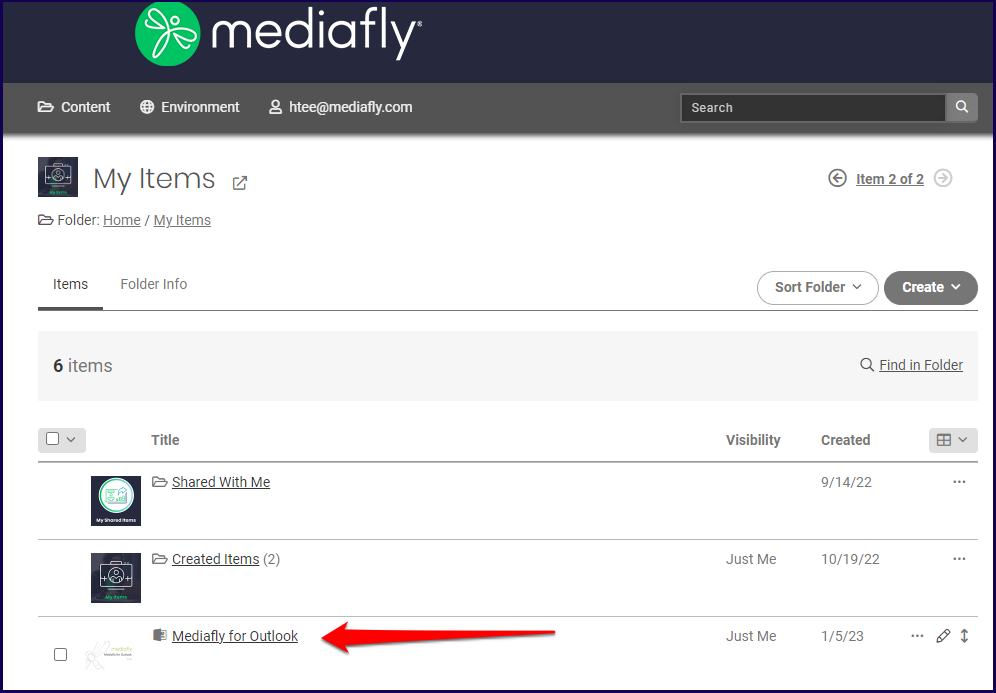
1. Log in to Airship
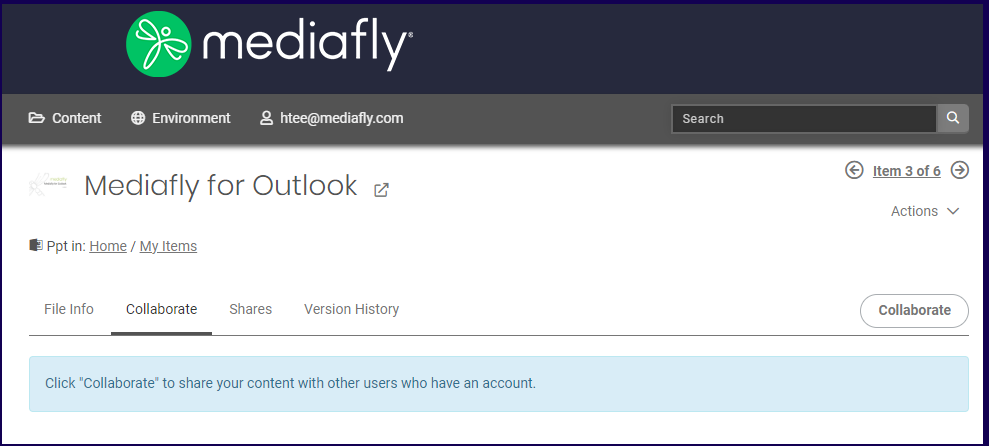
2. Navigate to the file and click on the item to open the View details. In this example, the Mediafly for Outlook is selected.
3. The item details is displayed. Update the fields on the File Info tab, the Collaborate tab, Shares, or in the Version History. For more information on each tab, check the corresponding discussion of these tabs.
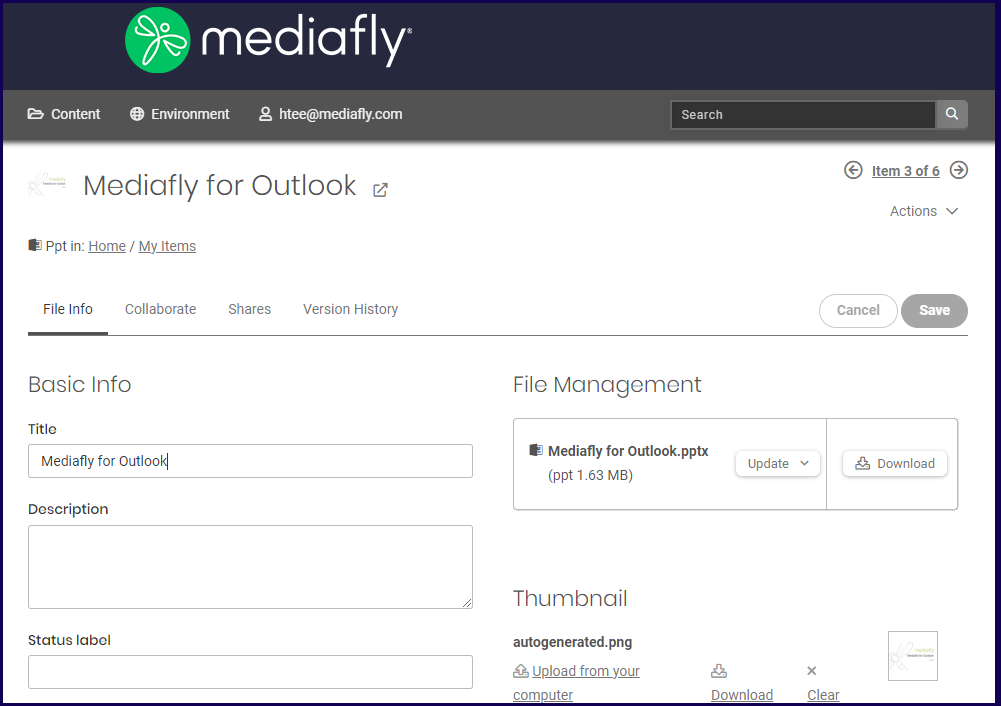
4. Once updated click on the save button to save the settings.
File Info Section
The File info sections provides several sections with fields that allow you to add more information or set new parameters in your item. The File info sections provides several sections with fields that allow you to add more information or set new parameters in your item. Depending on the type of item selected, certain fields, options, and sections may not appear as it is not applicable to the item.
The following are the sections may be used to update the item:
- Basic Info Section
- File Management Section
- Thumbnail Section
- Watermarks Section
- Custom Field Section
- App Visibility Section
- Document Controls
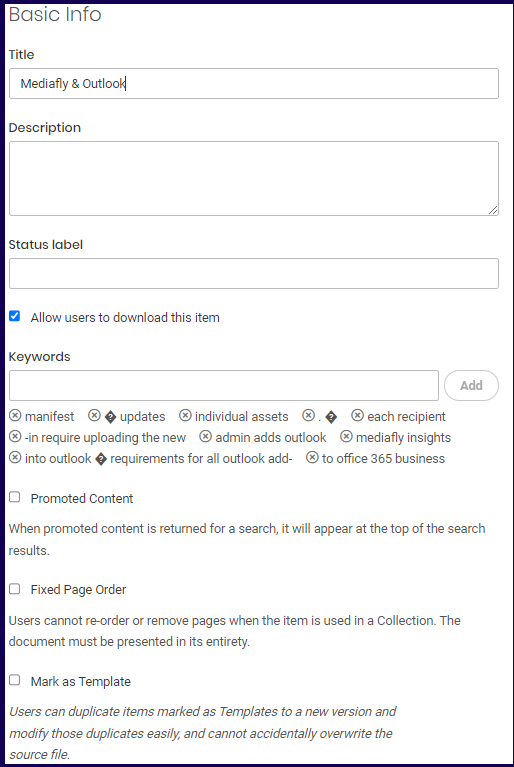
Basic Info section
- Title: Use this to update the title of the content.
- Description: Use this to update the description is used to provide more details beyond the title
- Status Label: Use this to update the status label of the content.
- Allow users to download this item- Mark this field so that users can download the items.
- Keywords: Use this to update the keywords that is used to determine the with content organization and search results of the item.
- Promoted Content flag: Use this to set if the item will appear at the top of the search result.
- Fixed Page Order flag- Use this to set if the user cannot reorder or remove pages of an item in a collection.
- Mark as Template flag- Use this to identify the item as a template. For more information on the uses of marking an item as a Template, read Creating personalized content using a Template.
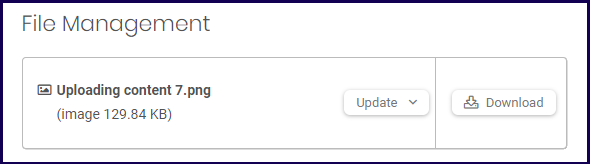
File Management Section
This section allows you to update the item itself. In this example, the item is a PNG image. You can upload an updated version of this file through the update button or download the item.
Additionally, additional variants may be uploaded in the Support Additional Files (Variants) on an Item for more information on uploading multiple file variants such as uploading multiple file size or resolution for image items.
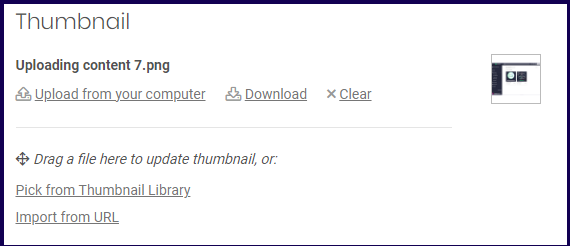
Thumbnail Section
Airship will automatically generate a thumbnail for certain files that has an image such as powerpoint files, videos, and other images. You also have the option to change the thumbnail image. The following options are available to change the image:
- Uploading an image from your computer
- Pick from Thumbnail Library
- Import from URL
Note: SVG thumbnails are not supported for URL metadata images. When a site provides an SVG, Airship skips it so the item still saves without error.
Adding more Images in the Thumbnail Library
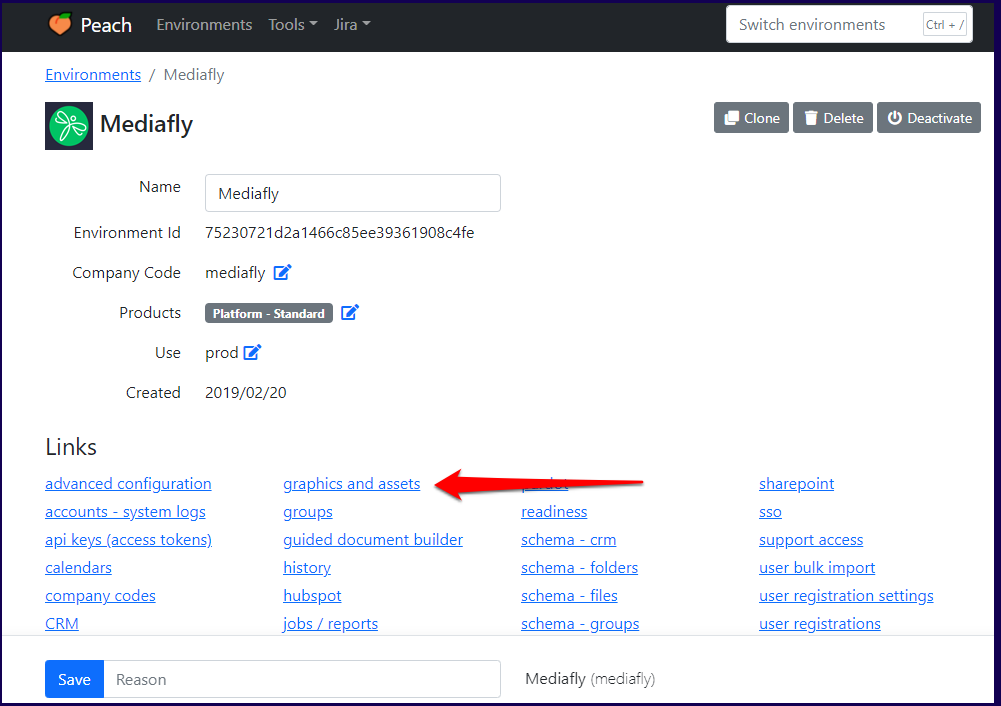
Depending on the environment settings, there could be no images added in the thumbnail library and you may have no options to select from any. In this scenario, the Pick from Thumbnail Library button may not appear. To add other graphic choices in the Thumbnail library, you will need to contact your administrator to access Peach and add the images manually.
1. Log in to peach and access the environment. Click on graphics and assets.
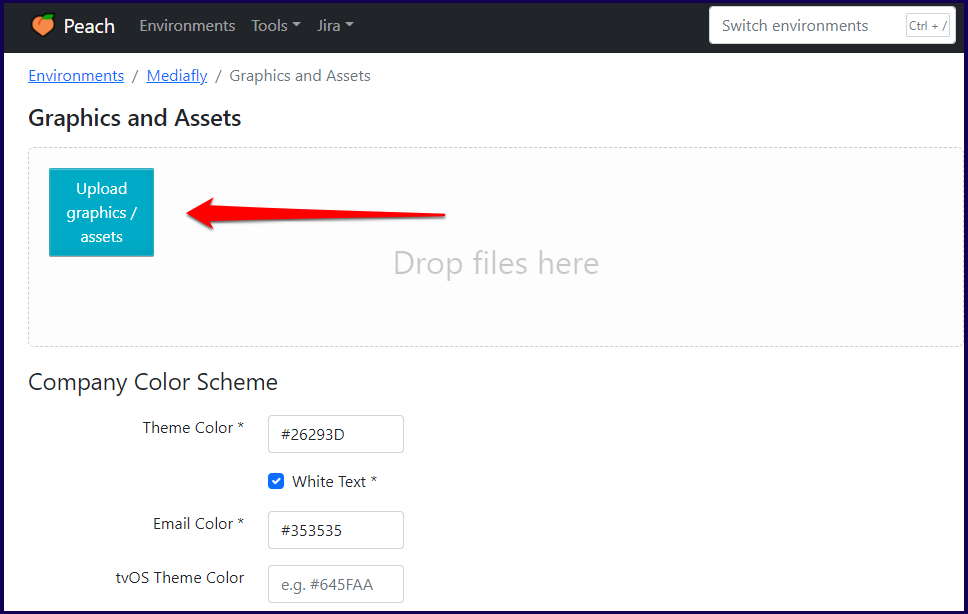
2. In the Graphics and Assets page, click on the Upload graphics/ assets button or drag and drop the graphics into the box.
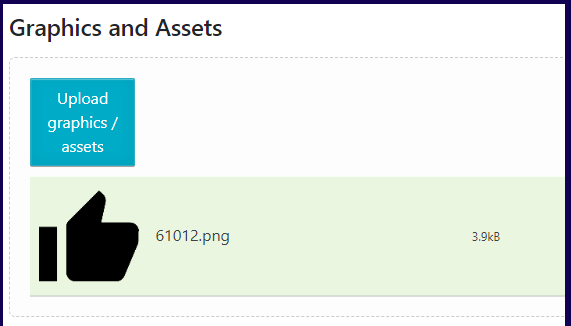
3. Once an image is uploaded, copy the image address of the item. In this example, the image address of the uploaded 'thumbs-up' image is used.
4. Once uploaded, scroll down to the Images section and copy the s3 link.
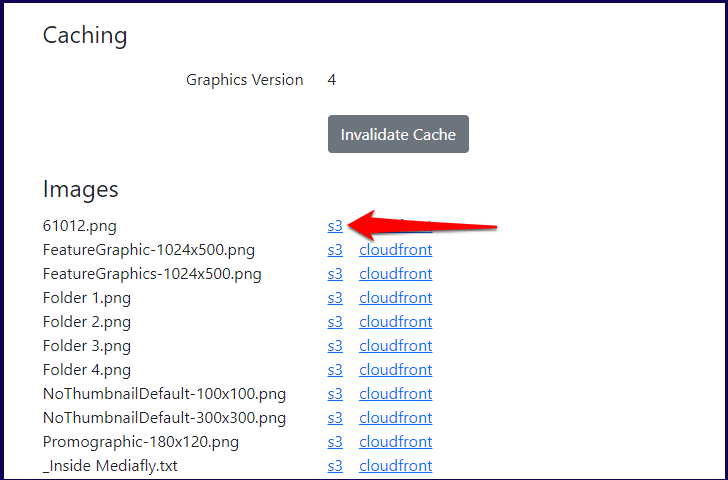
5. Paste the link in the Thumbnail library. Click save to apply the changes.

Watermark Section
This section allows you to set whether a watermark is displayed over the content.
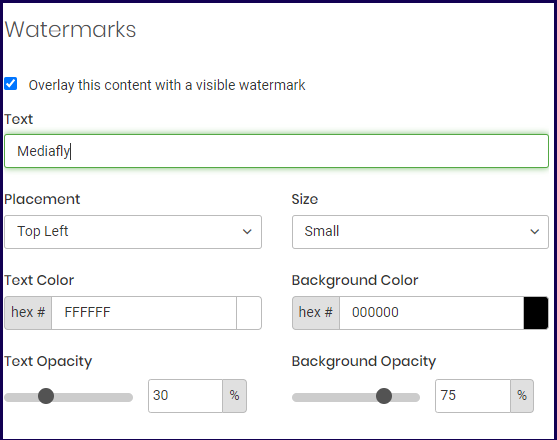
If the Overlay this content with a visible watermark field is marked, users can then create a watermark. The following fields are used to create the watermark:
- Text- Specify the watermark text that appears here.
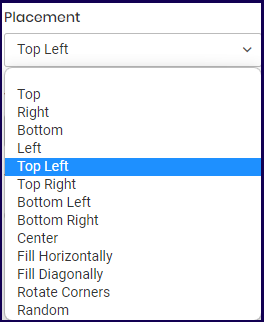
- Placement- Specify where watermark will appear. The following placement options are available:
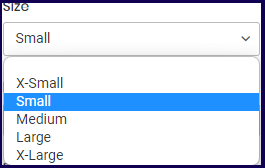
- Size- Specify the size of the watermark. The following watermark size options are available:
- Text Color- You can set the color of the watermark text by inputting the corresponding hex number on the field, or clicking the color button to view and select colors from the color palette.
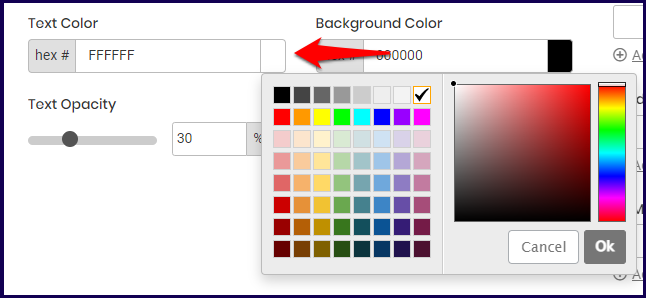
- Background Color- You can set the background color of the watermark text by inputting the corresponding hex number on the field, or clicking the color button to view and select colors from the color palette. See above image for reference on selecting the background color.
- Text Opacity- Use this to set the opacity of the text. The lesser the percentage, the lighter and more transparent the watermark.
- Background Opacity- Use this to set the opacity of the background color. The lesser the percentage, the lighter and more transparent the watermark.
Note: If a document file is marked as downloadable at the item and group level of the User Access in Airship, but the document item has watermark enabled, the document file may not be downloaded. Image files are, however, downloadable given the same circumstance.
Sample Watermark
In this section, a sample image with watermarks is applied. The watermarks setting for the example is as follows:

Using the above settings, an image file of the Mediafly logo will now have a watermark with yellow background and blue text in the center.

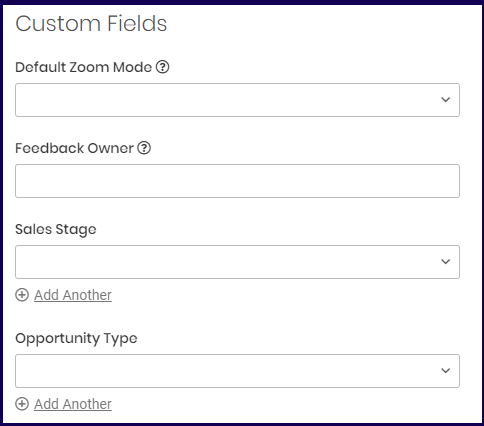
Custom Field Section
The custom field section allows users to modify the custom fields of the item. Custom fields can be used for a variety of purposes like extensions, integrations, faceted search, and more. For more information about custom fields and how to add it, read the Managing Environment Settingsdocumentation.
App Visibility Section
This section provides the Release Date and the Archive Date field.
-
- Release Date: Set a release date to hide content from end users until a desired date.
- Archive Date: Set an archive date to remove content from the end user view on a desired date.
Note: Archived items do not appear in Airship search. Admins can locate them by navigating the folder hierarchy or by using Intelligence (Advanced Insights) reports that include Folder Path.
Document Controls Section
This section provides the Hide Viewer Bottom Bar field which hides the bottom bar when viewing the document in Viewer.
Collaborate
The Collaborate tab allows you to create collaborations with other users who will gain shared access to the item. For more information about creating collaborations, check out Collaborate in Mediafly.
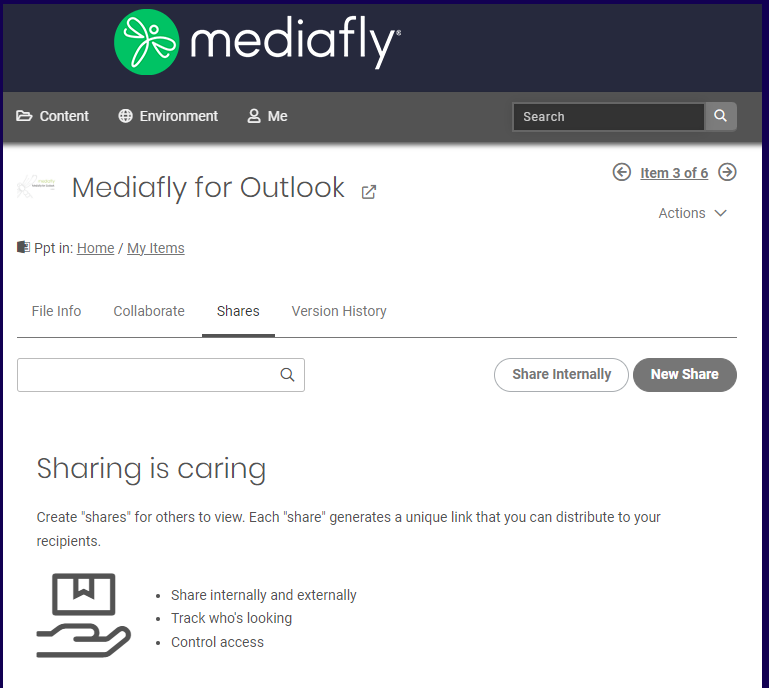
Shares
The Shares tab is used for you to create share links, emails, and more for your item.
For more information about creating Shares, read this article: Sharing content and track engagement with Mediafly.
Version History
The version history tab displays all the versions of the item and allows you to download the version or revert the item to a previous version.
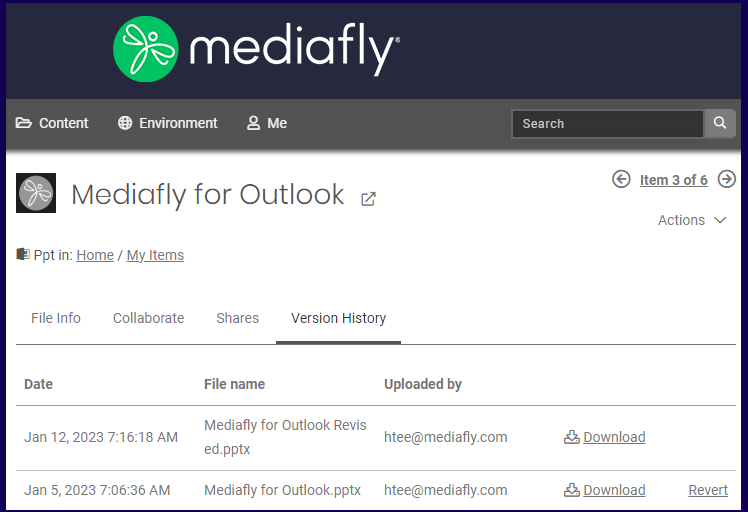
Note: The system only saves the most recent 20 versions of the file aside from the current version actively in use. Updating the item any more will delete the oldest version of the item.
Bulk Updating Multiple Files
1. Log in to Airship
2. Navigate to the file and mark the checkbox of each items to open the View details. In this example, three items are selected.
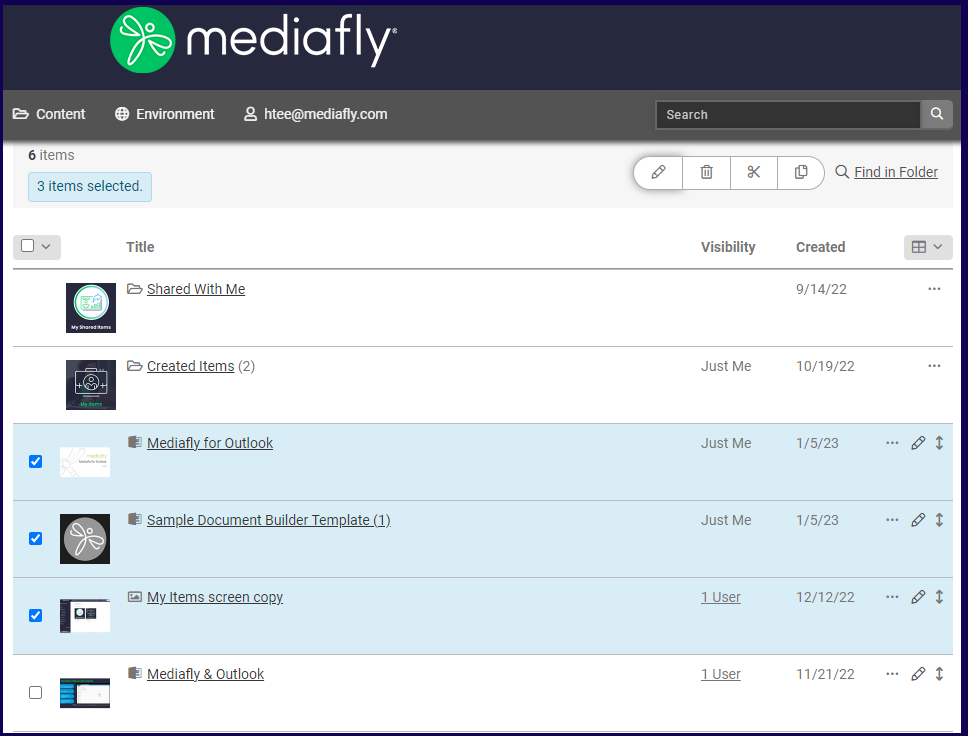
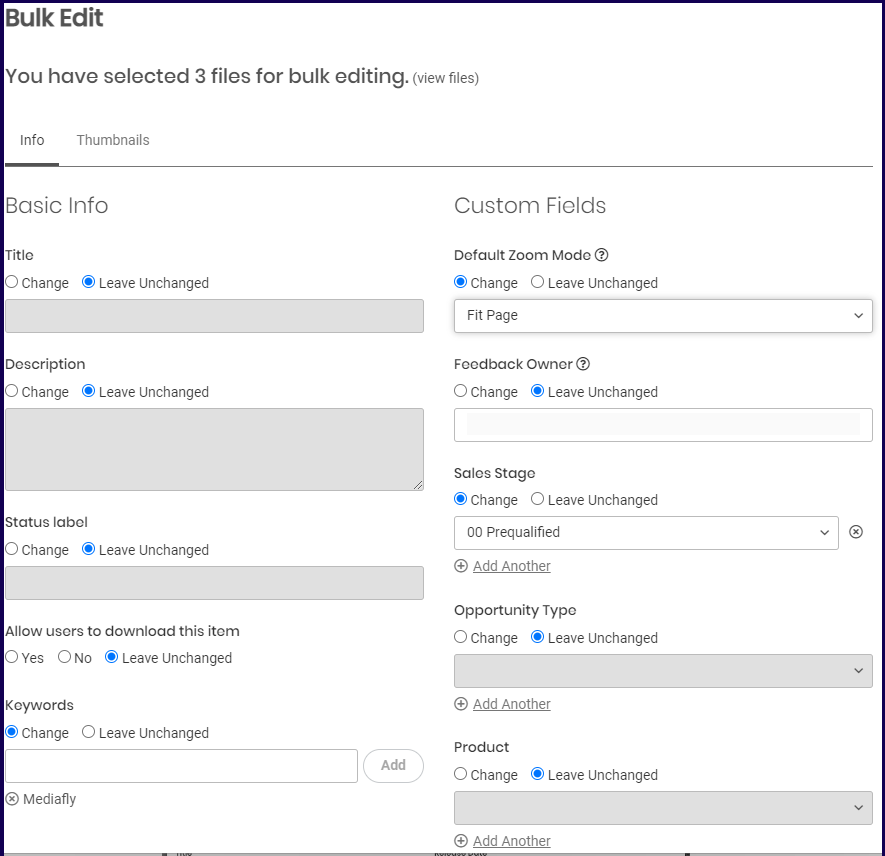
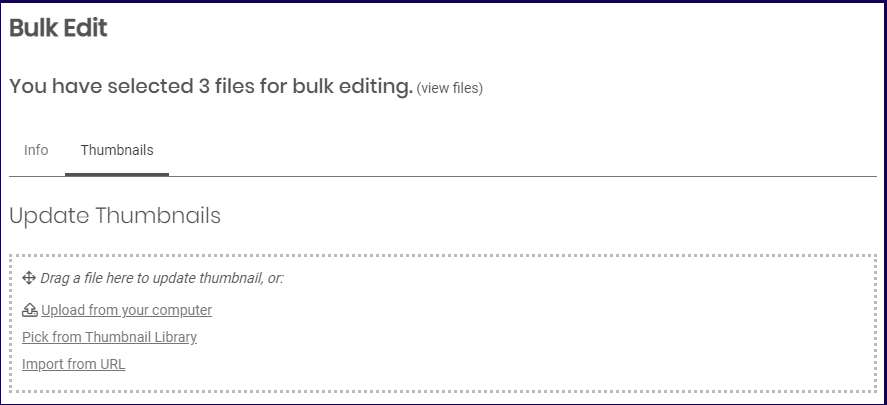
3. Select the checkboxes next to the file name and click on the Edit icon from the action toolbar. The Bulk Edit window is displayed. The Bulk Edit window is used to modify all selected items all at once.
The bulk edit window has two tabs. The Info tab, which has sections similar to the File Info Section discussed in this article, and the Thumbnails tab which functions similarly to the Thumbnail Section discussed in this article.
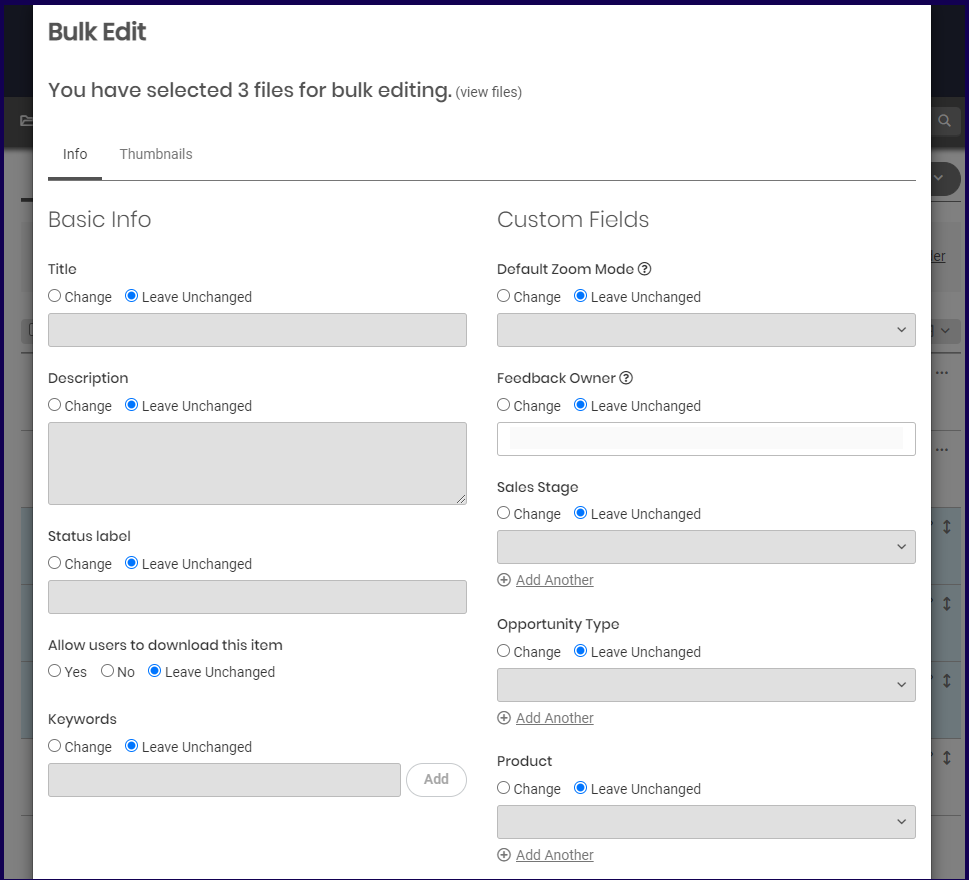
To change an attribute, mark the Change option of the corresponding field to change it. To apply the changes, click on the Save button.
To change the thumbnail of all three files, upload the thumbnail image that you want.
Note: The thumbnail images uploaded will immediately be applied even if you did not click on the Save button.
Replies have been locked on this page!