
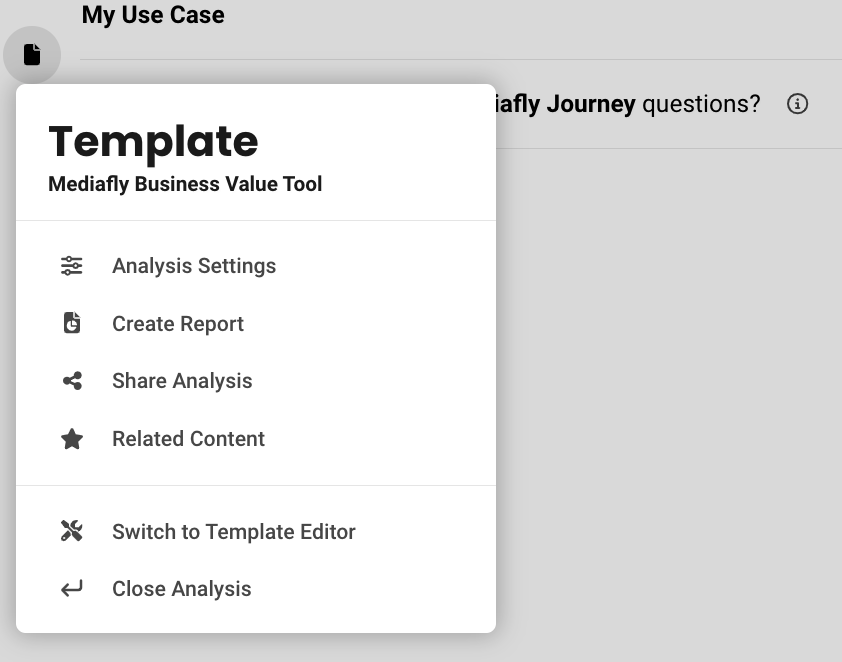
This article cover configuring your template settings. When you are first starting out, there are a number of template specific settings you will want to configure before you ultimately publish your Template. You can find these by clicking on Default Settings in the main editor window.
Default Settings
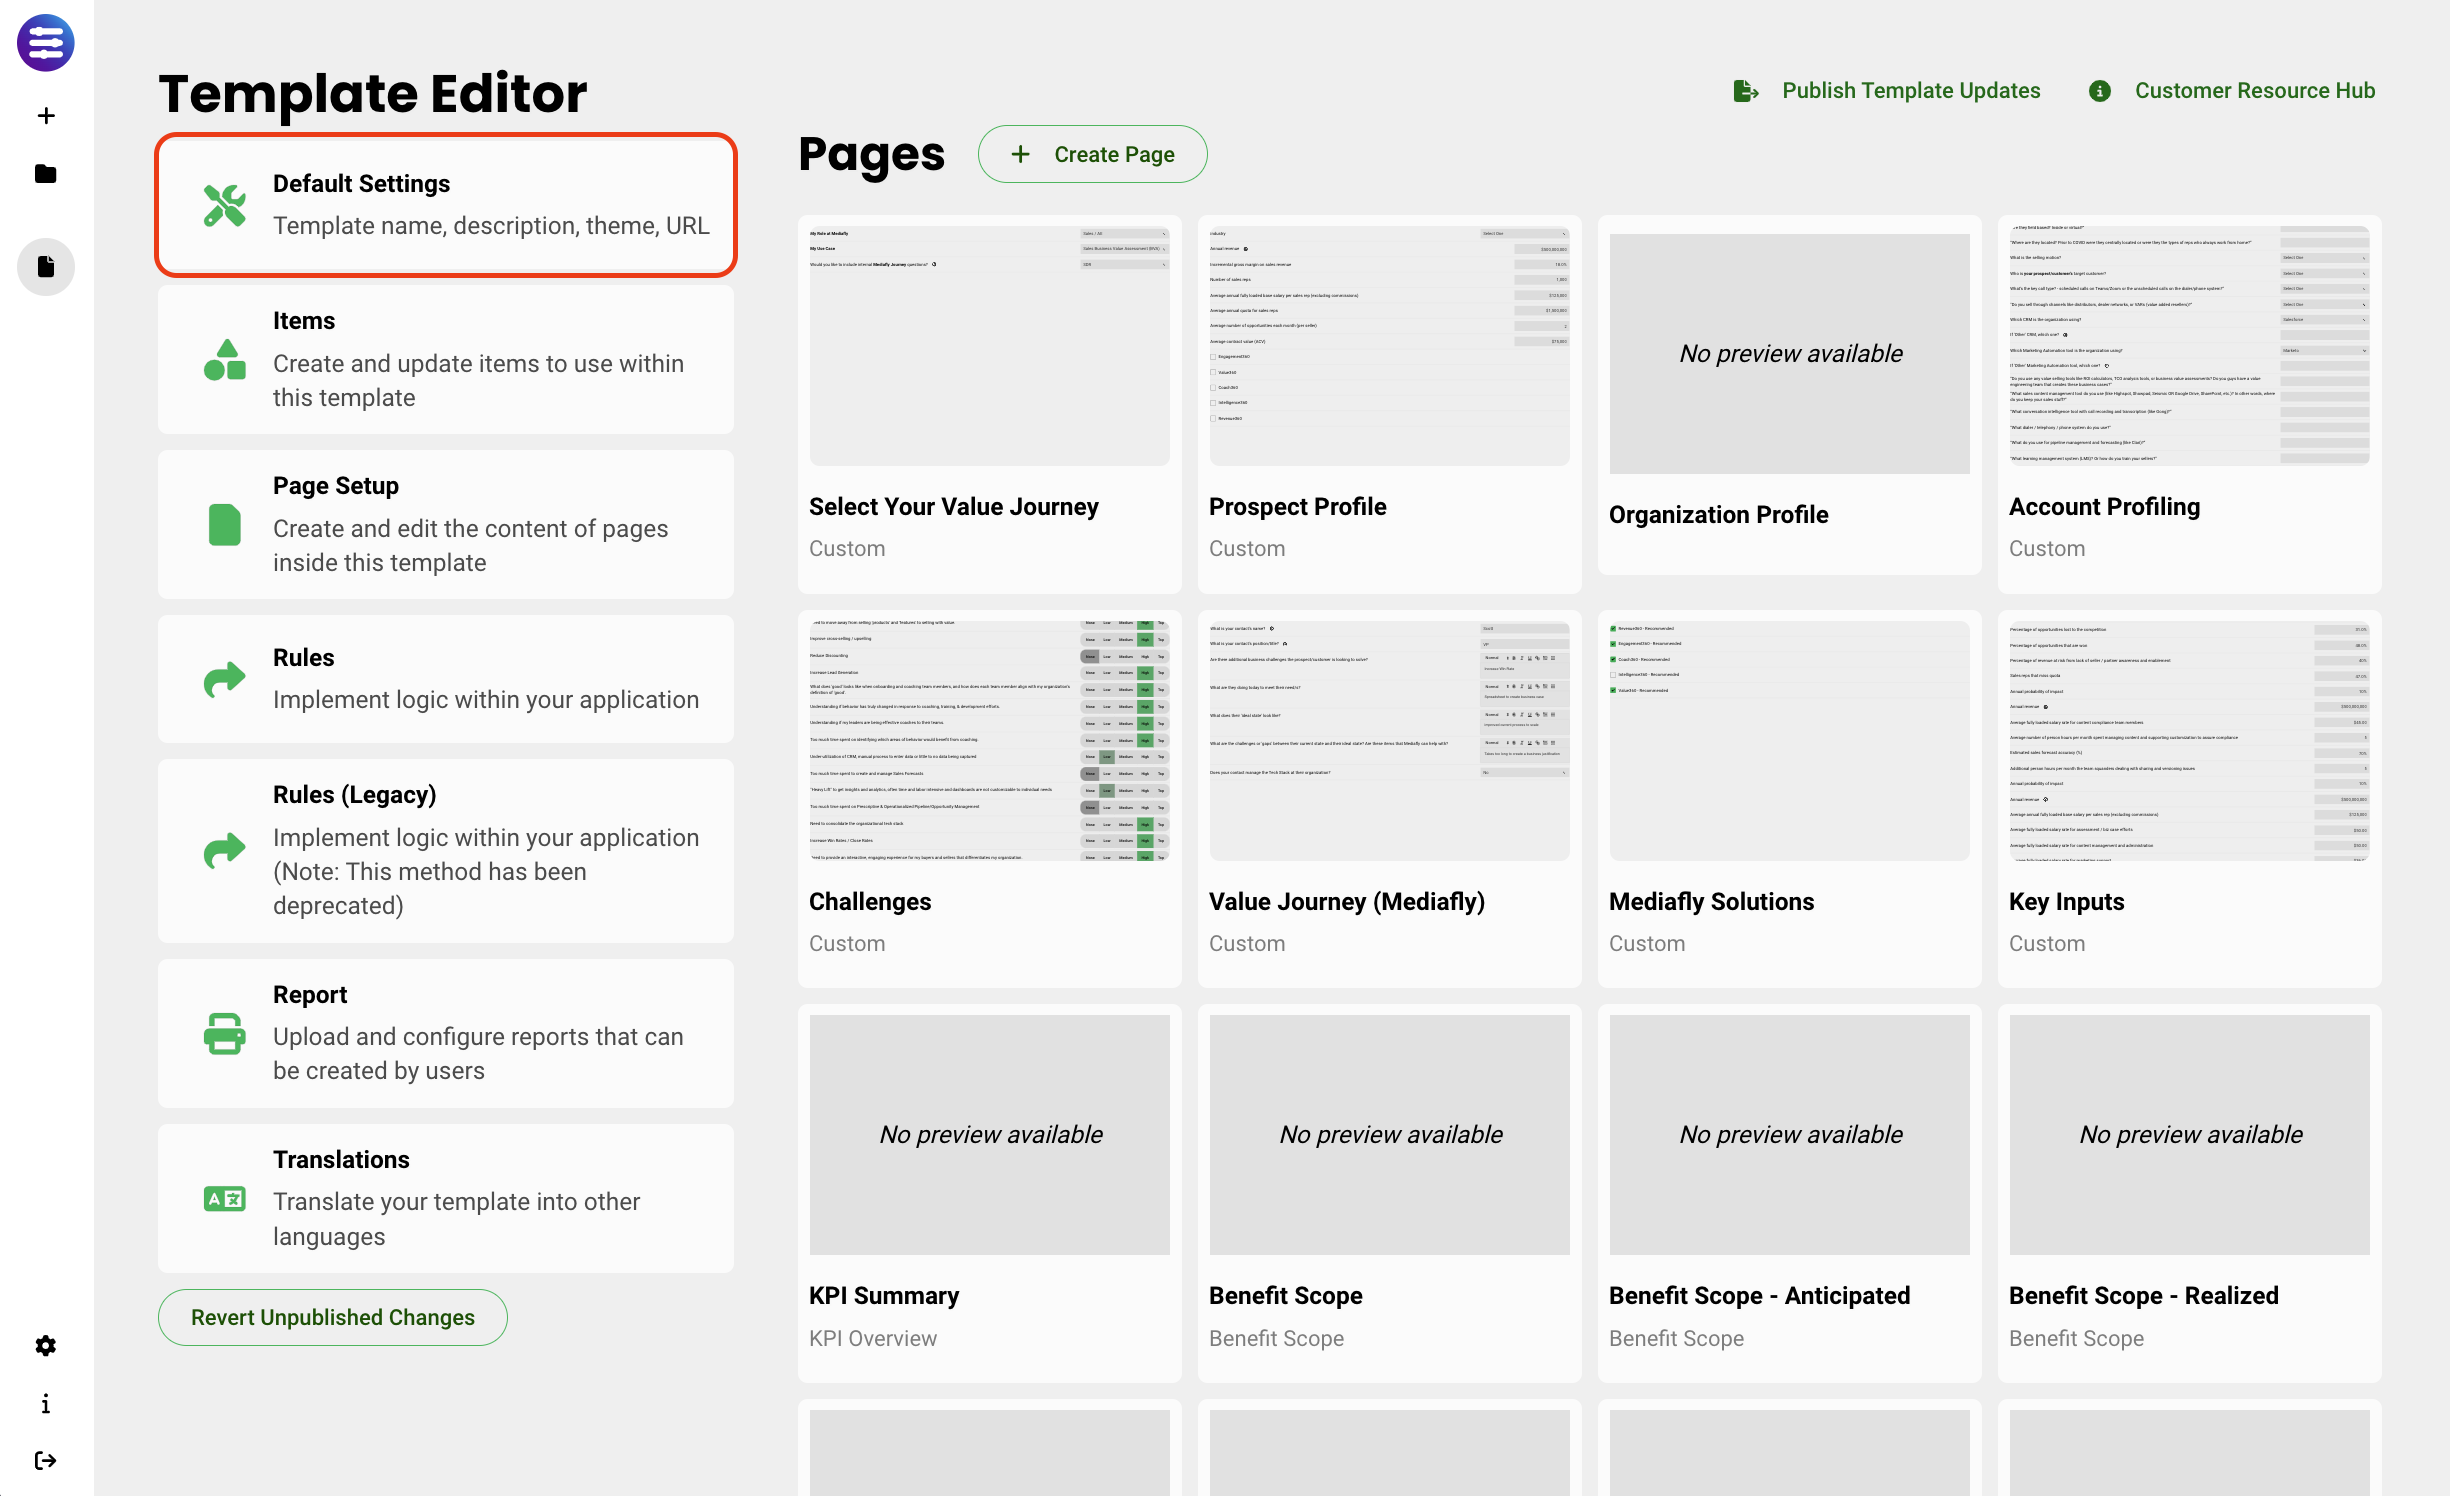
There are five categories of default settings that can be changed for your template.
- General settings
- Interface
- Analysis Settings
- Benefit Realization
- Investment/ROI
General Settings
General settings are applied across the entire template. They include the following:
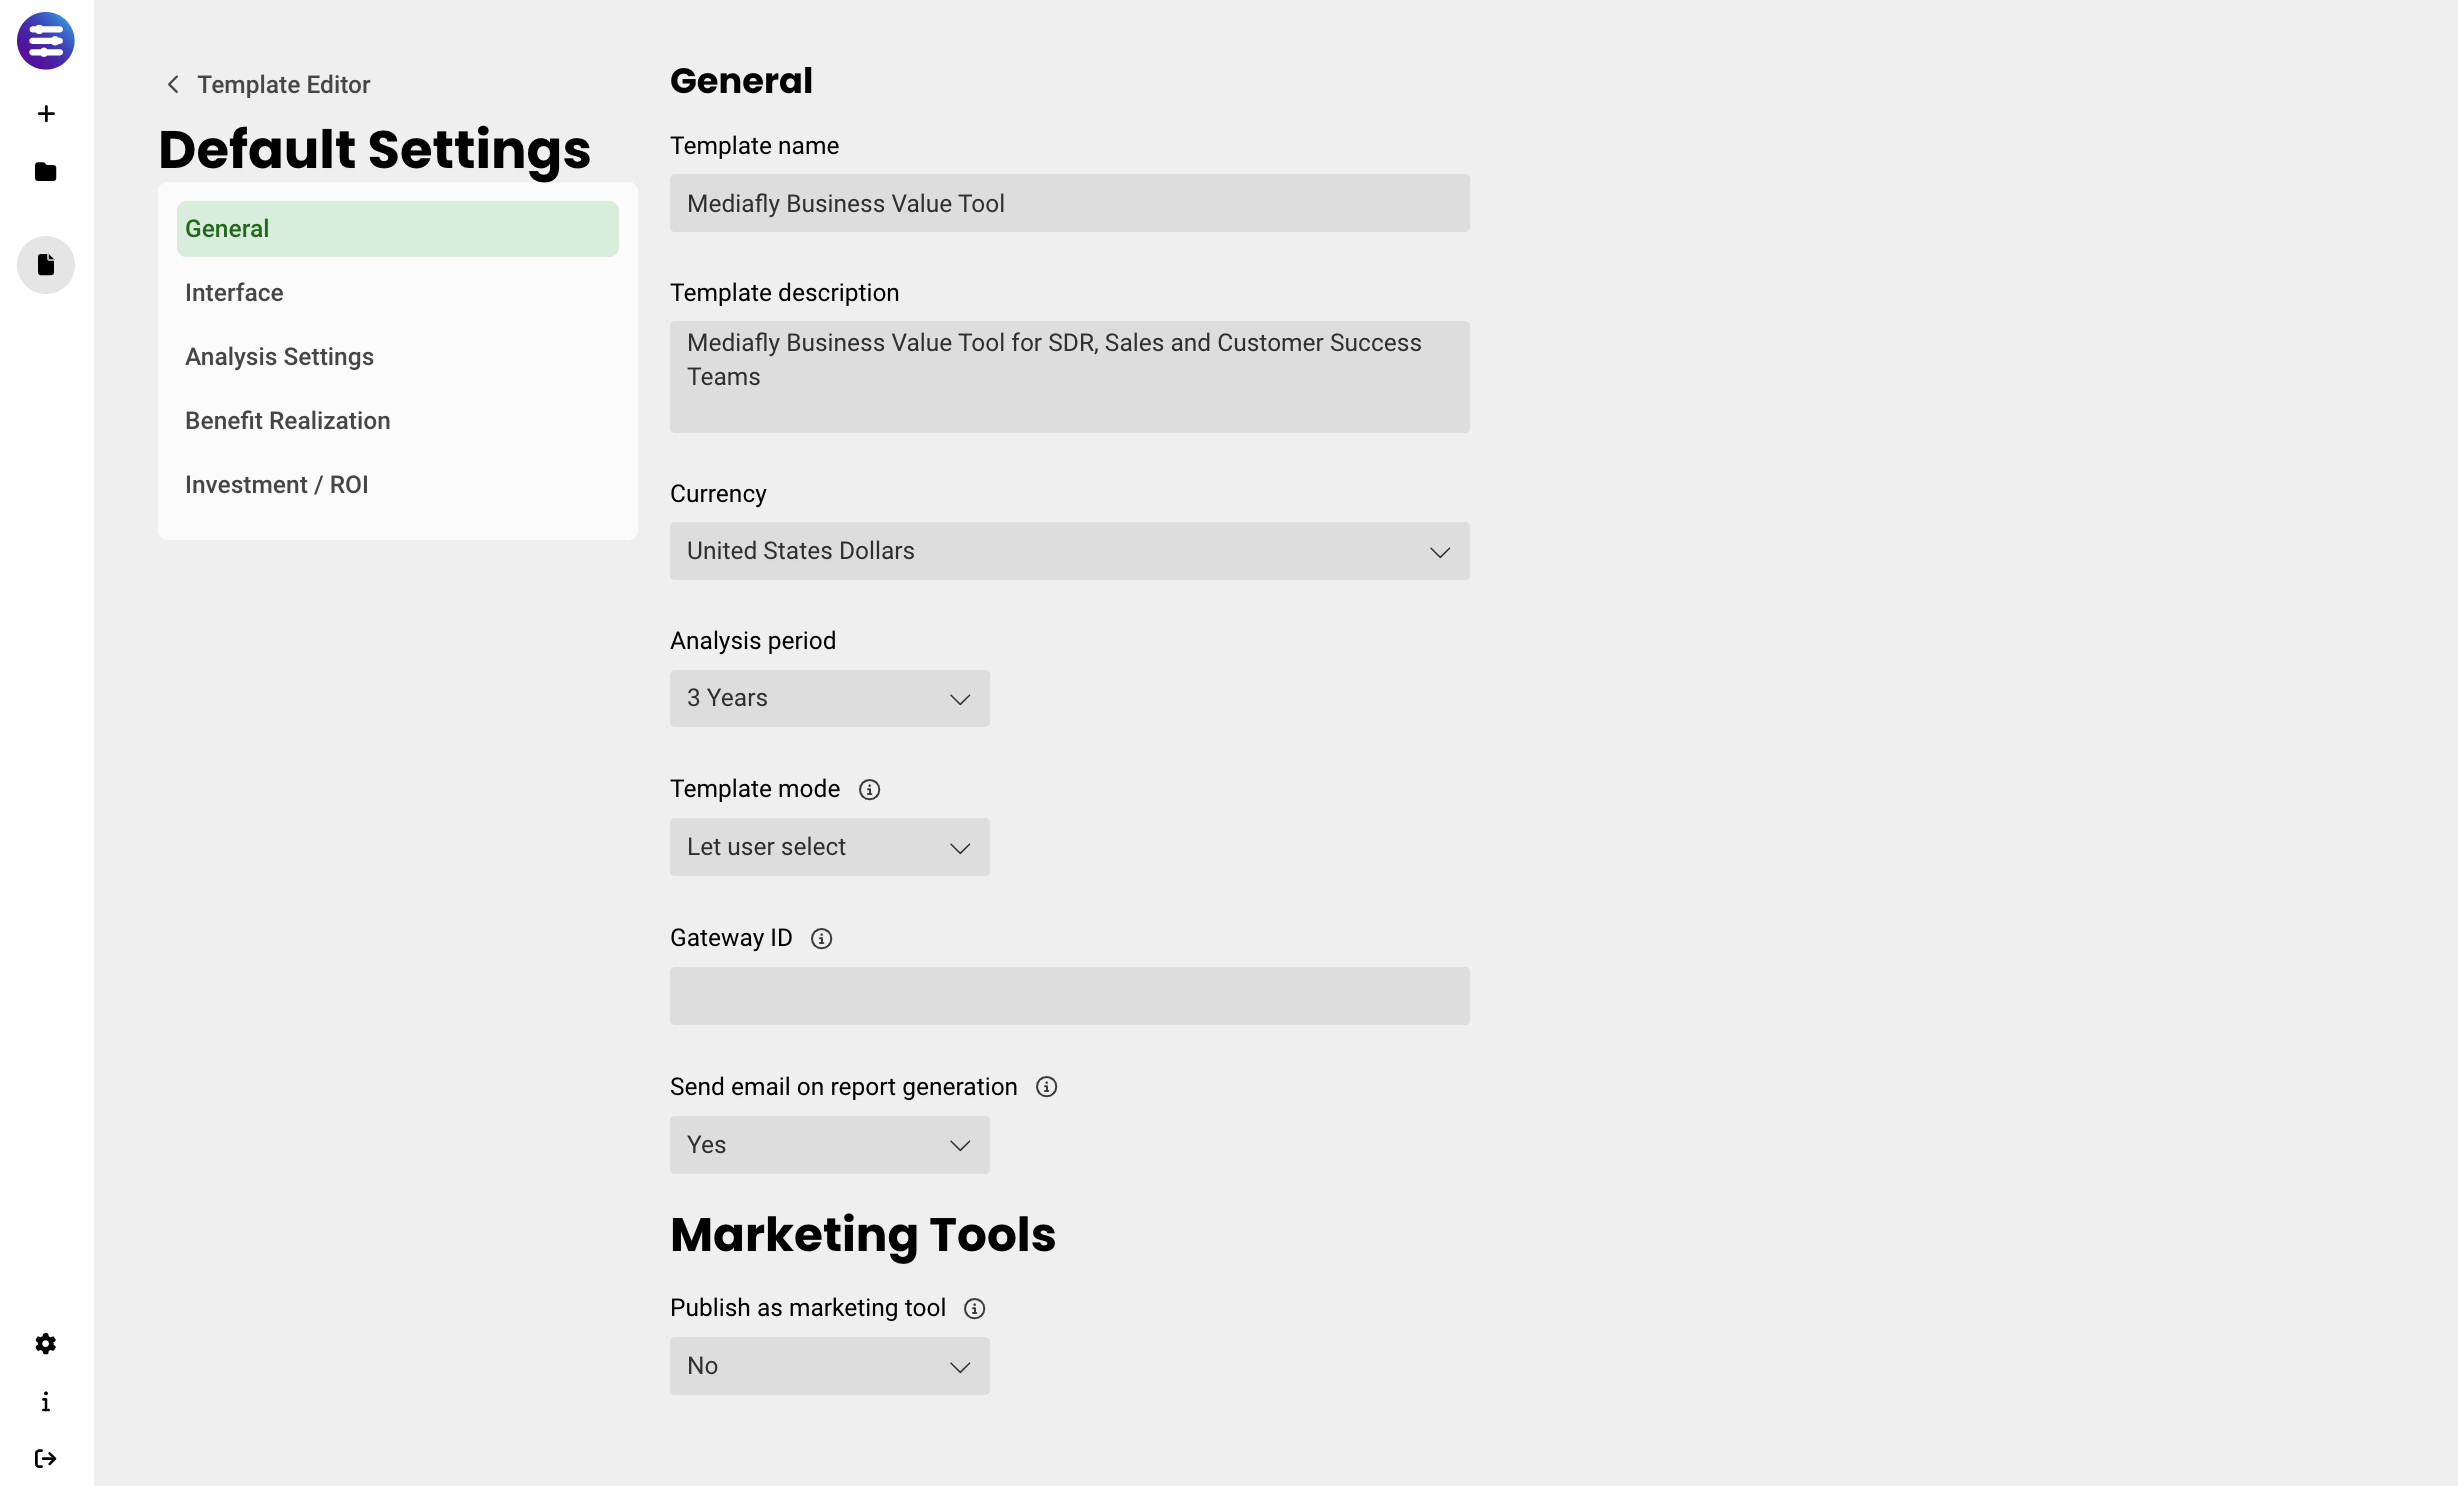
- Template Names and Descriptions are shown for each Template when users are creating new Analyses from the create screen.
- Currency adjusts the currency selected for the Template. Currency can also be adjusted using the Settings button in the top header nav bar if it's set to visible.
- Analysis period can be between 1 and 5 years.
- Template Mode can be Sales, Realized, or Let user select type. If Sales, the language in this template is for a tool used for new sales scenarios. If Realized, the language is for post-sale scenarios, typically used by Customer Success or Account Managers to justify ROI of a past purchase. If Let user select type, the user will be asked when using the tool into which mode they wish to proceed.
- Gateway ID is used to tie resources in your gateway environment to specific templates, such as related content.
- Sent email on report generation allows an Admin to enable the report being sent to the users email, versus just being sent to the gateway environment (into the My Items folder).
- Publish as Marketing Tool this is the template's unique identifier and used to tie gateway resources to specific templates. It also makes it so you can set up a lead capture form and create a unique marketing URL.
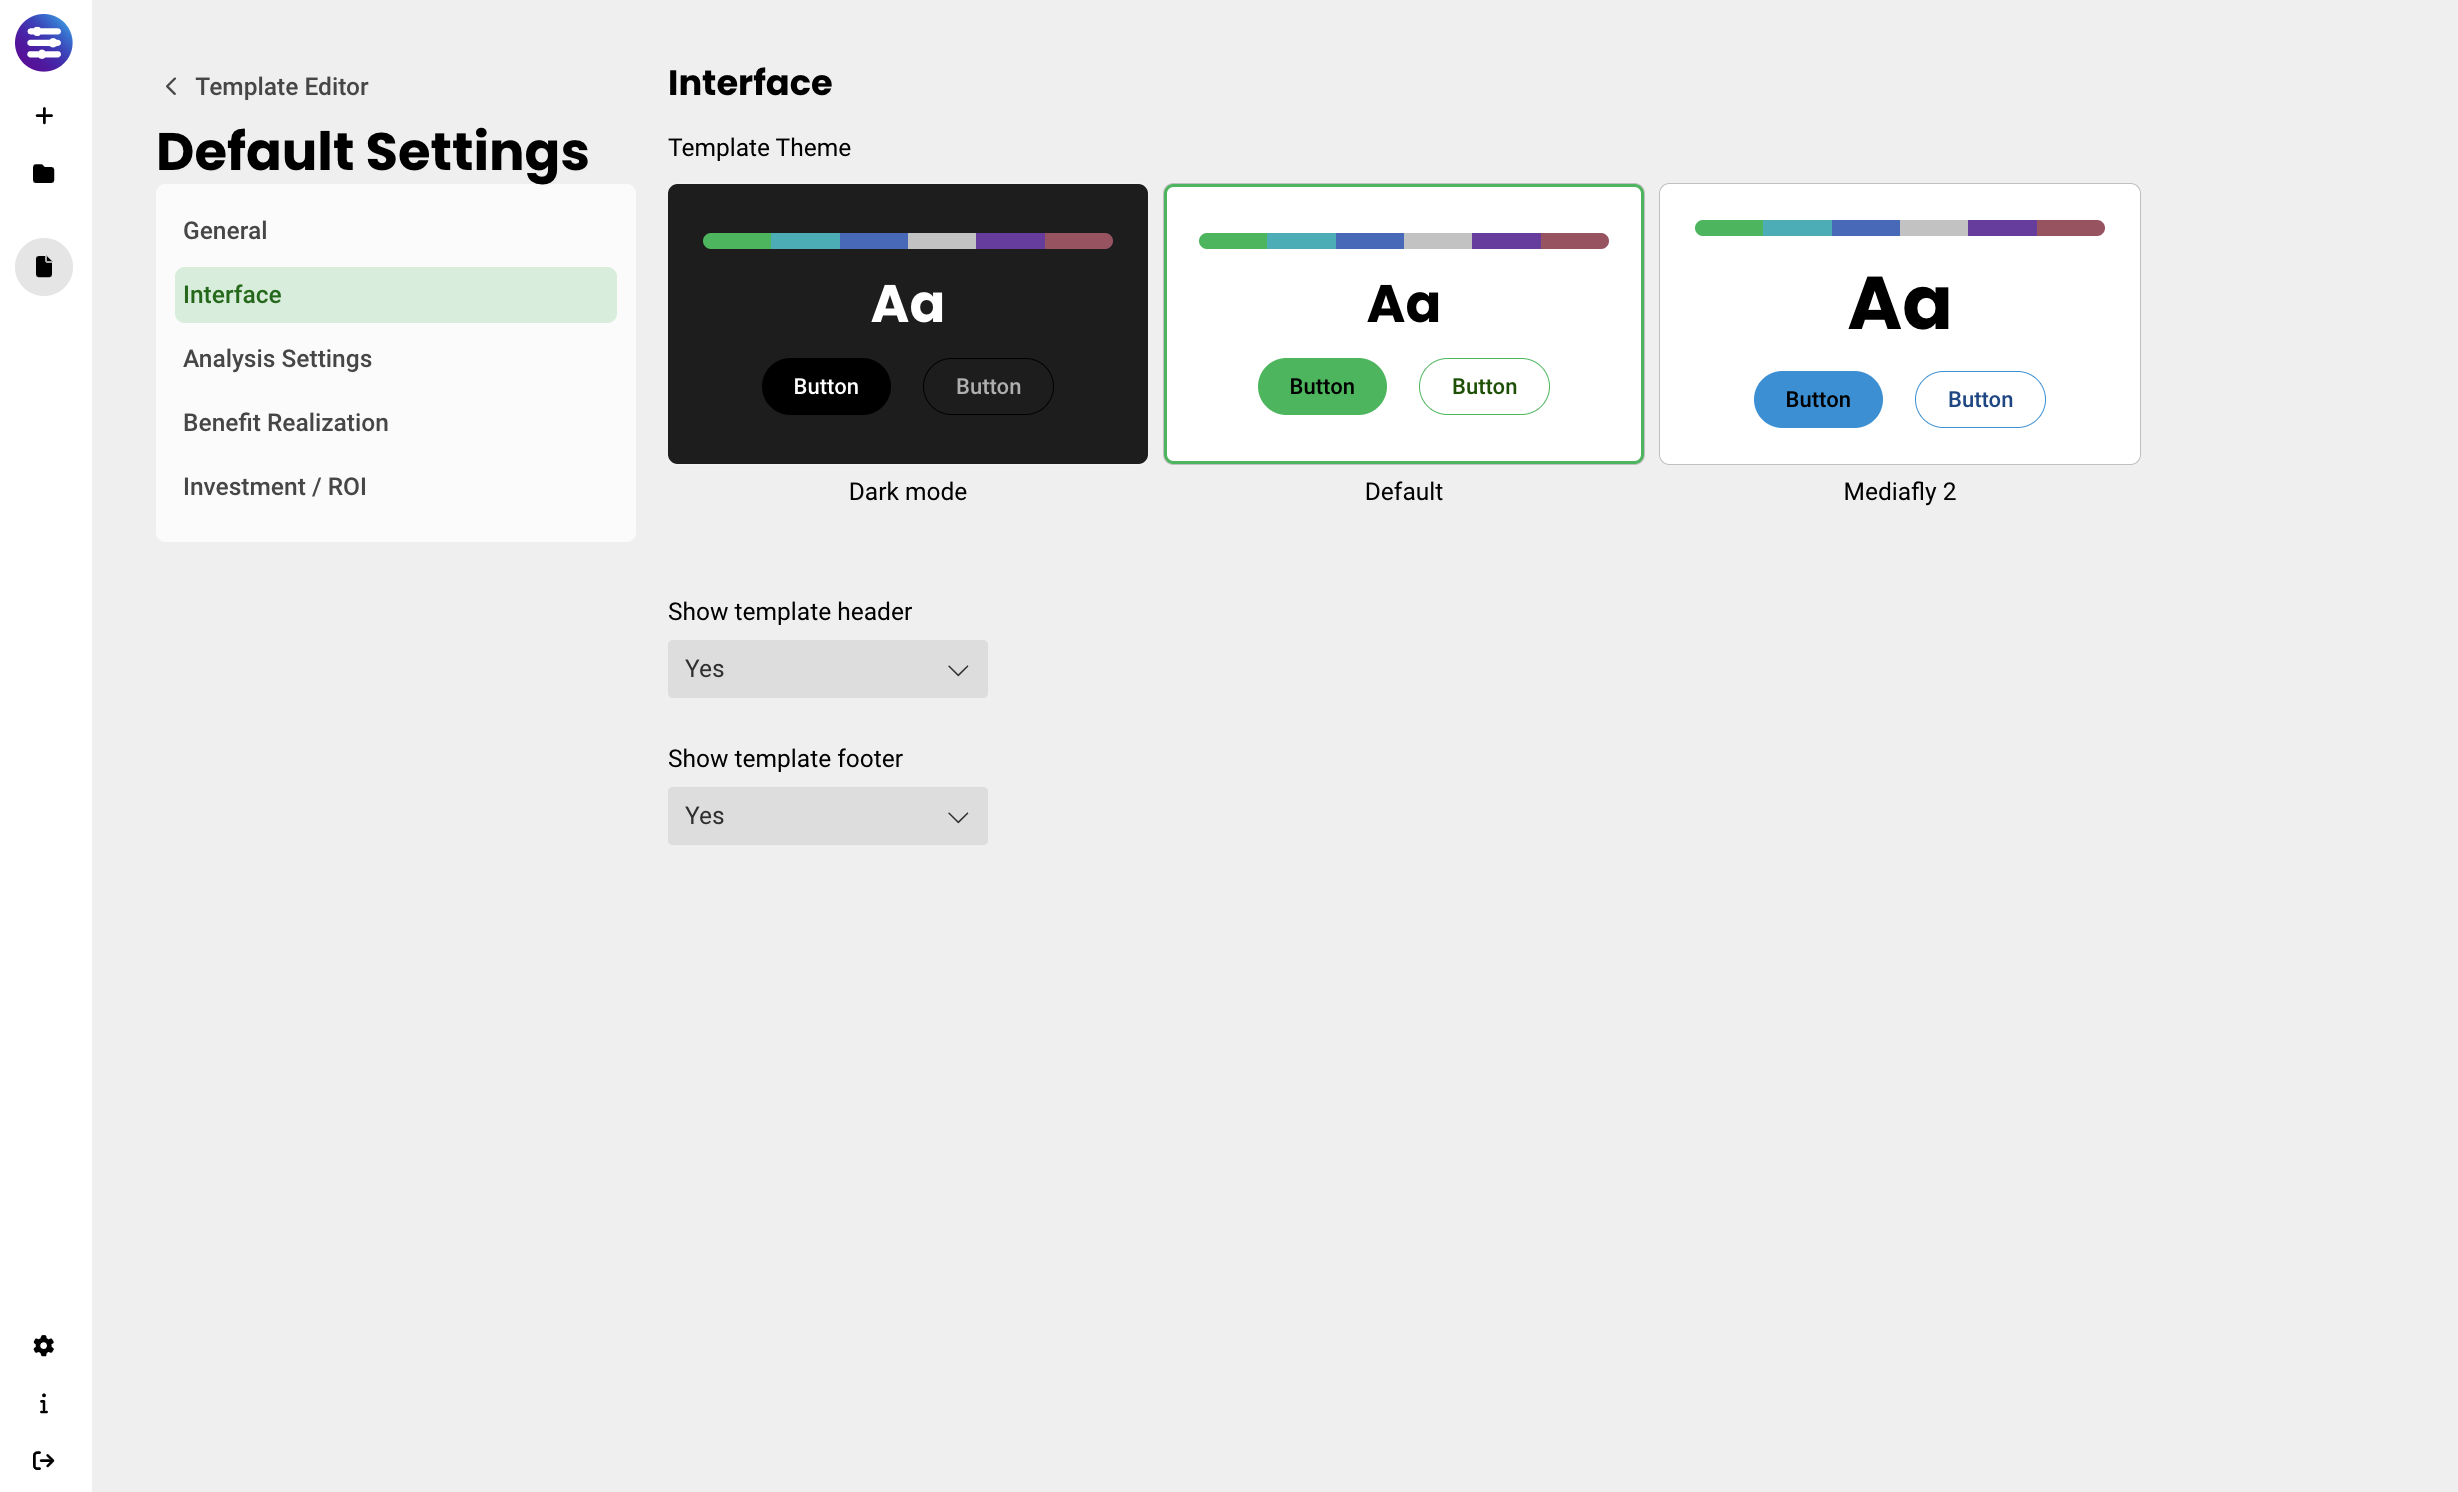
Interface
This section allows you to choose the default theme of the domain, and control whether or not the header and footer navigations bars are visible.
Analysis Settings
This section allows you to select which options a user can adjust when running an analysis.
- Analysis period defines the length the analysis is run for
- Projections allow a user to switch between Conservative, Probable, and Optimistic projections
- Benefit realization gives more insight into how benefits are realized over time
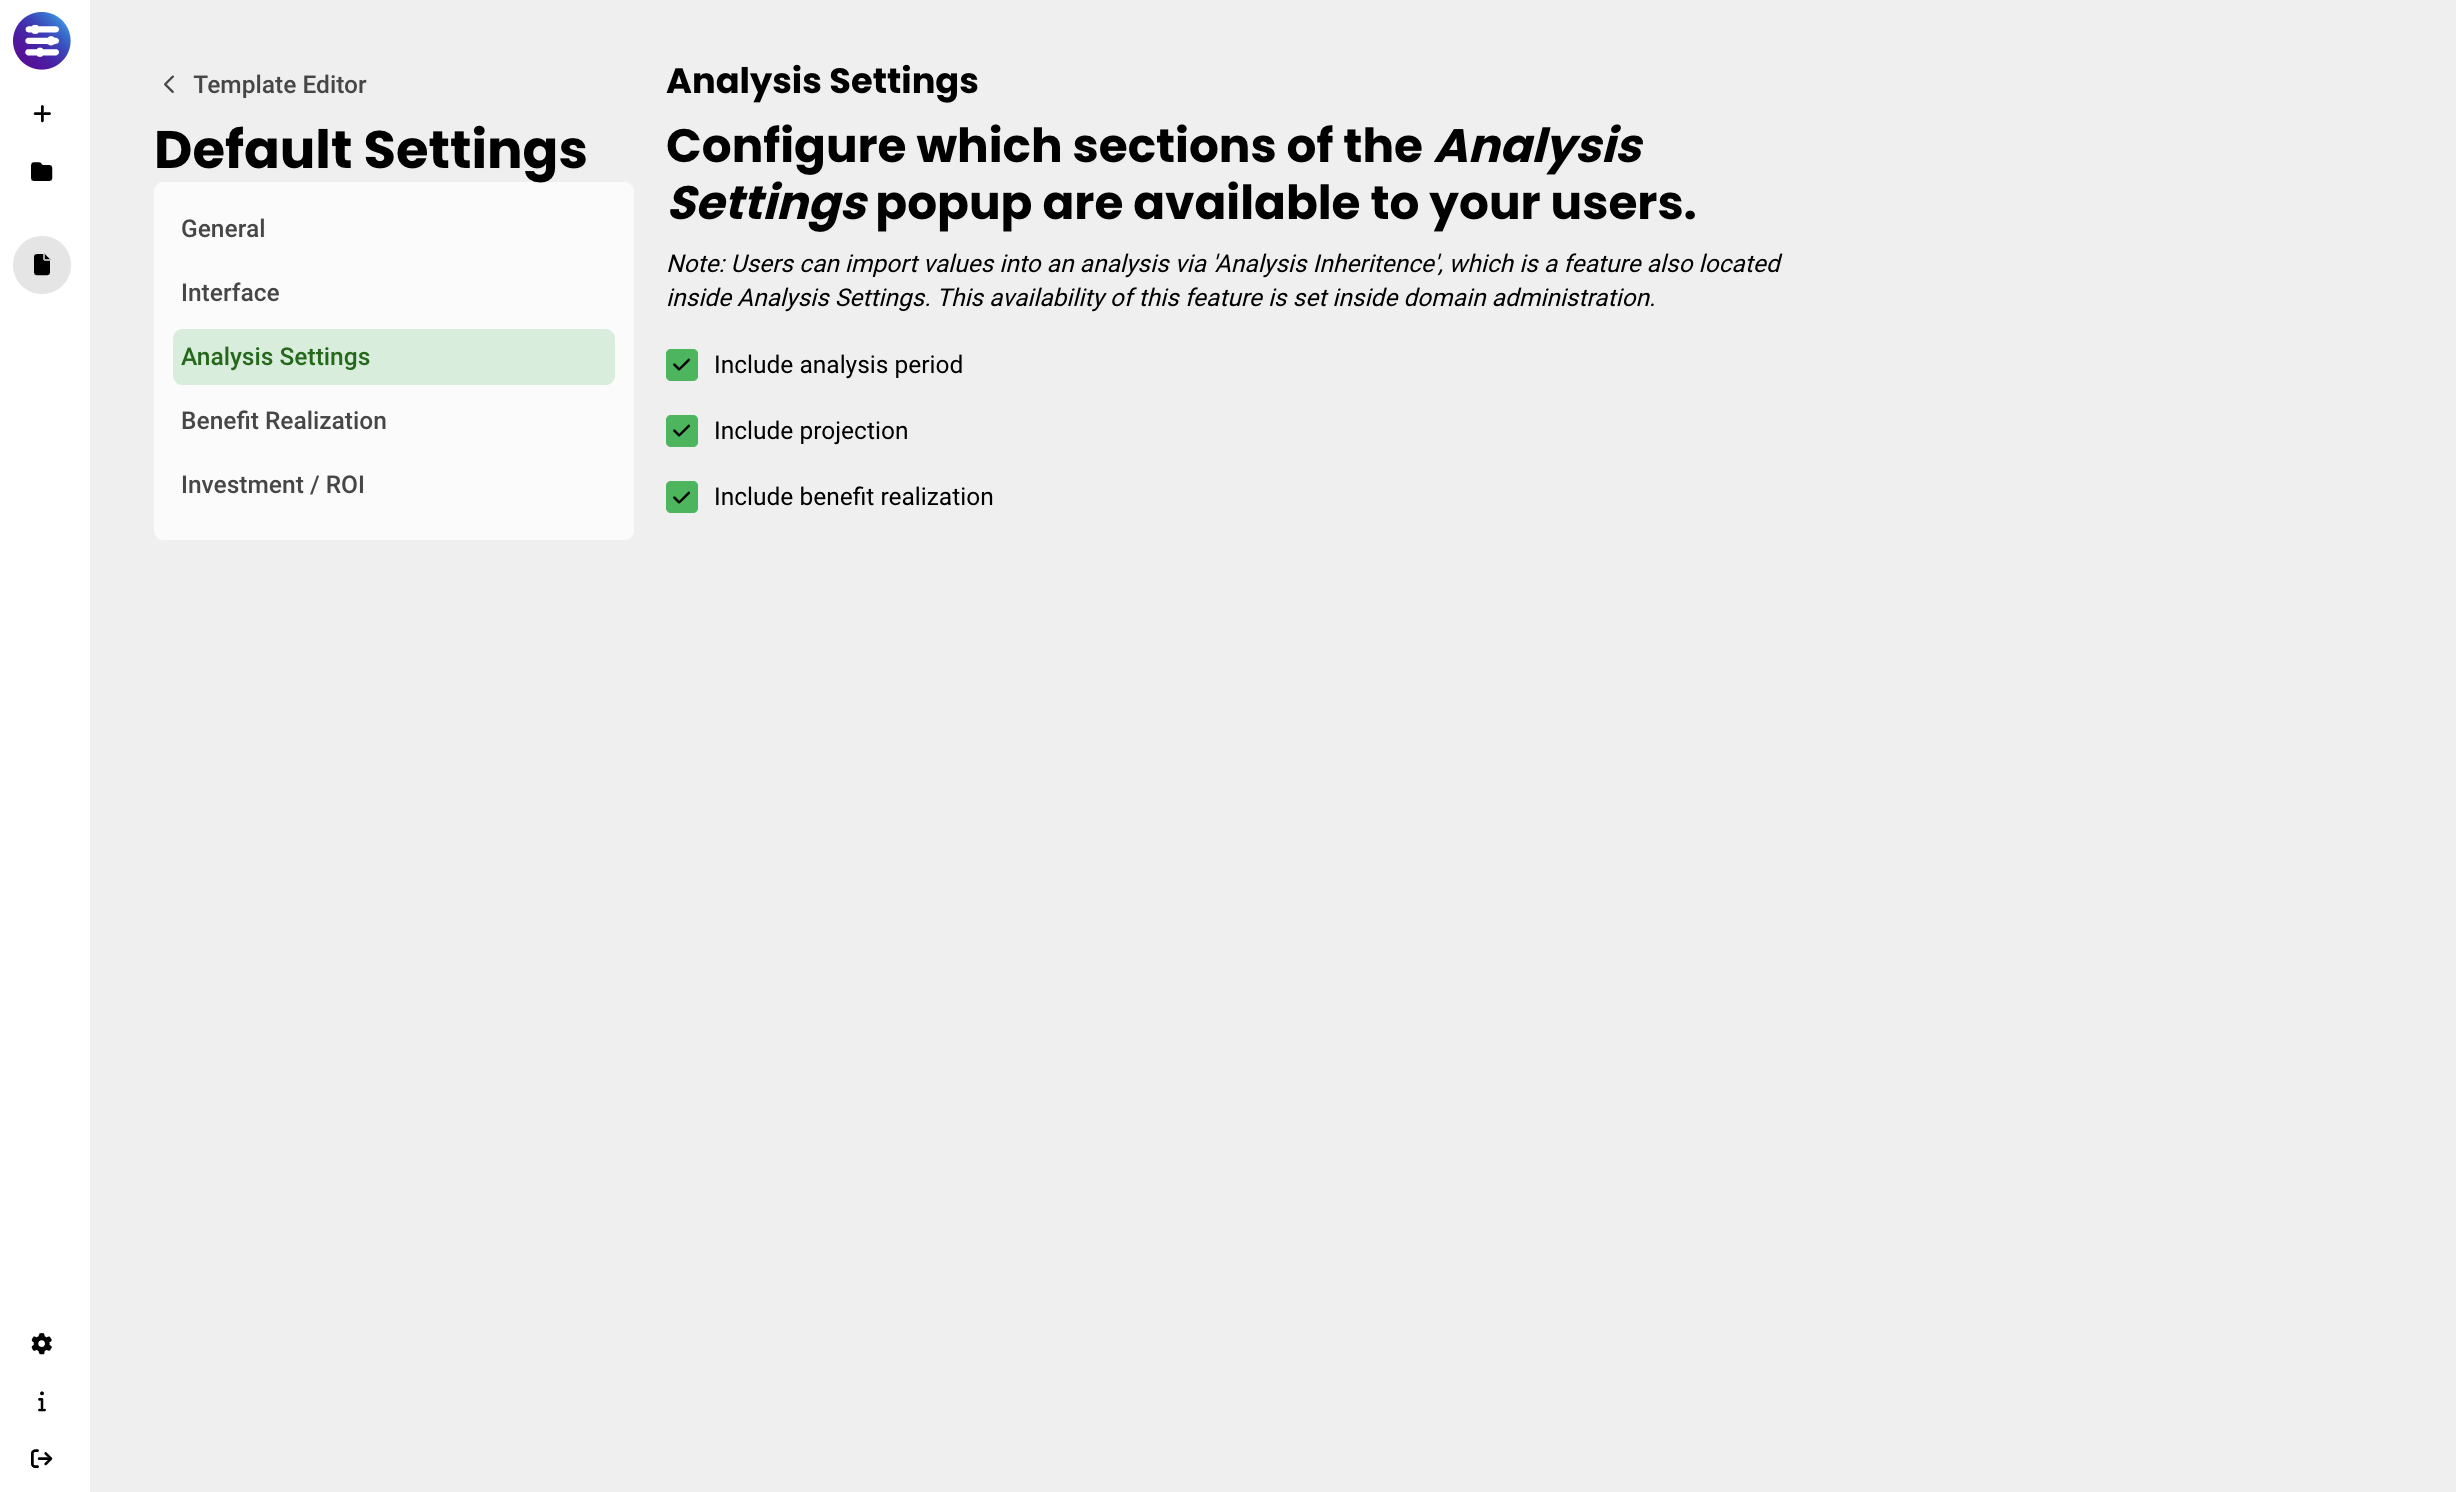
Note - these settings can also be accessed anywhere in the Analysis if the header navigation bar is visible.
Benefit Realization
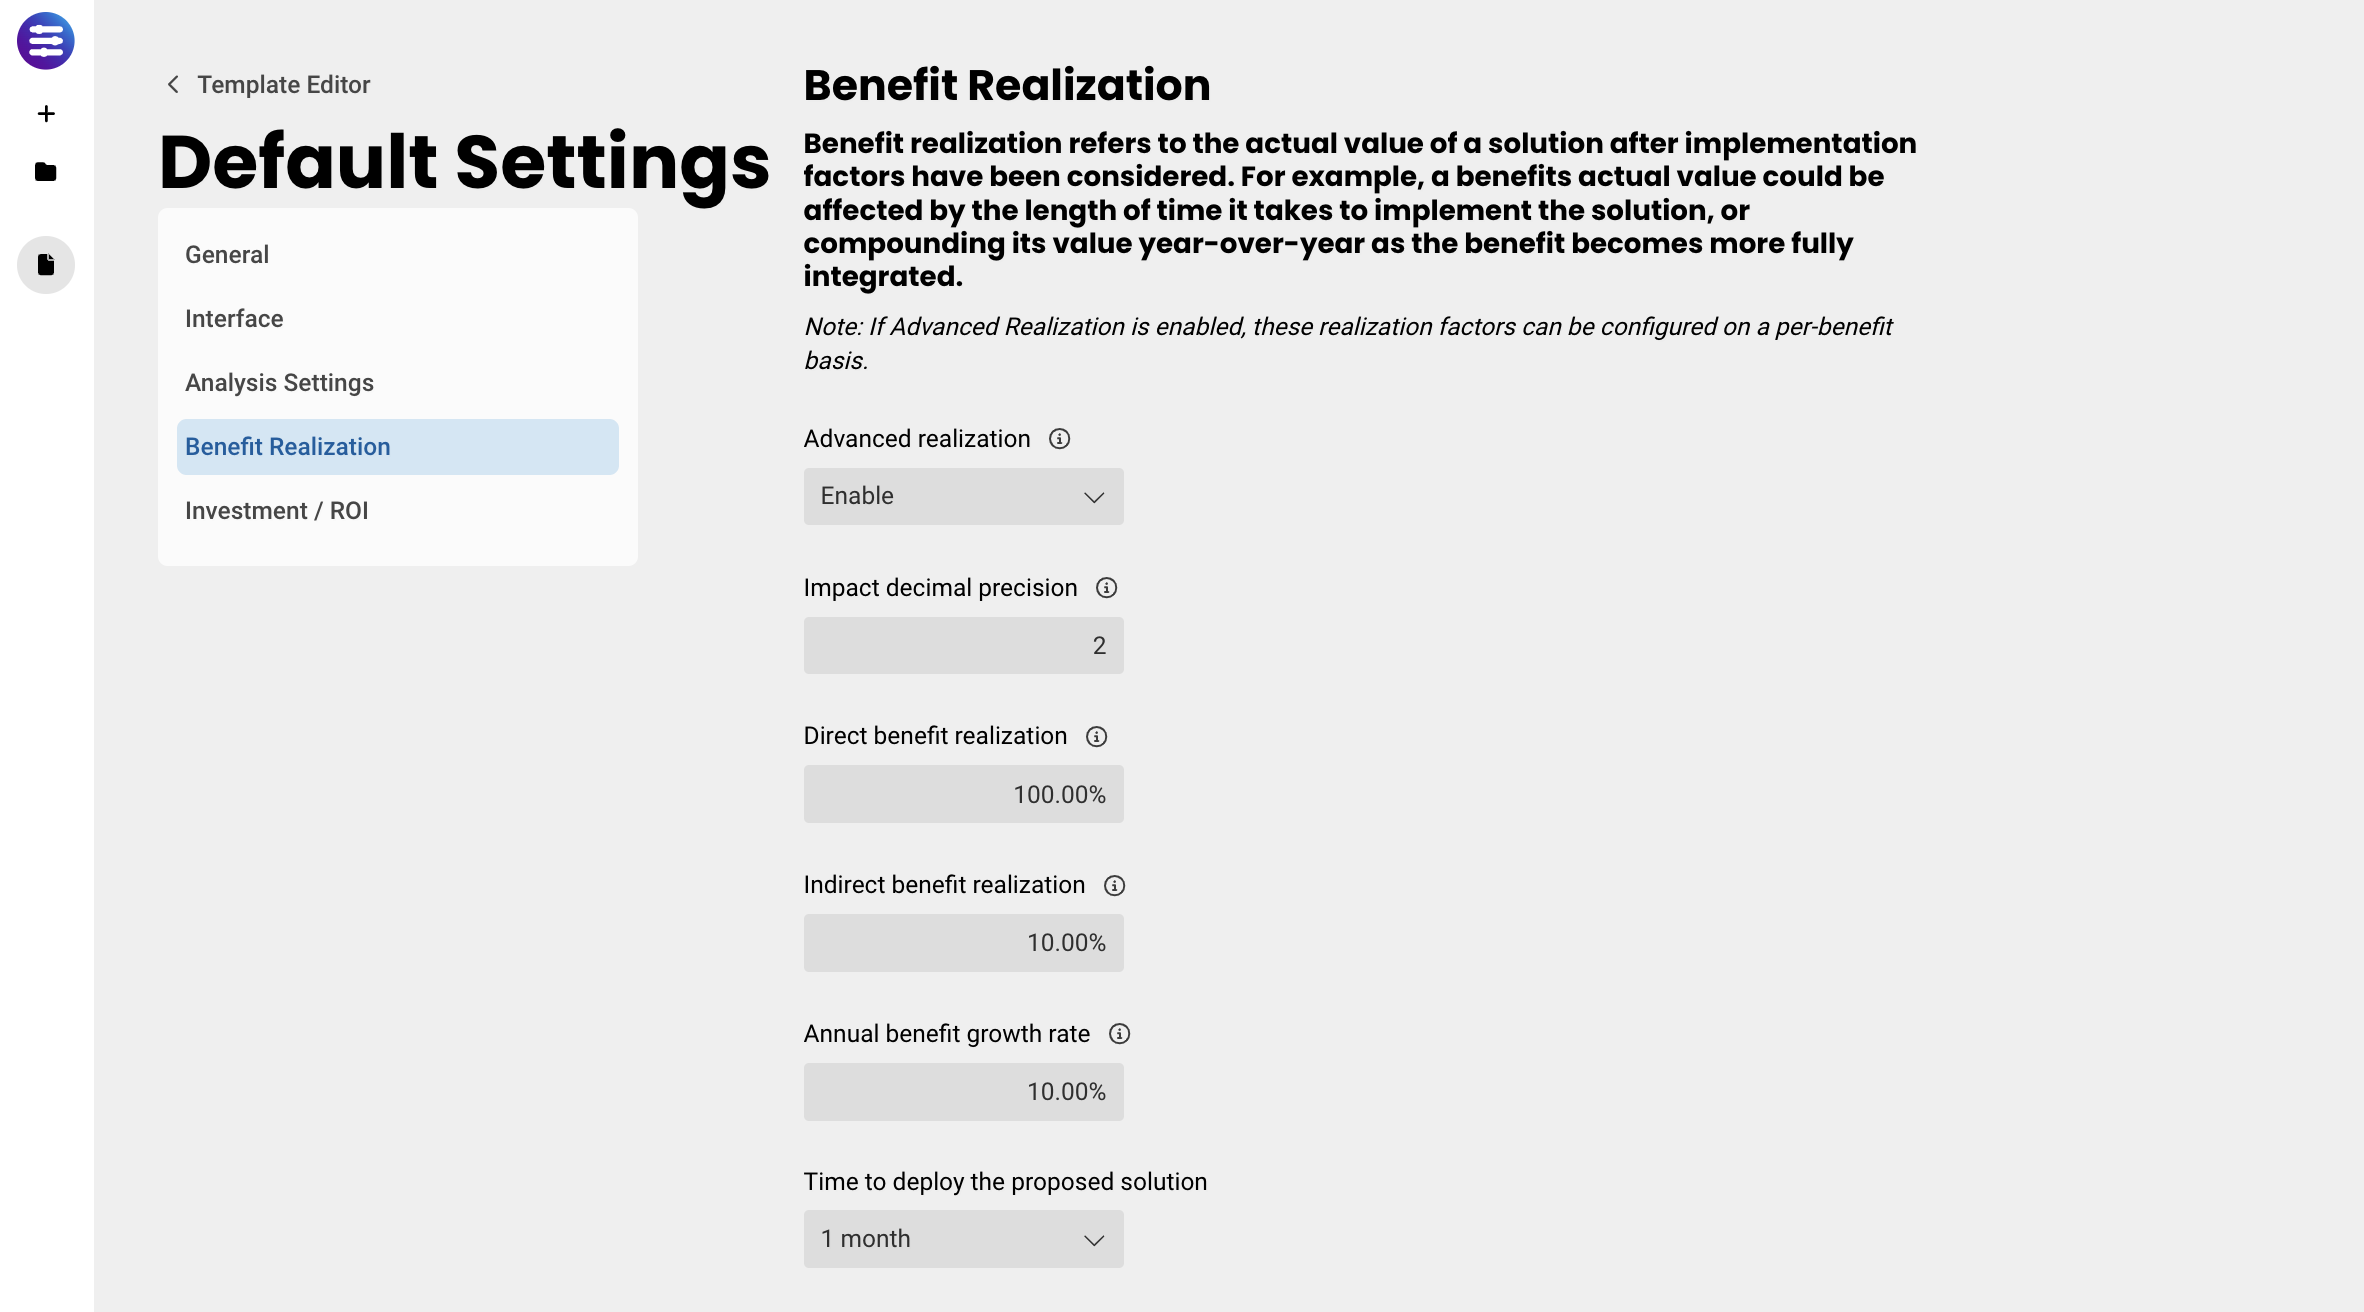
The first section in Benefit Realization defines defaults that will be used later if and when you create and use benefits.
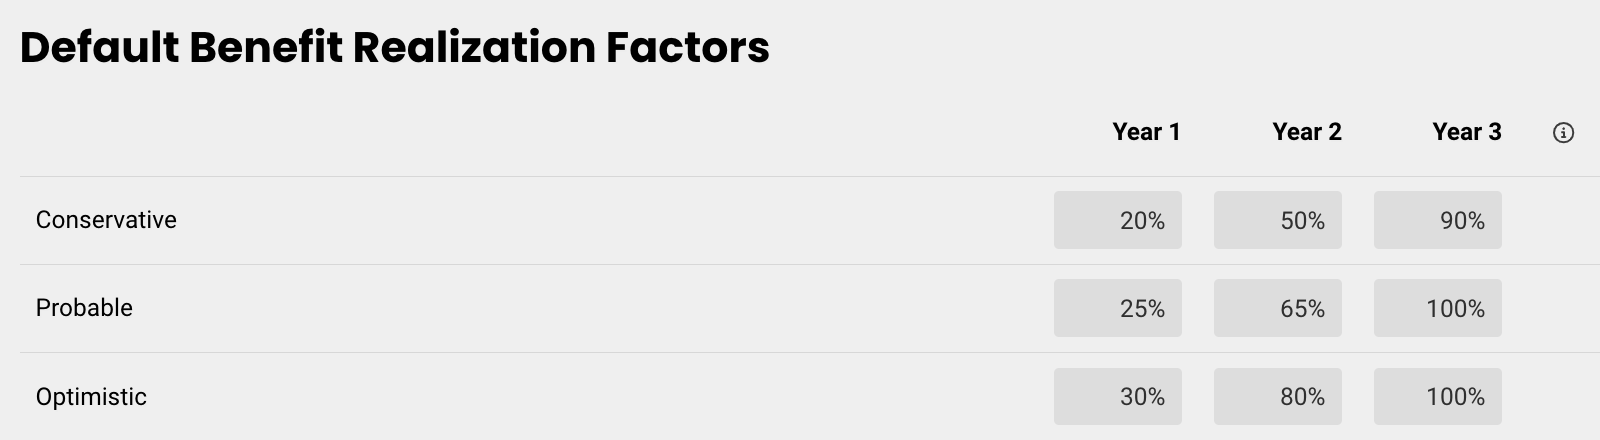
Advanced realization allows realization factors to be configured on a per benefit basis. If enabled, Default benefit realization factors table appears below, letting you specify how much of your benefit will be realized each year for each projection (Conservative, Probable and Optimistic).
Based on this choice and the specific year, the tool will apply the realization factor to the value captured by the benefit. Note that the number of columns in this table will map to the choice of Analysis Period above.
Impact decimal precision sets the number of decimals displayed to a user when they modify inputs related to the impact your solution will have. Increase the number of decimals for more precision.
Direct benefit realization reduces the total value of all direct benefits. Used to provide a risk-adjusted value. Benefit realization can be adjusted on a per-benefit basis. Direct benefits are typically cost savings, and you can usually expect to capture 100% of them.
Indirect benefit realization reduces the total value of all indirect benefits. Used to provide a risk-adjusted value. Indirect benefits are typically growth, or other intangible types of benefits, and you can at best hope to capture a small portion of the value over time.
Annual benefit growth rate is the expected year-over-year growth in the value of each benefit. The growth rate can be adjusted on a per-benefit basis.
Time to deploy indicates how long it takes to start realizing your benefit. By default you start realizing your benefit immediately, but this can be changed based on your business needs.
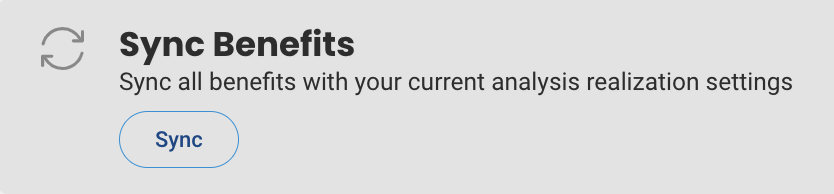
At the bottom, you have the option to Sync Benefits. This syncs the chosen realization factors across all benefits that exist in each Template.
Investment and ROI
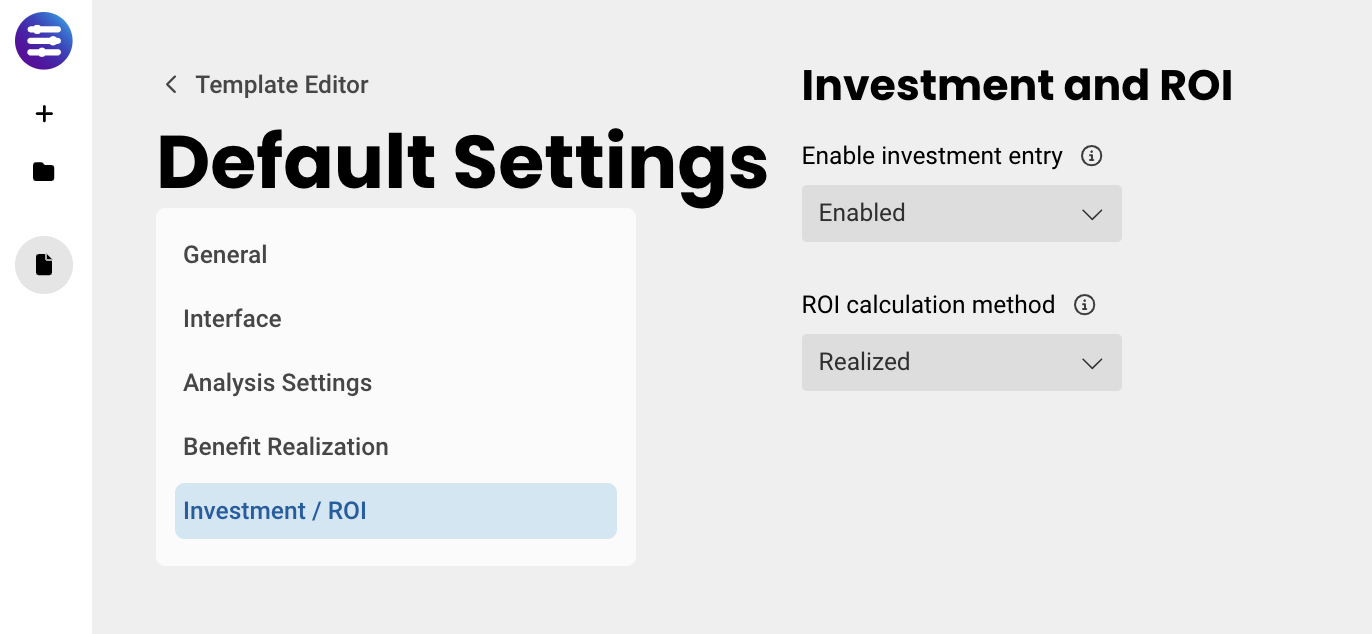
Enable ROI Analysis adds additional insight to the tool if the user has added investment information, including a cash flow table and return on investment details.
ROI calculation method determines whether calculations should be based on ideal (unrealized) or discounted (realized) factors. If switched to Ideal, the realization factors indicated above will be ignored.
Replies have been locked on this page!