
Intelligence understands that every business works a little differently and that the adaptability of the Platform to your process is paramount in accurately and efficiently analyzing, reporting, and giving insight to your data. If the typical Platform Hierarchy, which includes a CRM User/Manager or User Role Hierarchy, doesn't fit your business model, you can import a CSV to create your own custom hierarchy!
Creating a Custom Hierarchy Instance
-
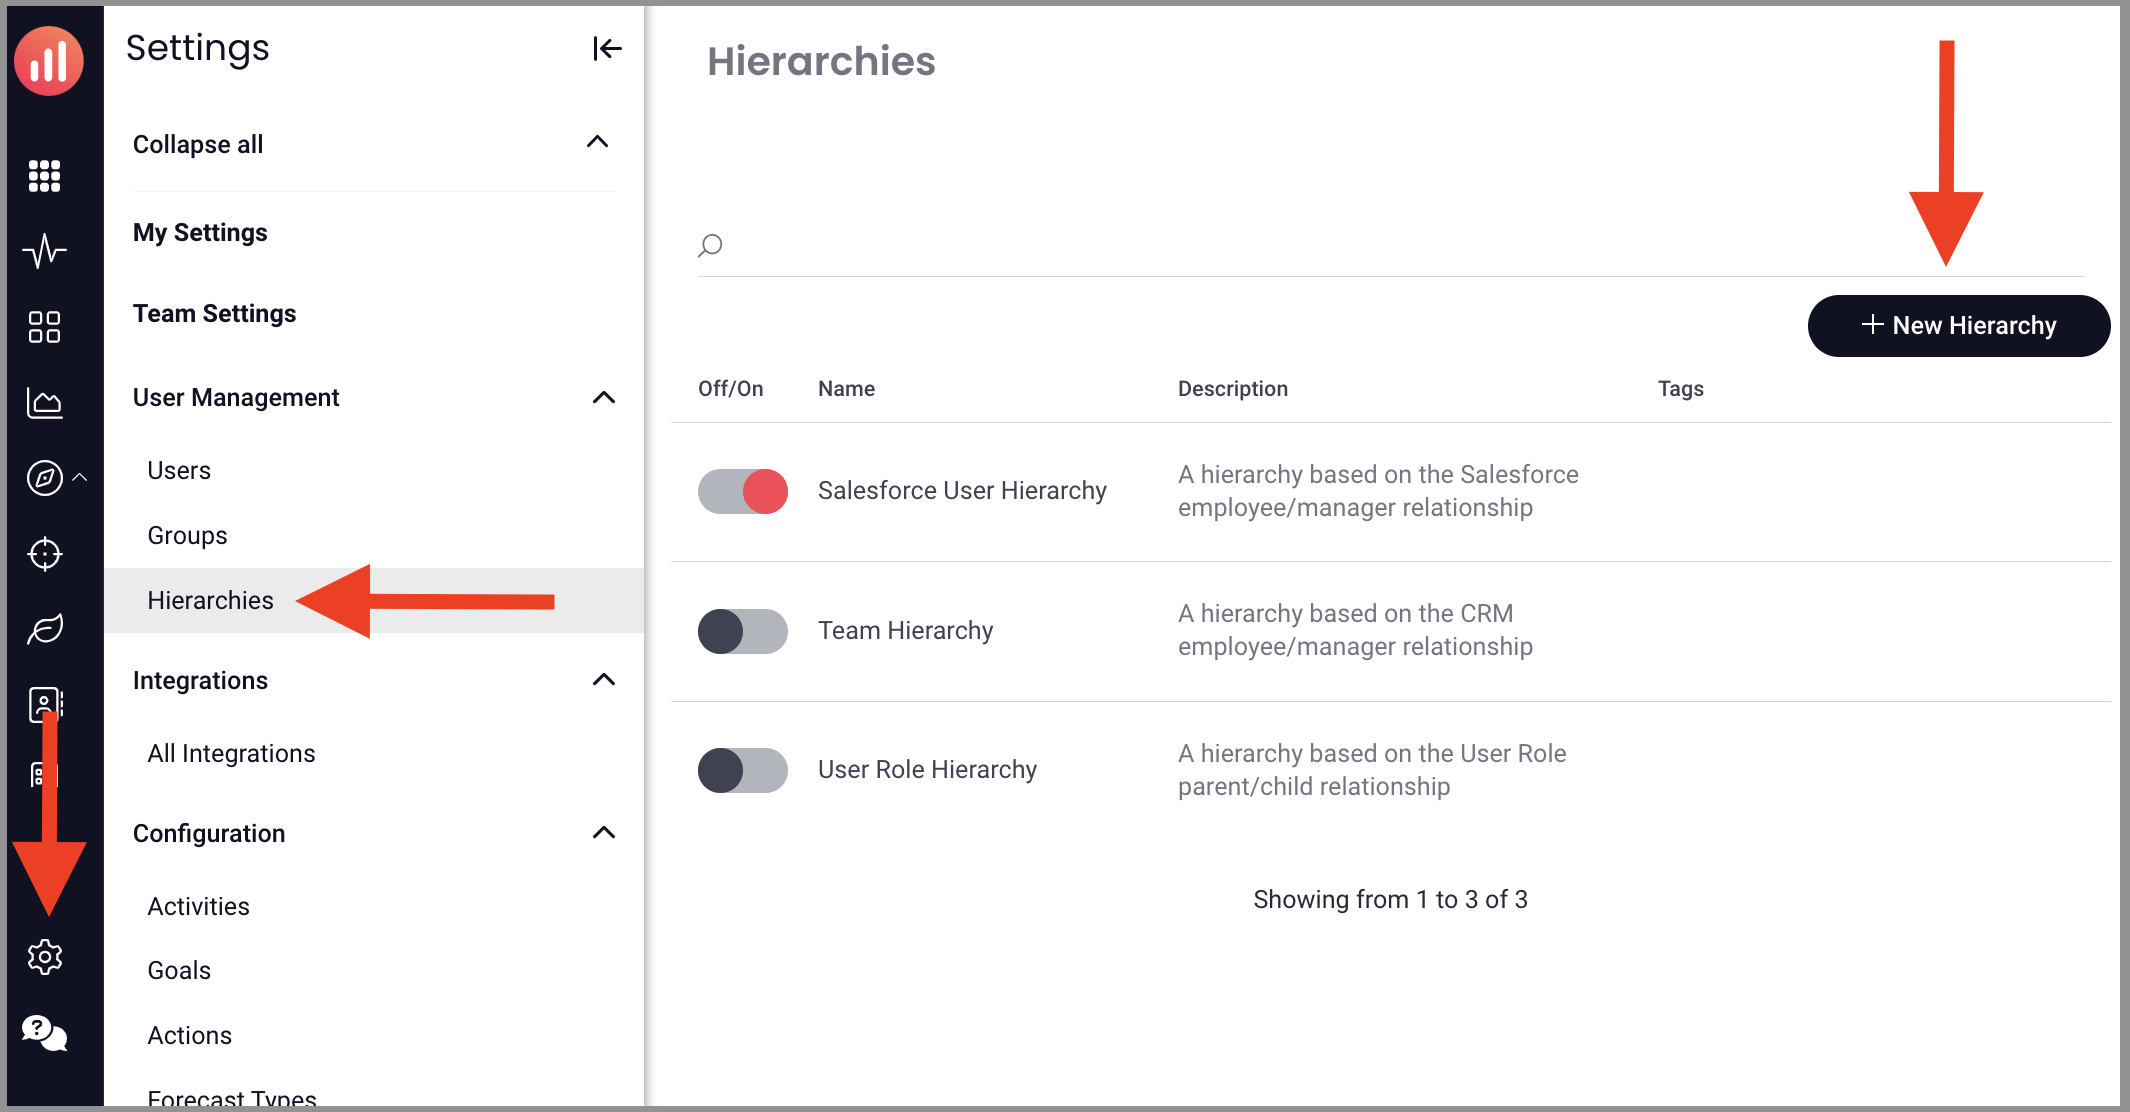
Mediafly Users: go to Settings > Report Management > Hierarchies > + New Hierarchy
Revenue Intelligence only Users: go to Settings > Hierarchies > +New HierarchyPro tip: You can repeat this process as many times as you want to create as many custom hierarchies as needed.
Search for and select Custom CRM User Hierarchy, then click next in the upper right-hand corner.
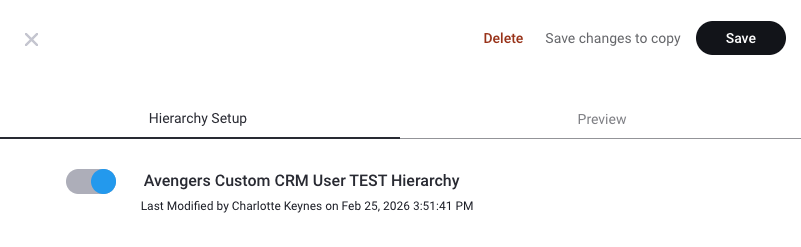
Enter a Name for your hierarchy instance and click save.
Once saved, enable the definition by toggling the new hierarchy to ON.
(Toggled ON = light blue dot, OFF = dark blue dot.)

Building the CSV for Upload
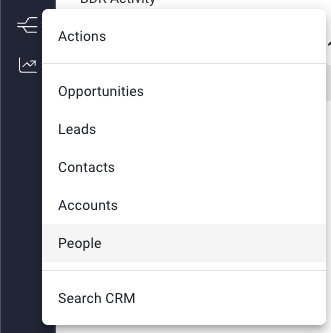
Mediafly Users: Navigate to the CRM icon in the left nav & select People
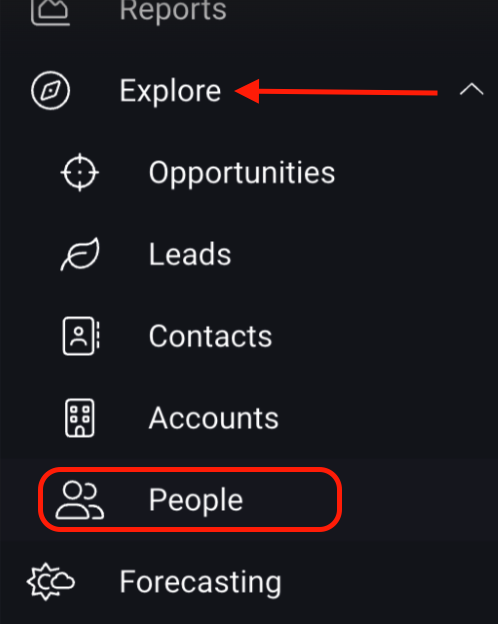
Revenue Intelligence only Users: Expand the "Explore" tab in the left nav and select PeopleSelect the main user group (eg. Insightsquared Users) and ensure there are no filters applied. (When there are no filters, you'll see a screen like the one below saying "add a new filter or select a saved filter to view data for this report", in this case, we do not want to add any filters before exporting data.)
Click Export Data and open the downloaded CSV file, you'll use this file in the next section.

Creating the Hierarchy to Upload to Intelligence
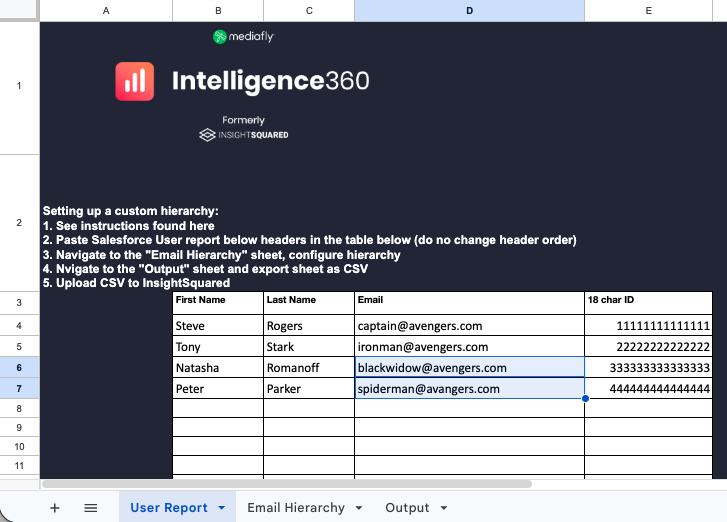
Make a copy of this google sheet.
Paste your exported CSV from above into the first sheet of the workbook where indicated below.
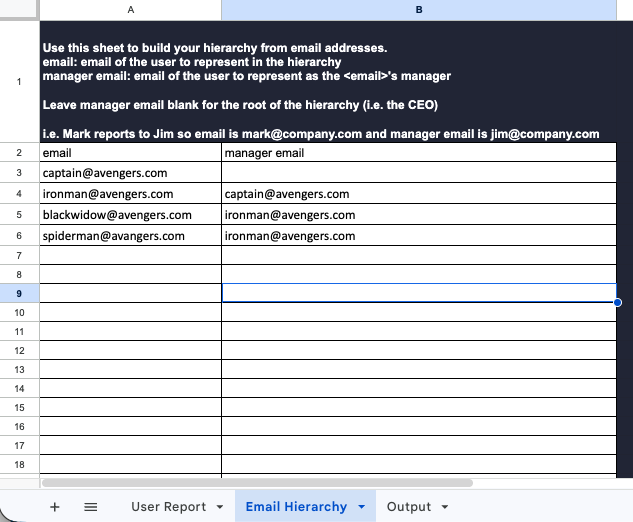
Navigate to the "email hierarchy" sheet (the second sheet of the workbook) and build your hierarchy! On this sheet, start building your hierarchy by copy and pasting email addresses from the User report sheet into the email and manager email columns. The "email" column represents a user you want to represent in the hierarchy and the "manager email" column represents the manager for that user.
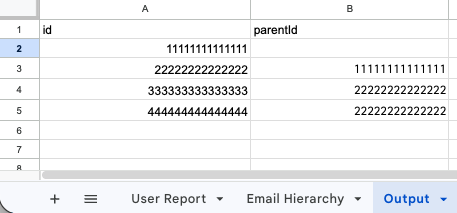
Note: Every hierarchy needs at least 1 root, this is accomplished by leaving the manager email cell blank for one user (the top of the hierarchy i.e. CEO)Navigate to the "Output" sheet
Verify that there are no red error cells present
Export the "Output" Sheet to CSV by selecting File > Download > Comma-separated values (.csv, current sheet)
Uploading a Hierarchy CSV to Intelligence
Navigate to the hierarchy settings instance we created earlier.
Open the Hierarchy CSV Uploader Section and select the .csv file to upload.
Save your hierarchy by clicking save in the upper right corner.
Preview your hierarchy by using the preview tab.
Enjoy! You can now find your custom hierarchy in the Intelligence Hierarchy navigator:

Replies have been locked on this page!