
🔐 Admin Only 🔐
Intelligence allows the mapping of properties from Salesforce to the Platform. Our flexible mapping layer allows you to add data of many kinds to solve different problems around reporting and actions.
A Custom Field should be mapped to whichever Object you are navigating to, i.e. “I want to map a custom field from SFDC onto the Opportunities object”. If you're trying to map an Object but it’s a reference from a different object. I.e. “I want to report on an Opportunity Product Line Item field on the Opportunity object" you'll need a custom JSON to map it so you'll need to map a lookup field instead.
Mapping Custom Fields
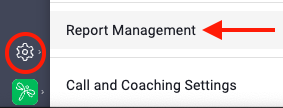
1. Go to the Administrative Settings > Report Management
2. Then All Integrations > Select Salesforce
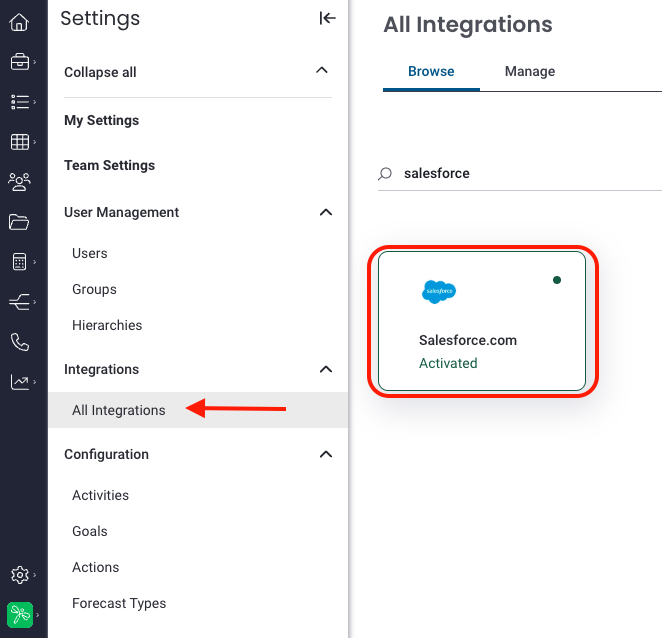
3. In the Salesforce integration, click Content Settings.
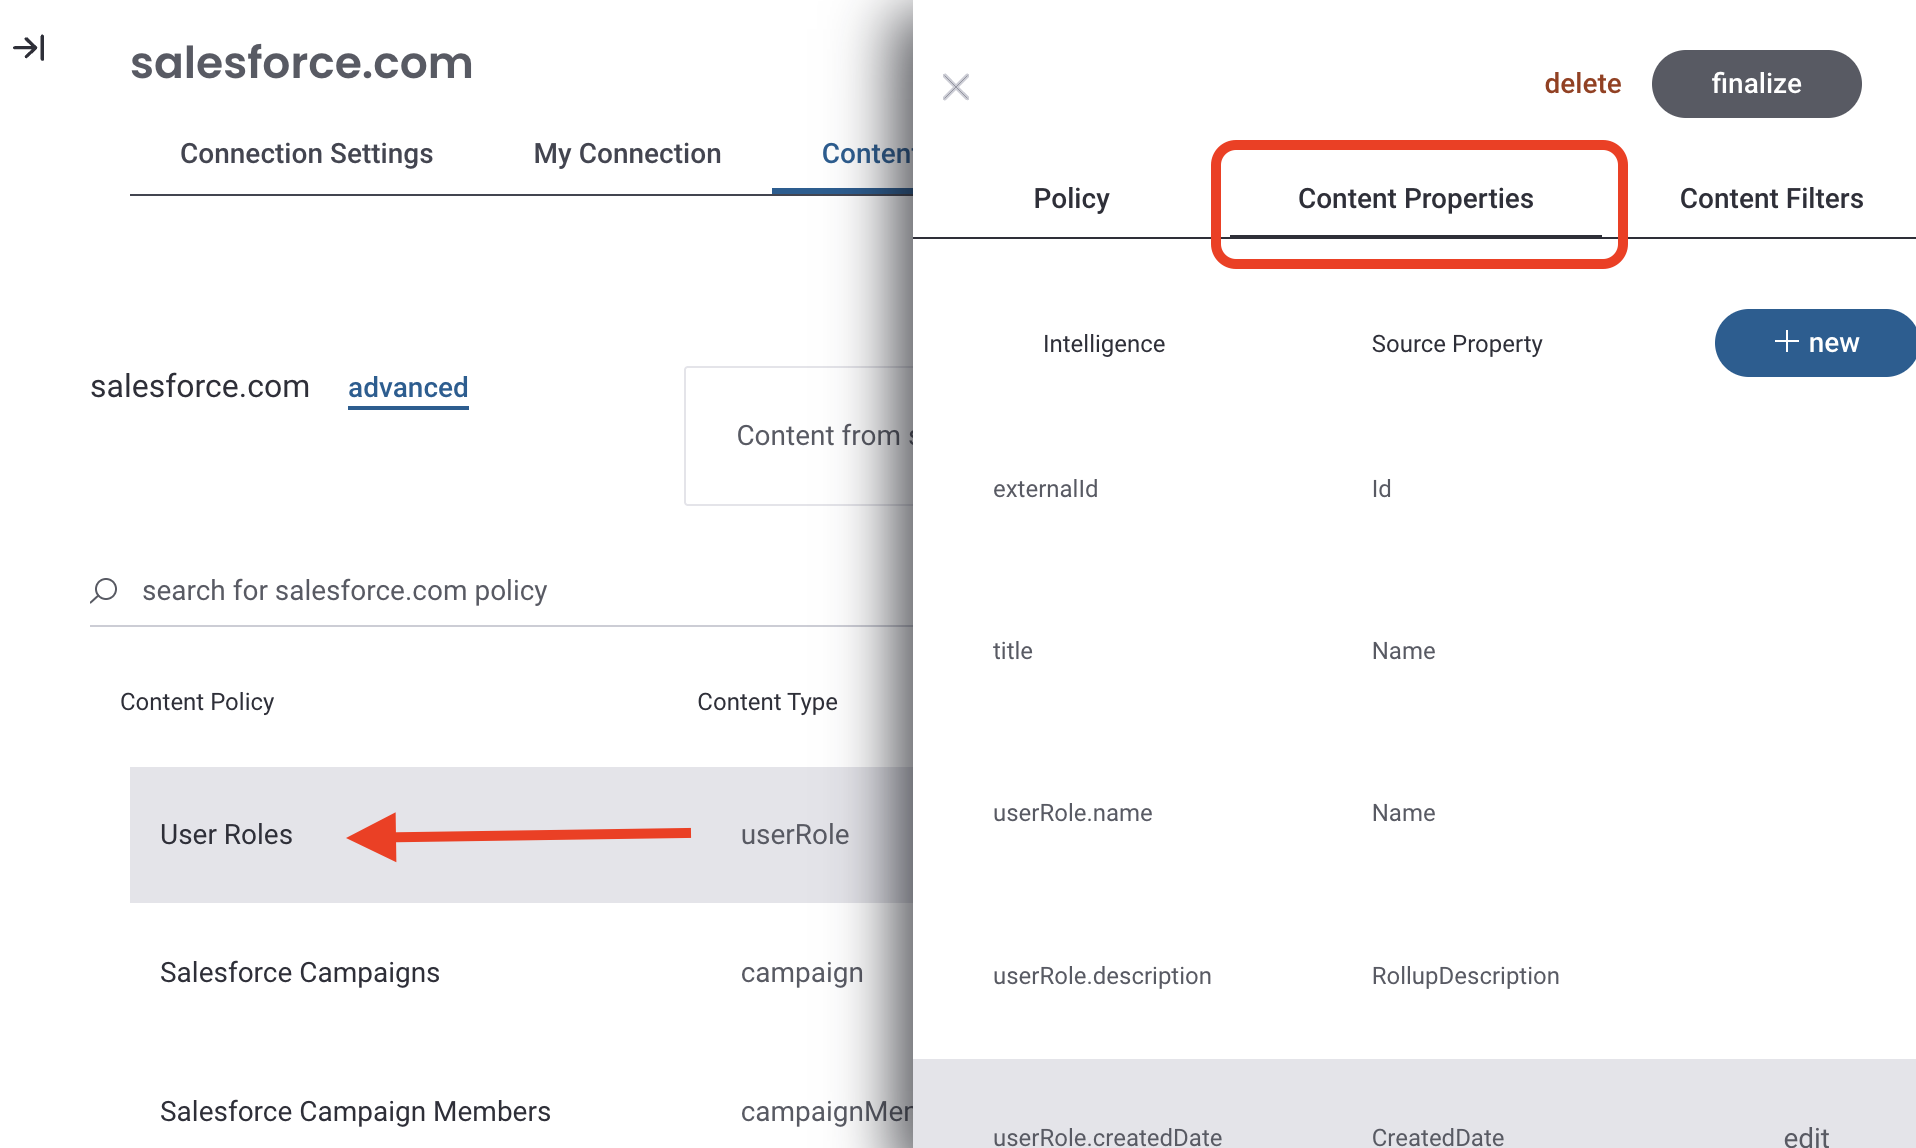
Each object from SFDC that Intelligence is syncing is listed here, we call these "Content Policies". For example, if you want to map a new field from the opportunity, you would select the "Salesforce Opportunities" policy.

4. Search for or scroll to find the desired policy.
When you click on the policy a right drawer will open, click on Content Properties. Populated here is a list of existing content properties as well as the option to add new properties.
5. Add a new property
Click "+ New" to populate the Property Mapping window. Use the guide below to complete the populated Intelligence Property Mapping window.
- Property Name - SFDC field name, using camelCase. NOTE: camelCase is the practice of writing compound words or phrases using no spaces, where the first word is lowercase, and each word thereafter starts with a capital letter. Examples: intelligence360SavesRepsTime, theAlphabetStartsWithAB
- Property Label - The label that will be shown for this property across the Platform
-
Type - Use the reference table below to select a type. Note: Type will auto-populate based on the SFDC field based on the Read Property dropdown menu.
Name ⭢ String
Checkbox ⭢ Boolean
Currency ⭢ Number with decimal
Date ⭢ Date
Date/Time ⭢ Date
Email ⭢ String
Number ⭢ Number
Percent ⭢ Number
Phone ⭢ String
Picklist ⭢ String
Picklist Multi-select ⭢ String (display type multi-select)
Text (<70) ⭢ String (display type single line)
Text (70-255) ⭢ String (display type short text area)
Text Area Long ⭢ String (display type large text area)
Text Area Rich ⭢ String (display type html)
Text (encrypted) ⭢ String (encrypted)
Time ⭢ Date
URL ⭢ String

Formula ⭢ Get formula output type and see above
Lookup Relationship ⭢ Contact Mediafly Intelligence Support
-
Output Display Format - The dropdown list of output display options is dependent on the Type selected above. For example, the Number with Decimal property type offers display format options such as Currency, Percentage, Default Formatting, etc.
Select ML Data Type (Optional) - Learn more about ML Data Types here.
-
Property Data Source
-
For External Property: Data from CRM into Intelligence. Select External Property. Select a Read Property from the dropdown menu. A Read Property is a field as it is in the CRM.
Select a Write Property (Optional) from the dropdown menu. The Write Property dictates where you want to write the property to in the CRM, where you want this value to go. The write property can be the same as the read property, or it can be different if you want to override your sync and have the property be written back to the CRM elsewhere. If you do not select a write property, it will be the same as the read property

- For Calculation: This data comes from the Mediafly Intelligence Platform. If you are mapping the property to sync back to your CRM, click here.
- Property Options -
- Enabled - Intelligence will collect this data, must be selected to use the property
- Searchable (optional) - Intelligence will search this data (not recommended for anything but strings)
- Track Changes (optional) - Intelligence will track changes to this data in the Platform. If history tracking is enabled on the Salesforce end, this option is automatically enabled & locked.
- Hidden (optional) - Intelligence will hide this property from users (recommended for IDs)
- Writable (optional) - Intelligence can update this property from Actions
- Encrypted (optional) - Encrypt this value on ingest, and store this value encrypted

6. Click Done to save the changes to the property mapping.
7. Click Finalize to save the changes to the Content Property.
Repeat this process for every custom SFDC field you'd like to map in Intelligence.
NOTE: Please make sure the fields in Salesforce are "Visible" in the Field Level Security settings for the Profiles that will be using Intelligence.
Replies have been locked on this page!